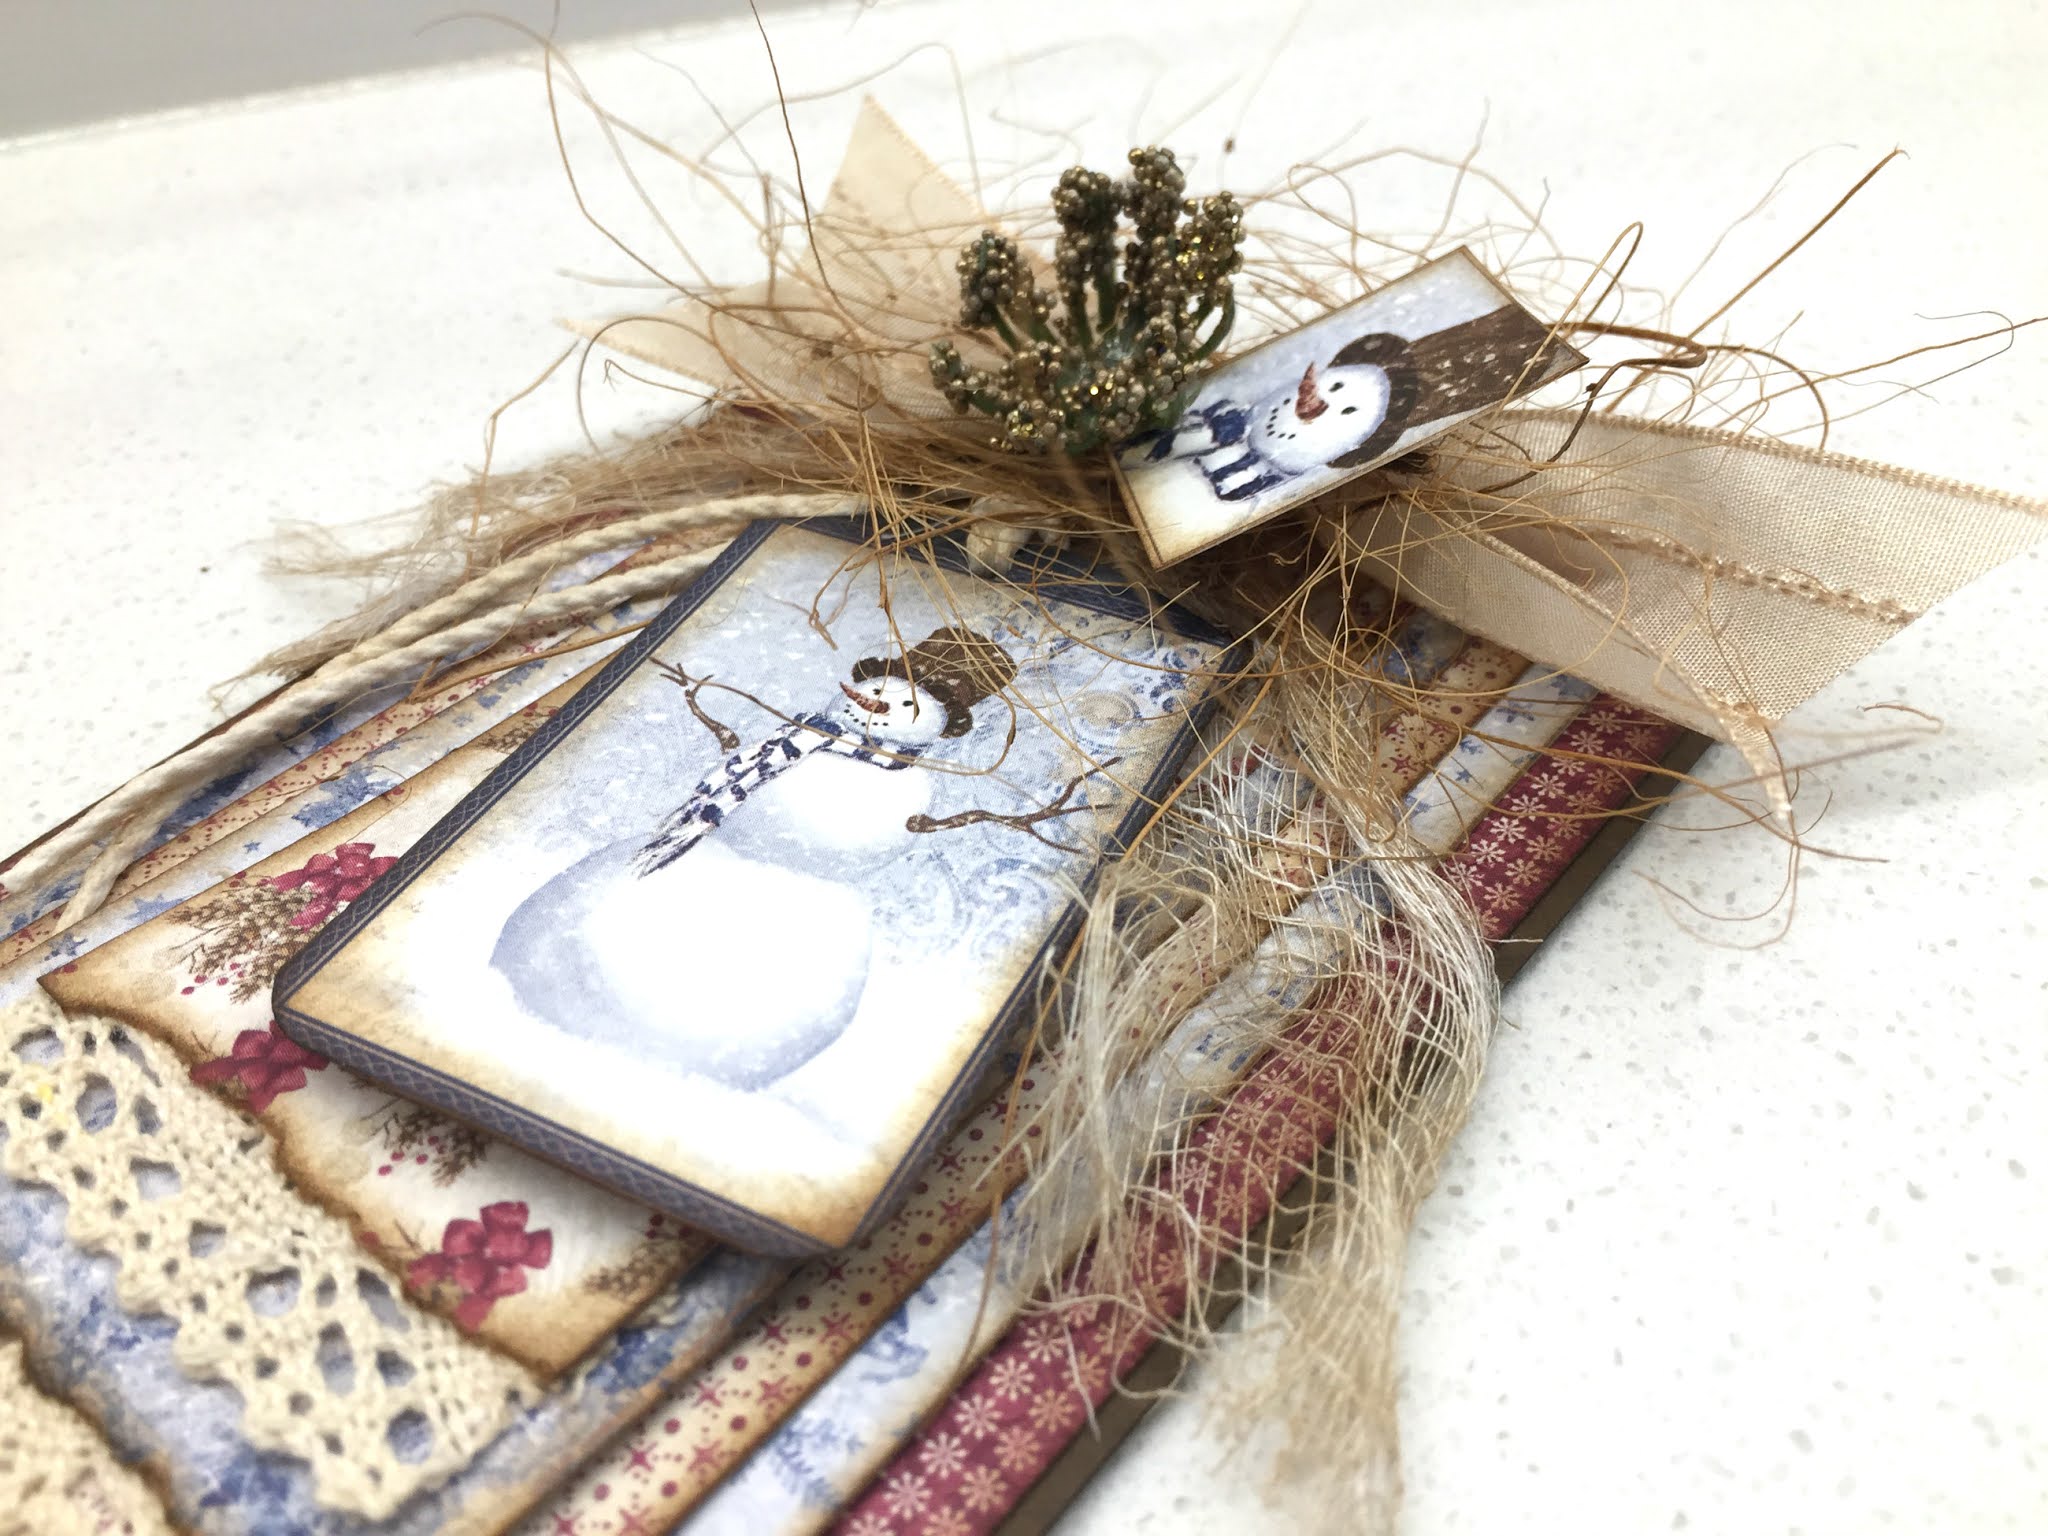
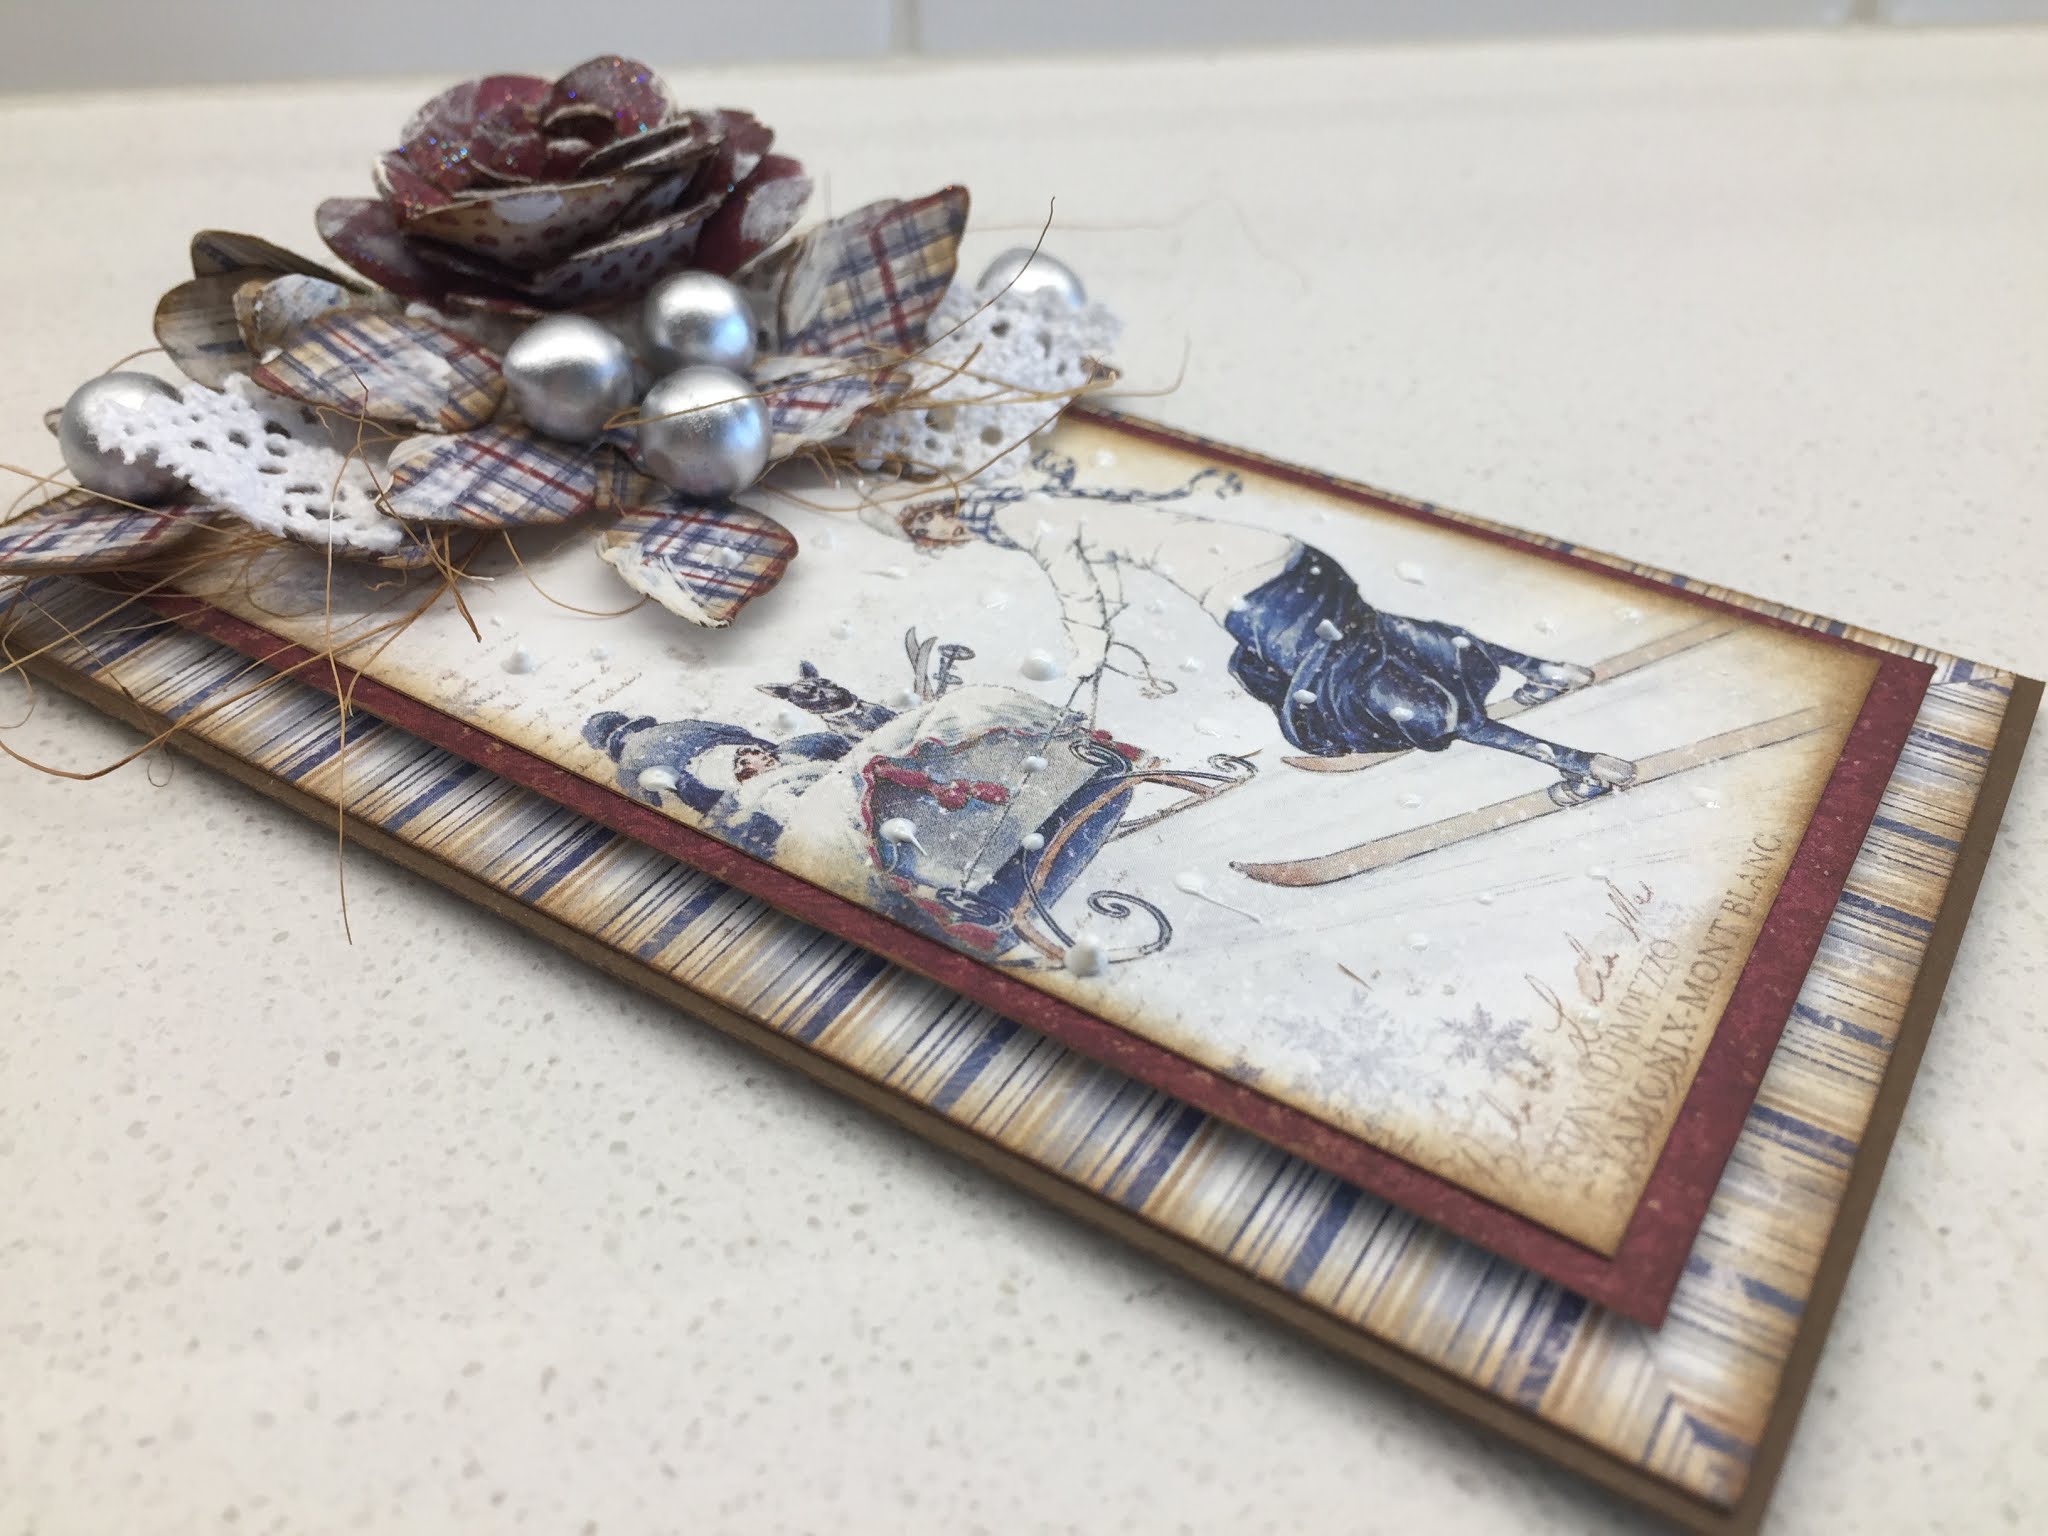
This post is for you. You have your kit, and your instructions, so here are the close up photos for you to aid in the assembly of your Round Card Kit. So, here we go.
Card #1
Card #2
Card #3
Card #4
Card #5
...and Card #6
Hope these photos are helpful to you assembling your cards. The next & last Christmas Card kit will be cards that you can send in the mail. So look for them before the month is out.
Thank you everyone that has purchased this kit, and others.
Today's post is a very long one again. It has all 6 card photos and detail photos!! It's mainly for those that purchased a kit through Scrapbook Parade, but to those that did not order a kit, these photos may be of some inspiration to you, in making your Christmas cards for this year. Plus there is a little technique video tutorial, too.
The 3 Gatefold Cards
When folded closed, these cards measure 3 1/2"W x 6"H
Before going into the card details, I just wanted for those that purchased a kit to know, that when you are using the coconut fibres, you need very little, so be careful how much you use. Of course you don't want to be skimpy either. Just to give you and idea, I took a photo of card #1 after attaching the coconut hair.
That is pretty much all that you need.
Card #1
Card #2
Card #3
The 3 Regular Fold Cards
Card #4
Card #5
Card #6
The Tutorial video below, shows how to miter stripe strips for both card #3 & #6 (the one above). It also has a review on how to make paper flowers if you do not have your own 'roll a flower' die, like me!
Hope the video was helpful. I had to do it all over again, because I accidentally deleted the first video!!!
I am so happy that all of you that purchased this kit were so excited about it. Enjoy putting them together, and watch for the next Kit!