CASE Study & Color Throwdown - You`re One Of A Kind


I`ve had another moment to quickly put something together for a couple of challenges. I love Laura Bassen`s ability to design such lovely CAS cards and wanted to try this last inspirational piece for the March challenges at CASE Study 84. CAS Doesn`t normally come easily for me even though I admire it. And because I was short on time and didn`t want to take the time to choose colours, I decided to use the colours from Color Throwdown 185 because they intrigued me.

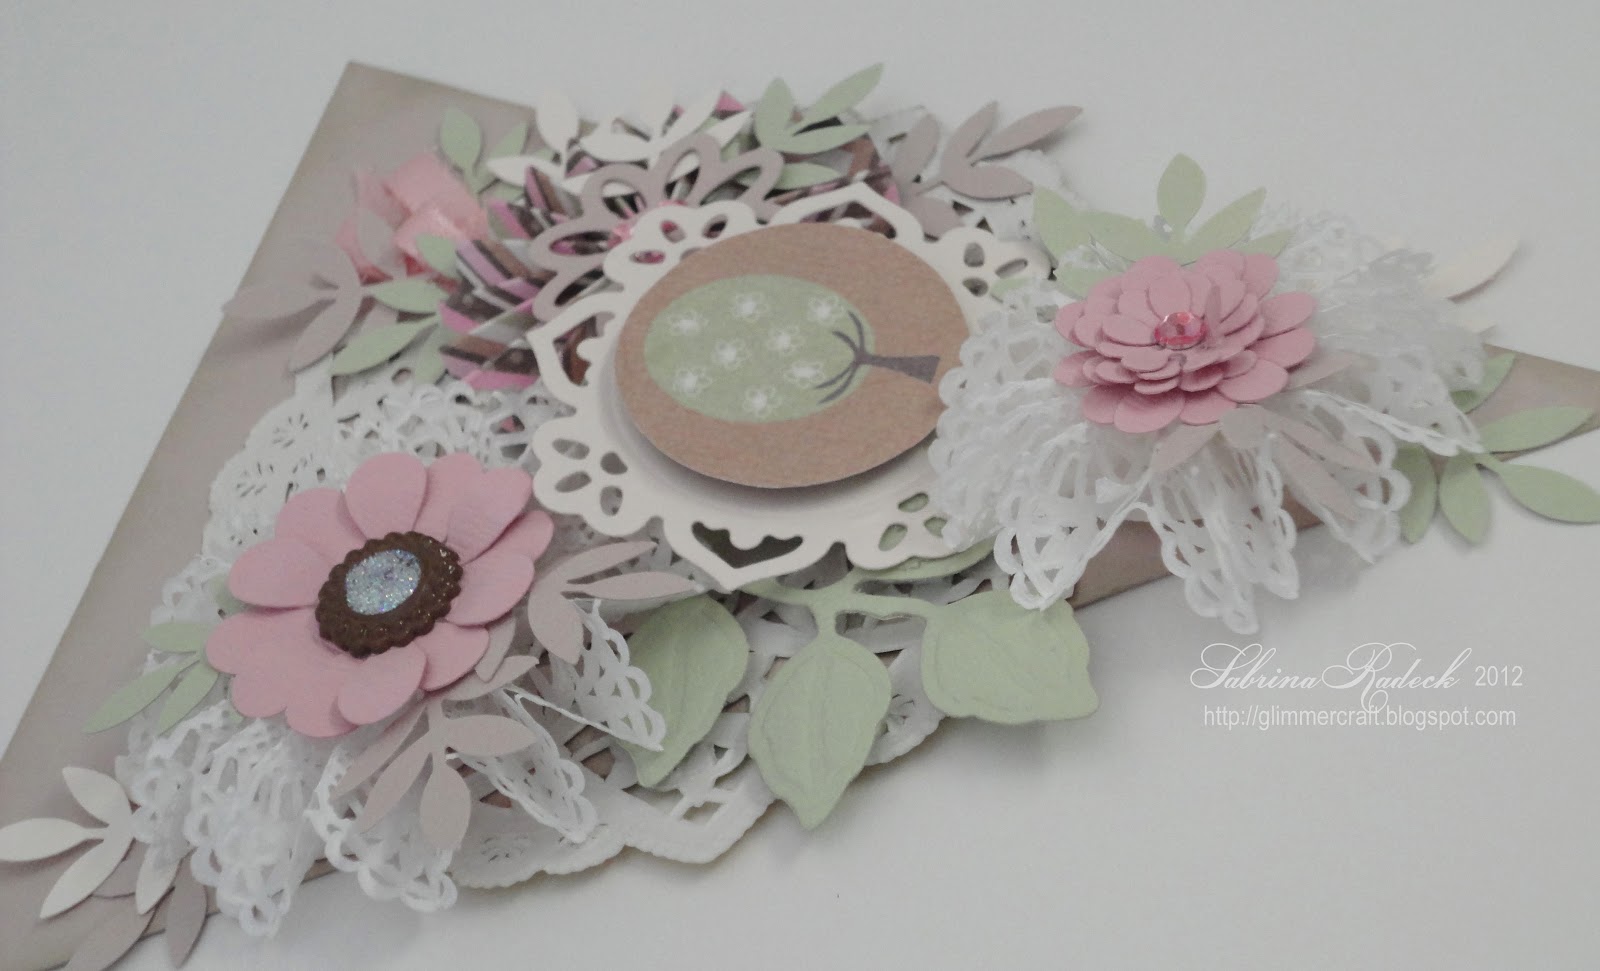
Now you`ll have to forgive the photograph, as my flash went off when I didn`t want it to and thus it created an ugly shadow around the card and slightly yellowed the photo. I was going to take another photo, but of course my battery went dead and I have to recharge it! So for now this is the photo, and I`ll replace it when the battery is charged up again.


Hope you are having a great weekend, my blog friends, and that you are finding a little time to be creative. Thanks for stopping by!


TOOLS & SUPPLIES

SPELLBINDERS : Standard Circles Large
STAMPS : Hero Arts Fancy Friends, Hampton Art Circle Birds
INK: Memento London Fog

CR84FN 50 and Simon Says Stamp

I couldn't pass by the current CR84FN challenge... pink, orange and yellow (graphic below)! I wanted to create something very vivid with this--so much fun!


Finally got to play with my Fancy Flourishes dies!

And, of course, I'm submitting this to the current Simon Says Stamp challenge (anything goes!).

Thanks for peeking!


{Supplies--all Papertrey Ink unless noted}
  • Cardstock: Orange Zest, Raspberry Fizz, Stamper's Select White
  • Stamps: Mat Stack 2 Collection
  • Ink: Memento Dandelion (Tsukineko)
  • Dies: Fancy Flourishes, Mat Stack 2
  • Other Tools: Corner Chomper (We R Memory Keepers), pearls (dollar store)

Colour Create Challenge #93 DT Inspirational


Wow! Does two weeks ever go by quickly. It's time again for another challenge at Colour Create Challenge. Challenge #93 is being hosted by Julie who chose the wonderful colour combination of deep purple, bright green, and cream with the optional challenge of adding bows. Here is the inspirational photo that Julie chose. Love it! Those two little girls look adorable.

I usually like to use soft colours for Easter cards, but decided to challenge myself in creating an Easter card using this wonderful bold colour combo. I think it worked well.


I took a deep purple Bazzill cardstock (it really is deep purple IRL) and stamped it with the Hero Arts Background Cling - Reversed Flowers using VersaMark. I also used the Versa Mark around the edges to darken them.The image is a digi printed onto cream cardstock, that I've had for a while and don't remember where I got it from. I used Spellbinders Classic Ovals Small & Large, the small to cut the image and the large for a cream backing. I love how it almost looks like an egg.

Check out the other DT Inspirational submissions here, and play along with us.

Happy crafting!


TOOLS & SUPPLIES
 STAMP: Hero Arts Cling Background-Reverse Flowers & Leaves
INK: VersaMark
SPELLBINDERS: Classic Ovals Small & Large

Scrapbook Parade Class - A Two Parter - Book Card & Matching Banner

It's Sabrina here again, with another class for Scrapbook Parade held on Tuesday & Wednesday April 3rd & 4th from 1:00 to 4:00. Now be prepared for a lot of photos for this posting of the project.

The first photo is of the two together.


Now, let's begin with the book card and some of it's details. Let me tell you that this is a real fun project to make. It's so exciting to see it come together and look like a book.


This book card can be filled with treats hiding a message at the bottom, or it can hold a small gift, or can house a beautifully decorated/embellished photo, or a shadow box scene. Whatever your imagination can come up with. You can also make this book deep than here if you so wish.

Now for the banner details.

Mistique Frontal View

Mistique Side View

Pink Frontal View

Pink Side View

Green Frontal View
There are five pennants to this banner, but I'm only showing you three. There is another pink one, and another mistique one. They are each different, but I think this is enough to show you one of each colour. And, of course you can make as many pennants as you'd like for your banner. It can be used for Easter, Mother's Day, a Bridal Shower, a Baby Shower, a feminine birthday, and whatever else you can come up with!

Well with all the photos, I'm not going to lengthen the post even more with a bunch of words, but I'm glad you stopped by today. Hope you enjoyed what we're going to be making soon. Happy crafting everyone!


TOOLS & SUPPLIES
SPELLBINDERS: Labels Four, Classic Ovals, Floral Doily Accent, Foliage
Cuttlebug: Asterisk Dies
ScorPal
Scissors
Martha Stewart Leaf Branch Punch
Doilies
Jewels
Ribbon
Brads
STCKLES: Stardust

Another Feather Card

Another feather-themed card for the Moxie Fab Fascination with Feathers challenge using Flourishes Strut Your Stuff. I'm also entering this into this month's Paper Crafts Gallery Rainbow Challenge and Lily Pad Cards Virginia's View challenge (photo below).


Love this feather stamp!

I'm also entering this into Simon Says Stamp Anything Goes challenge. Love these! ;)

Thanks for stopping by!


{Supplies}
  • Cardstock: Stamper's Select White (Papertrey Ink)
  • Stamps: Strut Your Stuff (Flourishes)
  • Ink: Pure Poppy and Raspberry Fizz (Papertrey Ink), Spiced Marmalade Tim Holtz Distress Ink (Ranger), Memento Dandelion, Cottage Ivy, Blue Danube, Grape Jelly and Tuxedo Black (all Tsukineko)
  • Other Tools: iRock/rhinestones (Imaginisce)

I`m Featured on Graphic 45!!

I have such exciting news! I hope you don`t mind me telling you a few details about how this exciting news all came to be.

About 10 days ago, while in the store where I teach classes, I was given the opportunity to work with a new collection of papers that had arrived from Graphic 45. Carol asked if I'd like to prepare for a card class using 'The Olde Curiosity Shoppe' papers. As I studied them, ideas began flowing! Eight cards came to mind very quickly. We thought that at the end of my playing with the papers I might have 10 cards. So, in the end the decision was made that we would create two classes from the papers, each with different cards.

In 2 days I created 10 cards and was quite pleased with them. I haven't posted them yet, as I typically post my classes about 4-5 days before they take place. But, they are currently on display at the store for the future classes. As I was thinking how happy I am with my creations I recalled seeing a place where Graphic 45 fans gathered as a community to share their love of the wonderful papers put out by G45. So I decided to join up.

This Monday morning (March 26) I was notified that I was now an official member. So, I decided that I would immediately post my cards before having to go to the store to prepare for Tuesday morning's class. Upon arrival home later that evening, I found an email asking if Graphic 45 could post one of my cards on their blog on Wednesday the 28th! Talk about instant recognition! You can imagine how thrilled I am at this honour.

This is the card that is being posted. The others you will have to wait to see sometime around April 13th or so.


A lot of detailed cutting from the Mercurial Masterpiece paper, but so worth it! Then ink distressing around the edges - very gently of course, was the next task. In the bottom medallion, I took the corner of my ink distress foam and rubbed a little colour into the patterned center oval. That is where I used Glossy Accents. I also used black Enamel Accents, gold/bisque Liquid Pearls on pieces that had some dots or tiny circles. I created a large dot of Liquid Pearl in each of the four corners of the Optical Oddities (striped) paper on the card.

I cut out the large butterfly from Butterfly Specifics paper and used Glossy Accents again on the body and antennae of the butterfly.

Next is a photo taken of the card laying flat so that you can see the layers popped up with dimensionals.


You can check out the posting on the Graphic 45 blog here where they are featuring cards all week long.

Thank you so much for stopping by today. It`s so nice to have friends and guests come and share in the joy of creating paper crafts. And stop by again in April to check out the remaining 9 `Olde Curiosity Shoppe`cards. Or if you are a member at Graphic 45 you can see all the cards posted on my page. Happy crafting everyone!


TOOLS & SUPPLIES

Graphic 45 Olde Curiosity Shoppe  Collection - Mercurial Masterpiece, Optical Oddities, & Butterfly Specifics
Bazzil - Black Beetle & Curry Spice
Scissors
Tim Holtz Distress Inks -Old Paper, Tea Dye, & Walnut Stain
Ink blending tool & foam
Black Enamel Accents
Gold or Bisque Liquid Pearl
Glossy Accents
Dimensionals

Moxie Fab Fascination with Feathers, Young Crafters Unite and Simon Says Stamp

I'm so excited about Moxie Fab's feather challenge! I have a Flourishes stamp set that I just HAD to have and yet still hadn't used!

I started out by heat embossing and fussy-cutting 2 peacocks. I then tried to figure out how to use them on cards.

This was my first card attempt but the peacocks ended up not really GOING. So rather than forcing it, I just let it be.


I love that Autumn Rose twill with Smokey Shadow! I'm entering this one in Young Crafters Unite stitching challenge.

I decided that I needed to nest the sentiment with the peacocks and so made the following two cards for the Moxie Fab feather challenge:


I used Soft Stone card bases on all three cards. The first peacock was white heat embossed on Sweet Blush cardstock and then inked with Victorian Velvet distress ink. The second peacock was white heat embossed on Soft Stone cardstock and inked with Pumice Stone distress ink.

Don't be surprised if I create a few more feather-themed cards!

I'm also entering this into Simon Says Stamp Anything Goes challenge. Love these!

Thanks so much for stopping by!


{Supplies--all Papertrey Ink unless noted}

Card #1
  • Cardstock: Soft Stone, Smokey Shadow
  • Stamps: Beautiful Butterflies
  • Ink: Smokey Shadow
  • Ribbon: Smokey Shadow grosgrain, Autumn Rose twill
  • Other Tools: Vineyard impression plate, sewing machine/thread
Card #2
  • Cardstock: Soft Stone, Sweet Blush
  • Stamps: Strut Your Stuff (Flourishes), Beautiful Butterflies, Pretty Peonies
  • Ink: Victorian Velvet Tim Holtz Distress Ink (Ranger), Versamark (Tsukineko), Smokey Shadow
  • Other Tools: white embossing powder (Filigree)
Card #3
  • Cardstock: Soft Stone
  • Stamps: Strut Your Stuff (Flourishes), Beautiful Butterflies, Pretty Peonies
  • Ink: Pumice Stone Tim Holtz Distress Ink (Ranger), Memento Tuxedo Black and Versamark (Tsukineko)
  • Other Tools: white embossing powder (Filigree)

Thinking of You

I've been using up scraps that I've made for projects and then set aside. I have a whole file of these things as it really is a waste to throw out die cuts or papers that didn't "make the cut" for a card.

The red-matted heart strip on my last post was a castaway from here.

The  gray landscape below was a castaway from here.


I've been wanting to do a night sky (and other skies) for some time. There are so many amazing examples out there: Kathy @ The Daily Marker, Sue @ My Inner Reflection, yainea, Michele @ Thoughts of a Cardmaking Scrapbooker, Niki @ My Paper Creations... There are more (of course!) but these are the ones I could find on my Pinterest boards. Feel free to link up your (night) sky creations in the comments! I love looking at them!

I've been following along with the Tim Holtz Creative Chemistry 101 online class and it has been so illuminating! I love that I now know the difference between dye and pigment inks, water-based vs oil or solvent-based products, etc., etc. Fabulously informative. Anyway, it's gotten my mind on my Distress Inks which is what I used for this project.

My six-year-old son suggested that I add stars but I really wanted a misty sort of night. It's actually misty outside here today and I LOVE it! It reminds me of Victoria, BC.  Even the ink blending foam marks kind of work with a misty theme. ;)

I'm entering this in the Simon Says Stamp Anything Goes challenge.

Thanks for stopping by!


{Supplies--all Papertrey Ink unless noted}
  • Cardstock: Stamper's Select White, Smokey Shadow
  • Stamps: Fillable Frames #2
  • Ink: Stormy Sky, Faded Jeans, Chipped Sapphire and Black Soot Tim Holtz Distress Ink (Ranger), Versamark (Tsukineko)
  • Dies: Modern Landscape border (Memory Box), Standard Circles (Spellbinders)
  • Other Tools: white embossing powder (Filigree), Y21 Copic

Lawnscaping

The current Lawnscaping challenge invites to be inspired by a fellow crafter. I was inspired by two of the Lawnscaping DT, Tamara and Vera (both pictures below).


I was inspired by the strips of Teeny Tiny Backdrops in Tamara's project (I love seeing stamped scrapbook pages!) and the simple layout of Vera's project.

Thanks for peeking!


{Supplies}
  • Cardstock: True Black, Pure Poppy, Stamper's Select White (all Papertrey Ink)
  • Stamps: Teeny Tiny Backdrops, My Punny Valentine (both Lawn Fawn)
  • Ink: Pure Poppy (PTI), Versamark (Tsukineko)
  • Other Tools: cotton ball, W1 & R27 Copic, white embossing powder (Filigree)

Card Patterns 158 - Another 6 for 6 at Easter


With Easter approaching, it is time to once again make 6 cards for 6 grandchildren. To make things a little easier for myself, I used the same sketch from Card Patterns 158 for all 6 of the cards. I used different digi images I had saved a while back.

I was a little tempted to enter each card separately, giving myself more chances to win the terrific prize from 'My Favorite Things' because there are some wonderful things I would love get and that would give me 6 chances! But I decided it might not be fair, and I really didn't have the time to invest in entering that often. So I'm posting them all together. The one that is posted for the challenge is the last one of the six, here at the bottom of the post.

Here is a photo of all 6, and then following is each card individually.
Hope you'll enjoy them, they were fun to put together as I was thinking of each grandchild.


Since I'm pressed for time these days, it was great that I had made a bunch of card bases from my scraps. All I had to do was pull out the ones I needed, cut the didgis, which also saved me time, and used scraps of white for the image backing and tags. I cut up one sheet of Echo Park country Drive Leafy tree Tops. One side had four 6 X 6 prints on it and by cutting it into three strips, and then 5 1/4 inches from each end I had the six pieces I needed with two of them half of one pattern and half of the one next to it in the other quadrant. It worked out rather well.

I'll write to them each this evening and have them ready to send off when the time comes.

Thank you for stopping by, and happy crafting! (As if anyone wouldn't be happy crafting ;))