Showing posts with label project - card sets. Show all posts

Slimline Card Kit With Maja Design's Vintage Autumn Basics


Nice to see you back!

I have always loved slimline cards since I first learned about making them about 10 years ago. It is wonderful to see that they are all the rage in card design now. So I was thrilled to design an entire card kit with all slimline cards.
 
This post is just showing you the cards that will be in the kit. I believe that they are all spoken for ecept for one kit! And Carol just received them on Friday (3 days ago)! 

One thing though, I forgot to take my photos of all the cards like I usually do. I do, however, have the teaser photos I took, and have done the best I could with editing them. 
 
SOLD within a day after posting
This is a large Kit! It has 9 Slimeline cards!
Kit cost is $45. If you wish to grab the last remaining kit, contact Scrapbook Parade here.

These are the nine cards in order as they will appear on the printed instructions.


So these are the cards for the Maja Design "Vintage Autumn Basics" Slimline card kit.

See you next time for a post with more detailed photos to accompany the instructions for this kit. Remember, there is only one left!

Happy creating!


Monochromatic Card Kit #2 - Extra Photos


Welcome Back!

After sharing the previous three posts for those that purchased any of the three Graphic 45 'Fashion Forward' card kits, today I am posting more detail photos for those that bought the 2nd Monochromatic Card Kit from Scrapbook Parade.

For this monochromatic card kit, there are the colours purple, brown, red, green, black, and dark teal. I hope that these photos will help you in following the instructions that came in your kit and make it a little easier for you to assemble these six cards.


We begin with the purple card. I love this Altenew stamp set, and stencil used in the background.


Next there is the brown card. This one I believe would be good for both a male or female card. One can always add a sentiment to this card you so wish.


I was pleased with the results of this card. This could be a Valentine card, Anniversary card, or a Birthday card for a spouse, and perhaps even a Mother's Day card.


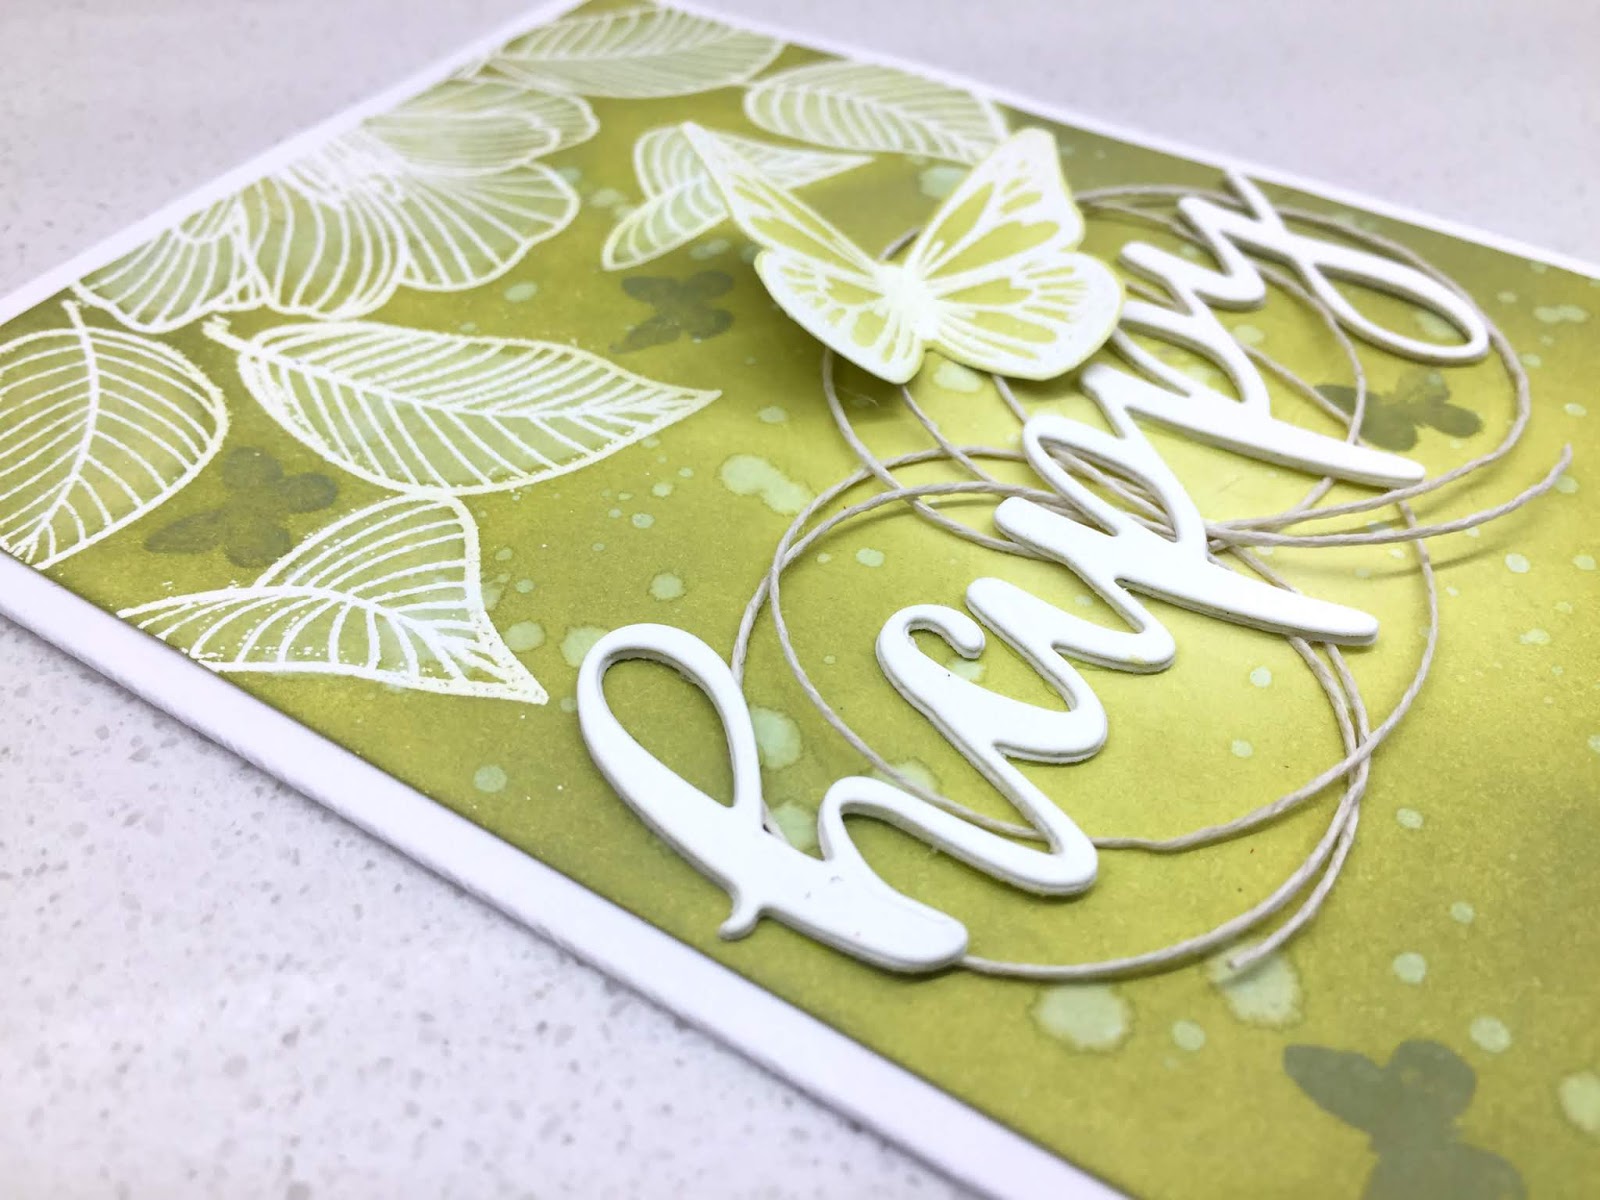
The green card will different for everyone, as the white heat embossing has been done for you, but leaving the choice of green up to you to practise the ink resist technique. SInce I used an Oxide ink, I was able to splatter a bit of water around and even use water to paint the leaves and flowers, removing some of the colour.


The black card is a very different one for me, and maybe a bit of an experiment. I have seen black on black cards before with a touch of added colour, and I wanted to see if I could design one. Both the stencil used and the stamp set used (same stamps as for the green card) are from Altenew.


Lastly we have the dark teal card again using the ink resist technique and ink blending. A CAS card (clean and simple) that has space to add a sentiment is desired.


I thank all those that purchased this kit, and hope that you had fun assembling your cards.

The next card kit posted in a couple of weeks, will be using paper from a Maja Design paper and more than likely be in a Shabby Chic style. So if you are interested, keep an eye out for that posting so that you can purchase a kit.

In the meantime, Happy Creating!


Graphic 45 "Fashion Forward" - Card Kit #3 - Extra Photos


Hi Again!

The third and final card kit using Graphic 45's 'Fashion Forward' paper, and available through Scrapbook Parade, is being showcased with photos for those that purchased a kit and would like a little closer look at the cards. The kit purchasing details were posted here.

This set will be the last four months of the year and are photoed here with all four together.

With this set of I cards, instead of adding die cut shapes on top. I die cut to created recessed windows for the images. I really love how these turned out. I think being recessed accents the images more than if they were on top.

The first card of this set is September. For this set of cards there is no fussy cutting for you, but a lot, and I mean a lot of die cutting done for you. This set will come together very easily.


This next card is of course, October


Now we have the paper for the month of November with more die cut pieces for embellishments.


And the final card is created with a lovely paper design for the month of December


Using three layers of red die cuts for 'Merry Christmas' all glued together creates a real nice look to pop the sentiment out nicely.


Well, I hope you have enjoyed making up all of these kits, just two of them or even just a single kit. If you are at home, this is a great way to spend some of your time.

Have fun creating!