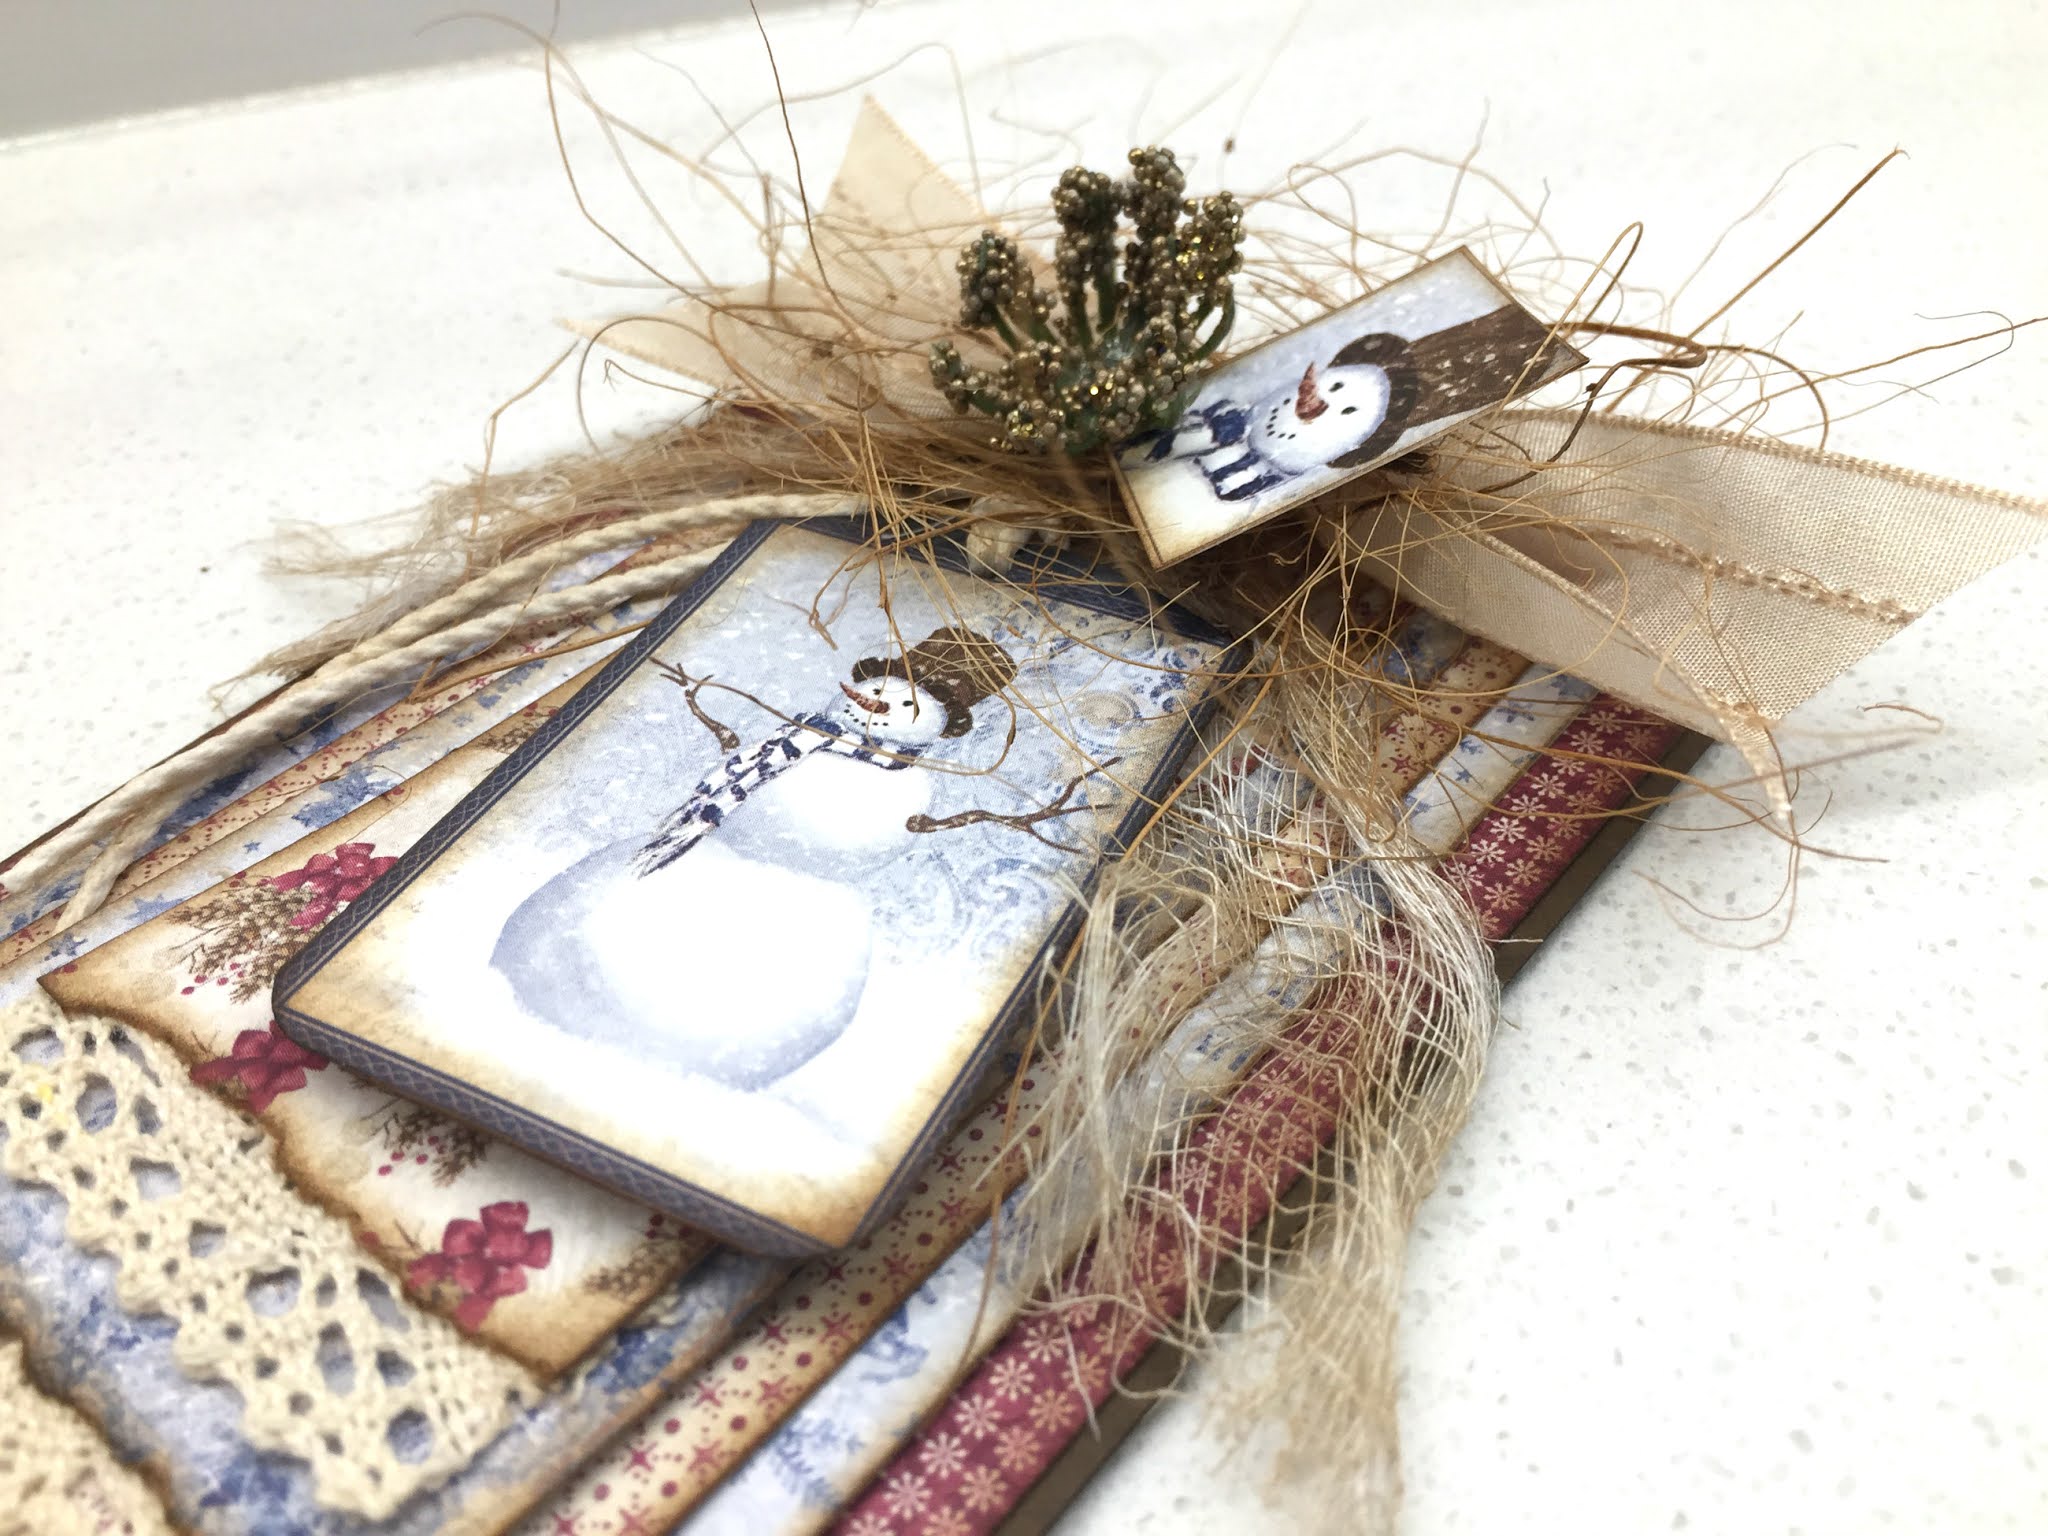
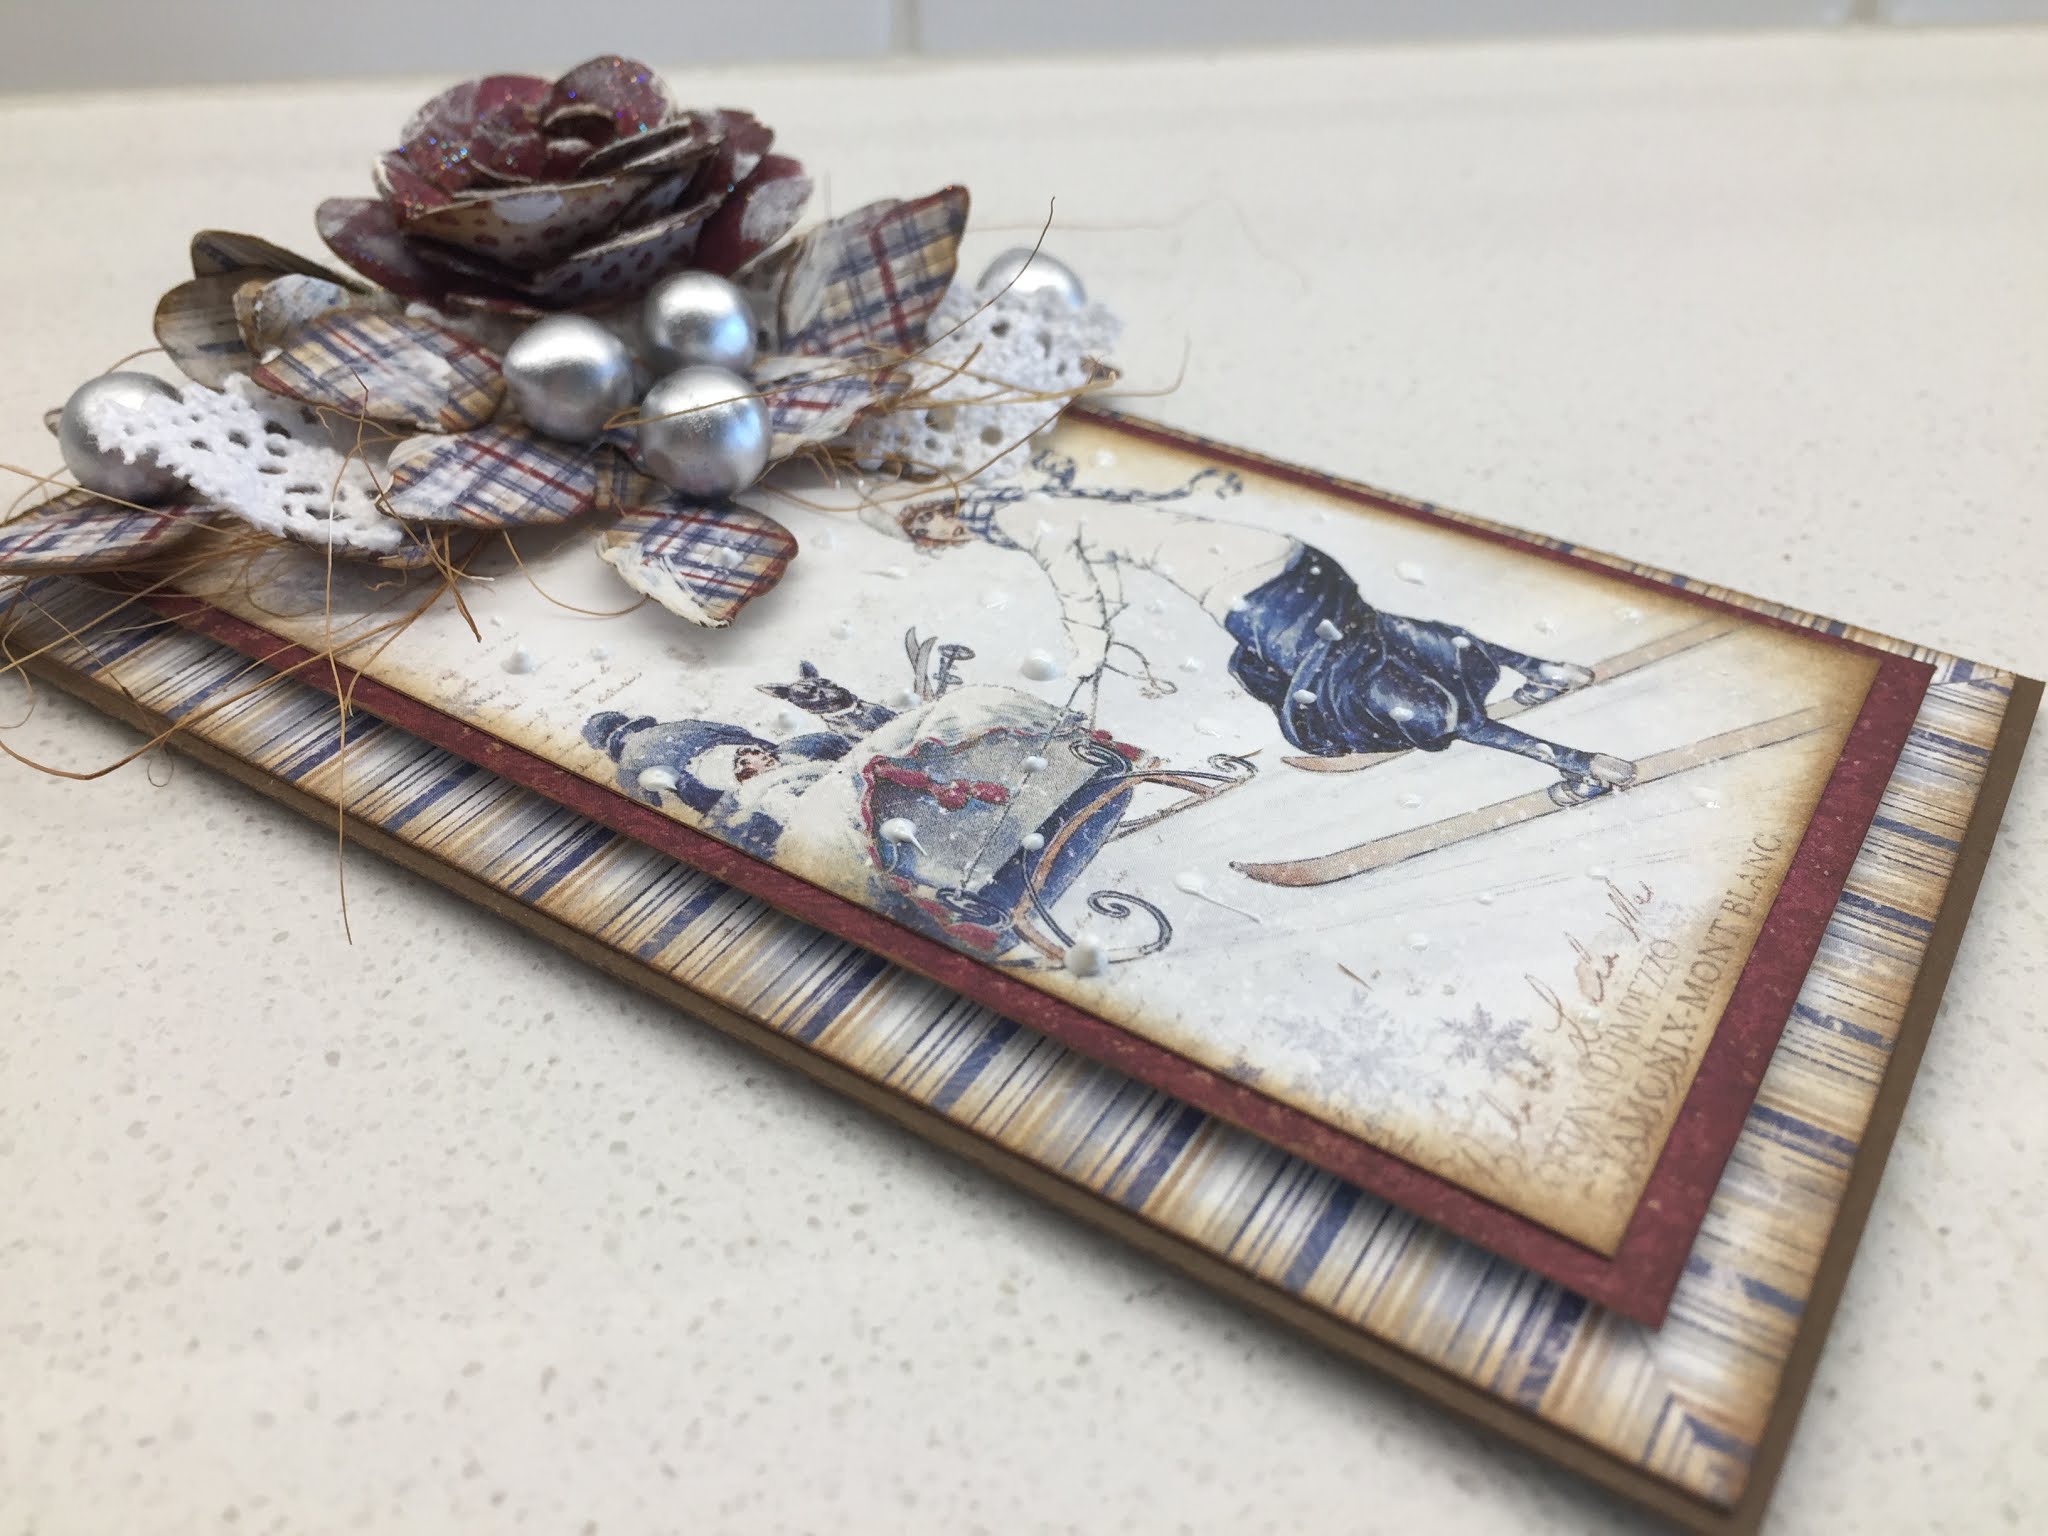
Christmas Shabby Chic Kit #2 - Detail Photos & Technique Video Tutorial
Perpetual Calendar Card Keeper - G45 Fashion Forward
Hello Everyone! Welcome!
Posting another kit for Scrapbook Parade. This is not a card kit, however. But the project is basic and easy to put together. It will make a great Christmas gift too! There are written instructions as well as a "How To" cut and assemble video.
Here are just a couple of photos of the outside of the album. It is very basic leaving it up to you to embellish how you wish.
Here is the 'keeper' fanned open.
I just love the beautiful colours and patterns of this paper. I will post photos of all the pages in the post that has the video tutorial for those that will be making this kit.
If you are interested in purchasing this kit, please let Carol know at Scrapbook Parade. She has shipped some of the kits I have designed from Victoria, BC to PEI, the States, and to France!
This is the Facebook blurb for the project kit.
I look forward to seeing or hearing how your 'Keeper' turned out.
Happy Album Making!
Shabby Chic Christmas Kit #2 - Maja Design 'Holiday in the Alps'
So with 2 kits left, they'll be goon soon.
The next post will be for the card box that will fit this size card, and the one after that will be the detail photos and a little video to go with the instructions. It will be much shorter this time; I promise.
So in the meantime, Happy crafting & card making!
Working On Another Christmas Card Kit
Christmas in July Shabby Chic Card Kit - BOX #2 - FREE Instructions
Nice to have you back again!
Today is a 2nd instructional post following up on creating card boxes for those well embellished Shabby Chic Christmas Cards posted here and here. If you haven't seen the previous mini pizza box instructions, you can find it here.
In the last post I shared with you how I draw up my sketches to create custom card boxes. I will show you the sketch I made for this box as well. It may help you to see how easily anyone can figure out how to make your own custom sized card boxes.
So let's get started on the project.
1) You'll need two sheets of 12" x 12" cardstock.
2) Cut 1 @ 9 3/4"W x 11 3/4"H, and 1 @ 5 3/4"W x 3 1/2"H
3) Get out your scoring board and score as follows:
- With 9 3/4" across the top, score at 1", 2", 7 3/4", & 8 3/4"
- Turn the piece so that the 11 3/4" is along the top, and score at 1/2", 1 1/2", 7 1/4", & 8 1/4"
- Cut the piece to look like the one below
Whoops; I forgot to take photos after this. I completed the heat embossing, and most of the assembly of the box before I realized that I had forgotten to stop at each step and take photos. So I am cutting up more to make another Envelope Box in a different colour.
For Stamping or stencilling purposes, you will need to place PURPLE TAPE (or a not very sticky painters tape) around the area you will be stamping, heat embossing, or stencilling. (You can find PURPLE TAPE on SIMON SAYS, & other online stores, & on Amazon. I am not going to do that on this red one because I have something else in mind. Just showing you in the next photo)
If you are heat embossing, or using paste with a stencil, I recommend that you do not do it on the 1" areas. Paste or heat embossing will crack when folded.
- Add the extension piece onto the 1/2" tab so that it looks like the piece below
- Round the corners of certain ends. You may have to fold up your box in certain ways to get to some of the corners.
- After the stamping, etc, it is time to place the adhesive tape on the piece; only on the outside as you see below.
- If you wish to use a closure/clasp, that will be the next step after decorating the outside with paper, stamping, or stencilling. I used Pure Platinum NUVO Embellishment Paste on my clasp. However, you can leave it as is, or use a metallic wax that is often used in mixed media.
- Below is the outside of the envelope box, all heat embossed.
- Don't forget the brad heads!
- Line up the clasp's position on your box and mark where you need to pierce your brad holes. Then attach clasp with brads.
- Now you'll need to cover the brad prongs to keep your cards from catching on them.
- I cut 2 pieces at 5 5/8"W x 3 3/8"H in the same colour cardstock and added adhesive tape on the back of them as you see below.
- Start with the bottom tabs - peel off backing and attach tabs to the bottom 1"
- It will look like this when you do the above.
- Now peel the backing off of the adhesive strips you see remaining on the inside of the box, lining up and attaching one side at a time. Your envelope box is formed.
- The last step is to embellish the out side of your envelope box. Here is the grey box completed from different angles, and a red one.
This clasp would look beautiful on a Shabby Chic style Envelope Box.
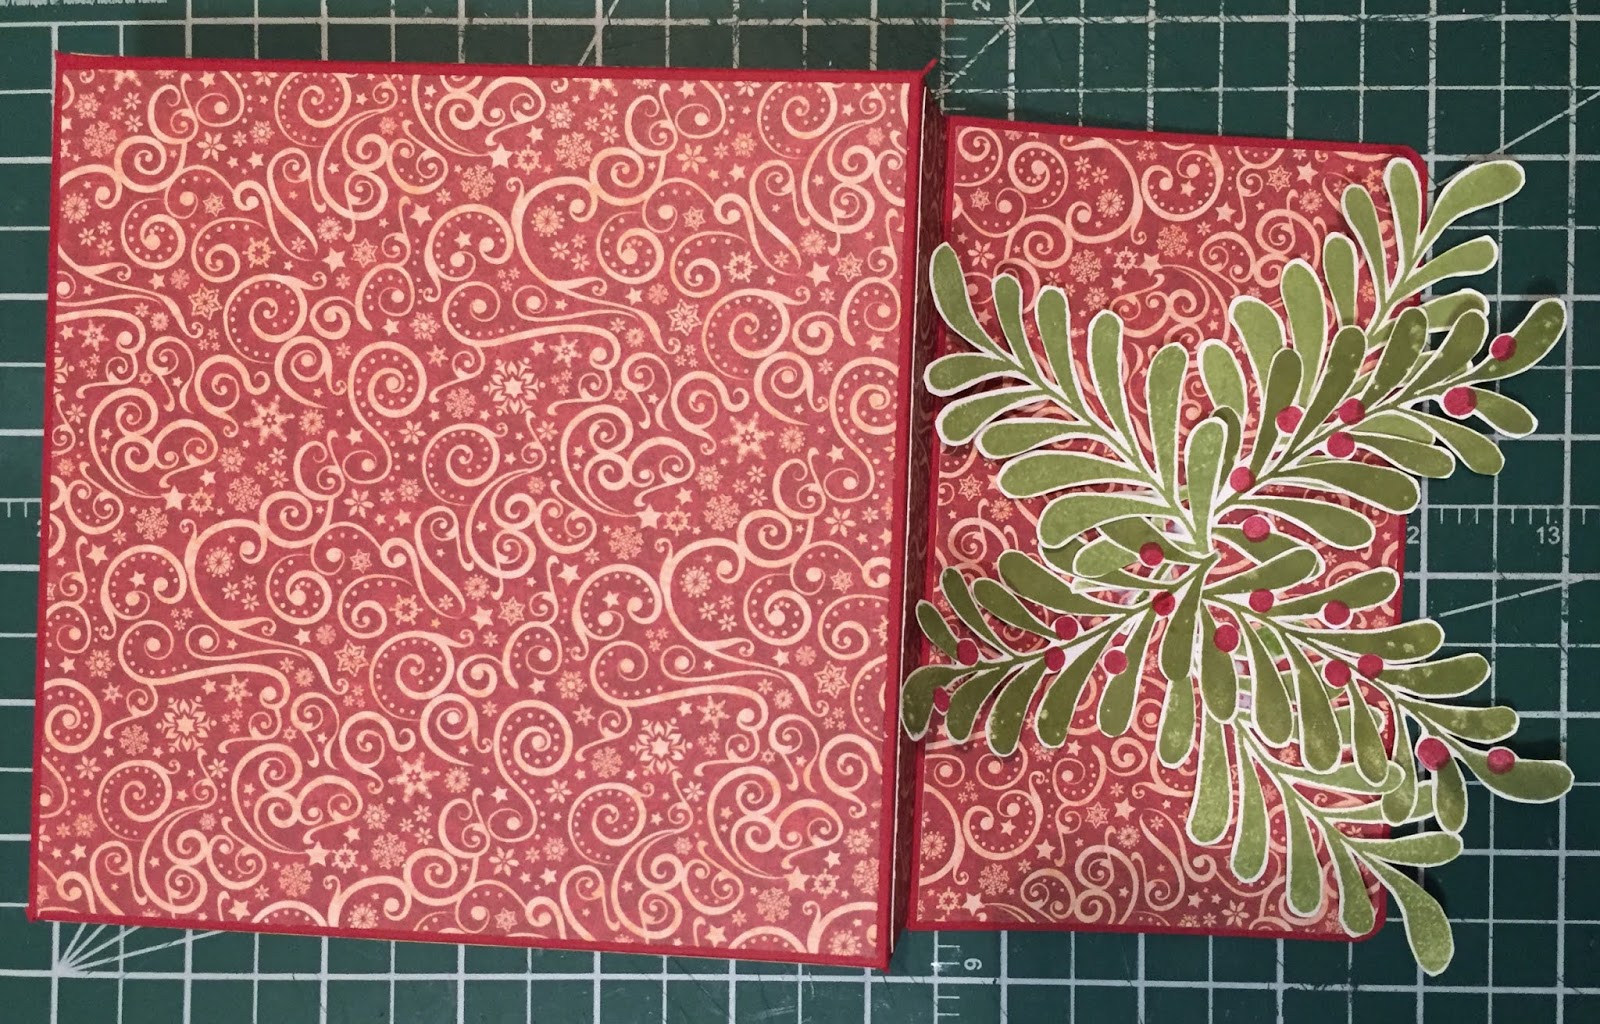
Here is an idea using the same Envelope Box with patterned paper instead of stamping & heat embossing.
If you are wondering where the Mistletoe stamps com from it is Altenew's Majestic Mistletoe. I love this stamp set and it's so fun to use with your MISTI.
I hope you are inspired to create many lovely boxes for thick cards.
HINT: If know I will be making several thick cards, and know the paper I will be using for them, I like to make prep several to the point of trimming after scoring, and store them in a file folder. Then when I am working on a card I can pull it out and use the same paper & supplies for both the card and the box.
Happy Box Creating!