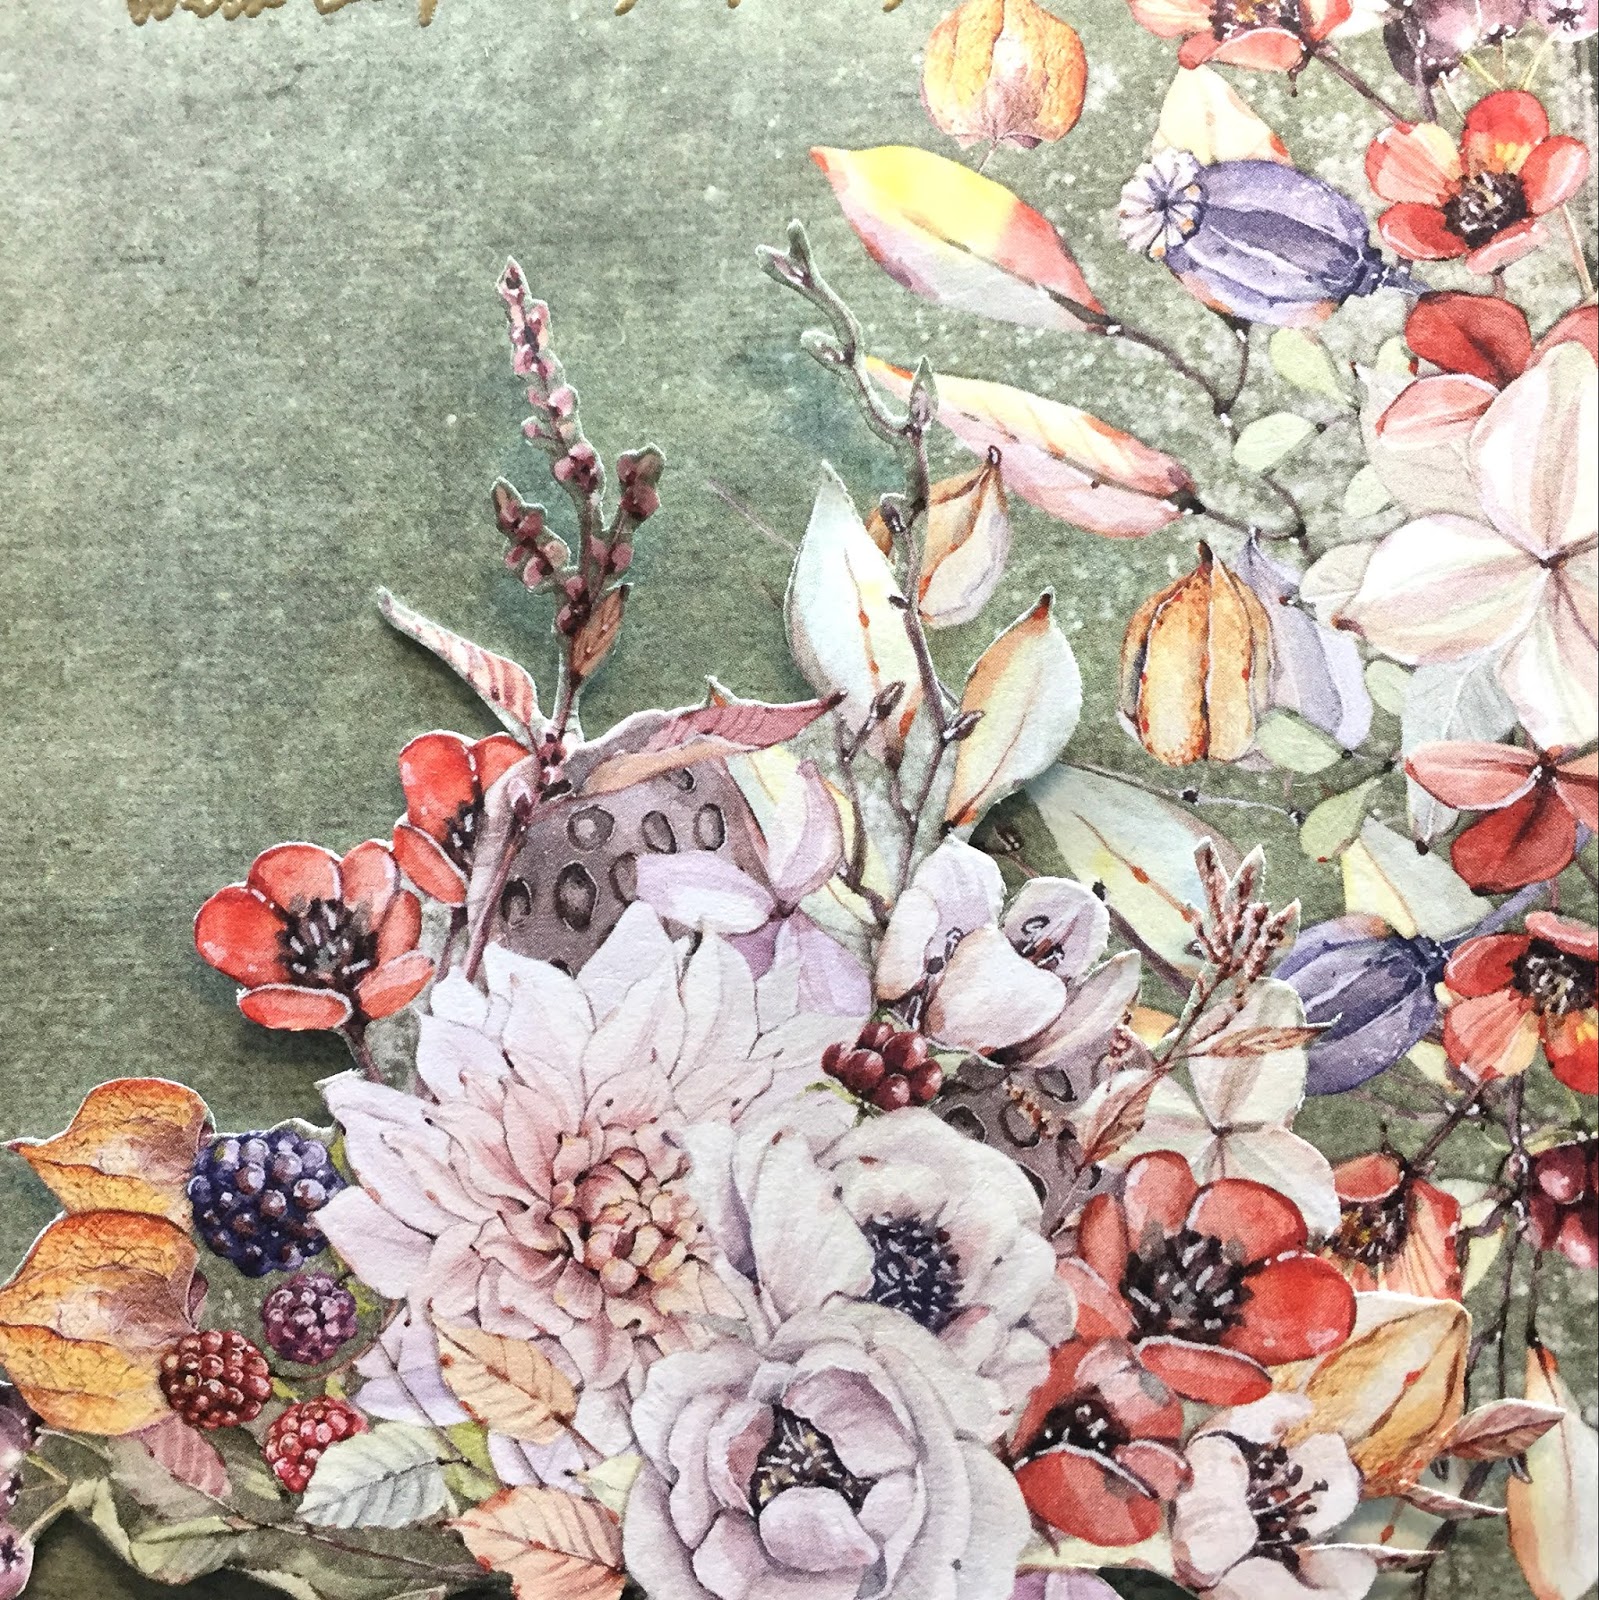
Rescheduling Stamperia "Fantasy" Unicorn & Roses Shabby Chic


Hello Everyone!

Another class that we decided to reschedule for you.
Stamperia makes some of the most gorgeous papers! I do not get to use them very often, and was excited to get the chance to create another Shabby Chic class using some of this beautiful Fantasy paper. I know many of Scrapbook Essentials BC customers will love it too.

So here are the two cards we will be making in class.


STAMPERIA FANTASY UNICORN & ROSES SHABBY CHIC CARD CLASS


WHEN: Thursday, January 31st
TIME: 6:00pm - 8:00pm (willing to have an afternoon class that day from 2:00pm to 4:00pm if needed)
COST: $27 + GST

RSVP: Stacey at 778-533-4290 OR sbebc2011@gmail.com


This gorgeous paper lends itself to Winter with the snowflakes and can work as wonderful Winter birthday cards, or what ever you wish. In this class we will not use a paper distresser but learn to give a cleaner Shabby Chic look by using our fingers. We will also learn to use brush blender (Tim Holtz or NUVO) to add colour to lace, etc. For these cards there is very little fussy cutting, so we will do that in class this time. So no homework! We will also be discussing liquid glue and how to avoid that dried glue shine where the glue comes out from behind or from our fingers when accidentally touch somewhere we shouldn't have. Find out in class.

PLEASE BRING TO CLASS: fussy cutting scissors, regular scissors, nonstick craft mat, double sided adhesive tape, liquid glue, tweezers or paper piercer, blending brushes (not foam blenders) either from Tim Holtz or NUVO, wipes for your fingers, a piece of paper towel, white foam pop ups or tape, and the following ink pads - Distress Tattered Rose, & Iced Spruce.


Shabby Chic cards seem to speak to our femininity. Not all women are drawn to to this genre, but it sure is popular at Scrapbook Esstentials BC for the past year.

Let's have a closer look at the cards we will be making in this class. If you are taking the class you may print these photos to bring to class if you feel it will help.

Which girl, or woman, does not like the fantasy of unicorns? See you there!


Happy creating!


Stamperia "Christmas Vintage" Layouts

Hello Everyone!

A new class coming up for January!


Stamperia "Christmas Vintage" Layouts 

WHEN: Saturday, January 26th
Langford Legion
TIME: 9:30 - 1:00
COST: $45 + GST

Contact Stacey to Register for this class

We are not yet done with Christmas 2018...there are yet the photos that we have
taken throughout our celebrations, and we have a gorgeous Italian paper that arrived
late. So lets get those memories onto this beautiful paper while they are fresh in our
minds, as there are journaling spots to fill in on these layouts. We have a single title
page with layered die cuts, and 3 double page layouts using this paper pad. We will
also be adding a bit of dimension to these layouts using one layer of foam. These
will still fit into your sleeves easily.

These layouts will hold 22 photos of varying sizes - 1 @ 5 x 7, 8 @ 4 x 4, 3 @ 3 1/2
x 3 1/2, 4 @ 6 x 4, 2 @ 4 x 6, & 4 @ 3 x 2. If you wish to bring your photos to class,
that would be great, but not necessary.

You may be happy to know that there will also be enough cut-a-parts and tags left
that with some additional cardstock you could create 2 to 3 Christmas cards in
preparations for Christmas 2019! If you wish to have this gorgeous Italian Christmas
paper for more 2019 Christmas cards before it is sold out again, Stacey can order it
for you. Stamperia also has a lovely paper very much like this one called "Winter
Botanic". Gorgeous! Ask Stacey about this one too.
(heads up - only one of each sheet per package)

There will be three items to fussy cut for HOMEWORK , and some die cut layer
gluing, which should be ready to pick up about a week before the class.

PLEASE BRING TO CLASS: Paper trimmer, scissors - your regular one and a
larger pair as well, lots of double sided adhesive tape, white foam tape (not the thick
kind, but more like the Scotch foam tape thickness - no thicker than the 3D Foam
Tape) (with non-stick scissors if have), pencil, eraser, Ruler (18" to 24" if you have
that as well), 12" 'T' ruler if have, protective sleeves to put your layouts into, and your

photos if you wish.


Looking forward to seeing you there!

Happy creating!


Rescheduling "Ooh La La" Old-World-Like Card class


Who said dark Browns can not be made pretty?


ULTIMATE CRAFTS 'OOH LA LA' VINTAGE CARDS

WHEN: Thursday, January 24th

TIME: 6:00pm - 8:30pm

COST: $35 + GST

RSVP: Stacey at 778-533-4290 OR sbebc2011@gmail.com

Who is ready to make some dark brown vintage cards? They almost border on Steampunk! Let's get brown inky fingers to make four old world dark vintage cards. We'll use ink blending, twine, ribbon, metallic embellishments & even buttons, with lots of paper and cardstock layers. 

PLEASE BRING TO CLASS: paper trimmer, scissors, double sided adhesive tape, mini glue dots, liquid glue, black foam tape or pop ups, ink blender, Distress Gathered Twigs, non-stick craft mat, hole punch, & wipes for your fingers & mat.

Ink pad, sentiment stamps, & stamping blocks will be there for you to use.


Rescheduling Sailboat Die Class


Welcome

I have been busy of late and I have come down with the flu just before I leave on the 24th to visit my daughter, grandchildren and my sister! Can you believe that? I am doing everything I can to fight this so I can go!

We have decided to reschedule this class class for you. It is a class using a scene die cut called 'Sailboat Frame' by Impression Obsession. Sometimes a person can run out of or not even think of what can all be done with this type of die. So in this class we will be learning a few different techniques that help to step up the look of the obvious basic use for this die and other like it.


IMPRESSION OBSESSION SAILBOAT FRAME TECHNIQUE CARDS

WHEN: Monday, January 14th
TIME: 6:00pm - 8:30pm (If you would be interested in a daytime class, please let us know)
COST: $25 + tax

RSVP: 778-533-4290 OR sbebc2011@gmail.com

These lovely sailboat cards are so Victoria, and can be made very masculine and even feminine. Working with a large die cut or scene die can sometimes stump your ideas beyond the obvious. In this class we will experiment with some techniques that can be applied to these kinds of dies. We will use paint brushes and washi tape to paint ink onto the die cut to add details, and we will create an ink blended scene background to create a faux stained glass look. We will also discuss layering intricate die cuts, and share other ideas that can be done using the Impression Obsession Sailboat Frame die. These techniques can be used on other die cuts too.

PLEASE BRING TO CLASS: scissors, pencil & white eraser, old washi tape which might not be your favourite, Glossy Accents, a pin or safety pin, a couple of toothpicks, paper towel, wipes for your hands and work surface, double-sided adhesive tape (could also use a very narrow at 1/8" or use liquid glue), liquid glue, white pop-ups, non-stick craft mat, 1/4" flat brushes (2 to 4), ink blending tools & extra sponges, heat tool, and as many of the following ink pads as you have -


  • Oxide Inks - Tumbled Glass OR Broken China, Cracked Pistachio, Evergreen Bough, Stormy Sky, Fired Brick, Peeled Paint OR Crushed Olive, Squeezed Lemonade OR Scattered Straw, Worn Lipstick (you can used regular Distress ink pads in these colours, just remember that it will look different than the samples) we will have ink here to borrow if need be....but you will still need your own blending sponges.

Class Photos - Mixed Media Home Decor


Welcome Everyone!

The fun we have in classes, and hearing how much people enjoy learning new things is always gratifying. Anyway, the class we had was the Authentique 'Solitude' Mixed Media class. I had to leave at 1:30pm to go to a funeral and the ladies were just working on the last three steps. So I do not have photos of that part of their creating experience or their completed work.

Here are the photos that I was able to get.


Hope you enjoyed seeing the progression of these ladies' work. as I said we had a good time.

Happy Creating!


2 Cards for 2 Funerals - 49th & Market


Welcome,

Some people, even when they age, for some reason you expect to be around for a long time, even if there were in their 90's. While growing up, these two people were very much a part of my childhood. Coming back to the area almost 8 years ago, these people were still here and a part of my friends' life.

Ruby passed away last week, and Barry just a couple of days ago. They were 96 and 97 respectively. These two people are from two different families, but we all knew each other. This means of course that I needed to make a couple of sympathy cards.

Whenever I come across paper that I really like I but a few sheets of them. That is often the case with 49th & Market. I kept them pretty simple, and just did some fussy cutting. So, here are the two cards I made.


It is always nice to use floral paper with the background piece including flowers and then attach layers of fussy cut flowers overtop of them to create dimension and a little depth.

I will start with the card on the right, meant for Ruby's family. It is more feminine.


The Altenew sentiment is heat embossed in gold, and has a few layers of fussy cutting.


Next is the card for Barry's family. Up until his stroke a little over a year ago, this man was so very active! I couldn't imagine living to be 97! Here is a closer look at his card.


You can see that even thought there are flowers, the colours and type of flowers and foliage make it more easily a masculine card. This one has only one additional layer of fussy cutting over the background piece, and I used the same sentiment embossed in gold.


Since I have been using so many envelopes for Christmas cards, and only a few left, I did have a stack of black envelopes. So I decided that with a gold gel pen, black envelopes would be OK for sympathy cards.

That is it for these simple cards. But if you have beautiful floral paper, I challenge you to use it like I did for these two cards. You may come across a new way to make some cards.

Happy creating!


Mixed Media Christmas Gift


Hello everyone!

Today I am sharing with you a Mixed Media project in a style I have never done before.

I have a 13 year old grandson that I needed to make a gift for. His sisters are receiving a Mixed Media project and it seemed logical to do the same for him. My only dilemma is that I have only used  a feminine style on all of my mixed media in the past. So how could I make something for a teenage boy? To top it off his favourite colour is orange; bright orange!

The next thought was how to create a religious theme using bright colours in a masculine way? I shook my self doubt aside and just dug in. So here it is. Oh, I should mention that the Bazzill cardstock is not a black or charcoal but is Bitter Chocolate, a nice deep brown.


Not only have I never made a teen, masculine, or worked with bright colours before, but this was my first time using plain Bazzill cardstock rather than a pattern printed paper, and my first time using heat embossed stamping, and using die cut lettering on a mixed media layout.


You can see in the upper left corner the copper heat embossing, which is found here and there throughout the layout, The double layered die cut lettering was attached after the texture stencilling and then painted over with white gesso before spritizing with colour. I love how the bright orange and bright blue mixed together on the letters 'a' & 'y'.

The chipboard laser cut piece was covered with NUVO Mousse Copper and then with a mixture of Aquamarine & a tiny bit of Seaspray Green to give patina to the copper.


To break up the solid Bazzill Bitter Chocolate background, I tore into the paper and added pieces of striped paper that matched nicely. I did not originally want to spray colour onto the strip paper, I just forgot to cover it. But in the end it really did not matter that much.


I was tickled to find this punch out compass to use. And I just noticed that a piece of foam tape backing got caught in the coconut fibres! Well it will not be there when I gift this.


Here is the other paper tear. Have you been noticing some twigs here and there? Well, I went to go collect some, but could not find any small enough or dry enough to use. So I went to buy one of those grape vine wreaths (from the dollar store) and cut it up to use.


The same is true for the unusual flowers and leaves used for this project; from the dollar store that is.


I really like this photo I found that goes so nicely with the colouring of the quote. Both of these I printed onto photo paper and then painted over with Clear Gesso once they were completely dry. It gave the images a nice matte look with some slight texture.

Now, I am hoping that my 13 year old grandson will like it.

Thank you for stoping by to share in my many firsts for a mixed media layout. If I have inspired you, then I am glad.

Happy creating!


Cardstock Standing Frame - For Young Women Class


Nice of you to take time from your busy Christmas schedule to drop in.

I am not sharing a class with you, as those on hold for now, but instead sharing something that I made for a class, tomorrow I am teaching for the Young Women (12 - 18). There were so many quotes that I could use and it was hard to decide on which one to work with. Once I decided, I found a nice backdrop photo and entered text on it to showcase the quote. Next I printed them out on photo paper and cut them out.

The next thing was to make the calculations to create a frame that would fit the printed quote perfectly. Because I used heavy cardstock, (Bazzill Card Shoppe Heavyweight - Marshmallow) by the time I scored the 10 frame pieces, my hand was sore from needing to press nice and firmly. Then I cut to shape, and before folding it all, I attached the photos in the center of the frame. Then came the folding with the bone folder and using liquid glue to assemble the frame.

The last thing I did was create a stand for the frame. I have made something like this almost 2 years ago as a birthday gift for a friend that I met as a Stampin' Up Demonstrator. You can check it out here. The measurements are different, but once you know how to make one, you can make them to fit any shape or size (as long as you can get it out of the maximum 12 x 12 cardstock sheet size)

So here are the photos.


It wasn't until I was taking photos of these that I realized I had typed the incorrect date! It should have read October 2017, not 2018. Don't you just hate it when you see your mistake after all is done and completed? I decided to just mention it to the girls, and they could use a pen to change the date or just leave it.

Well, that is it for this project. I had a lot of fun making something like this again. Hope you enjoyed this share and are inspired to create cardstock frames of your own. Remember to check out the link above, because it has a tutorial posted there if you wish to try that size used there.


Happy creating!