A Special Thank You Card

I have crafted a time or two during my lengthy absence from this blog, but, as I tend to do things last minute, have not had a chance to photograph or post my work. I am hoping that my crazy-busy days are over, leaving me more time to craft on occasion.

Regardless, my mother has continued to fill this blog with her fabulous creations! While our styles differ--almost opposite ends of the spectrum!--we certainly appreciate this hobby that we share.  :)

A friend of mine has graciously provided last-minute daycare for my youngest child on several occasions recently. I have collected a fabulous basket of goodies to give her along with this card:


This was my first time pulling out Papertrey Ink's Meadow Greens stamp set and dies. Due to my inundated email inbox, I unsubscribed to the majority of my staple blogs, but I can never seem to detach myself from my beloved PTI. My wishlist continues to grow! The supplies I used are listed below. Feel free to ask any questions about techniques in the comments.  :)

The inside:


Coordinating envelope:


As always, thanks for peeking!


{Supplies--all Papertrey Ink unless noted}
  • Cardstock:  Soft Stone, lightweight white (scraps)
  • Stamps: Meadow Greens, Embellishments (sentiment)
  • Ink: Versamagic Spring Pansy, Memento Lulu Lavender (both Tsukineko), Spring Moss, Chamomile, Tim Holtz Antique Linen Distress Ink (Ranger)
  • Dies: Meadow Greens
  • Accessories: Rustic Cream Button Twine, brad (random)

Digging Into the Archives

I do have some new things I've slowly worked on while being sick these past couple of weeks, but I have to wait to post them for you to see. I did, however, say in a previous post that on occasion I would dig into the archives to post for you, and since I can't post anything new for you right now, I thought I'd share something old with you  

Three years ago, this month, I posted something that I was very proud of, and had tried a few new to me techniques for the first time. You'll have to forgive the photo, however. I was still new at taking photos for blog posts back then.  This is the link to the original post, should you like to read what I posted.


Today, I can of course see a couple of things to improve the design of this card, but I still love this card.

Do you remember some of your oldies with fond memories? Please share with us in your comments.

Thank you for joining me today! Happy papercrafting!


Never Ending Flip Folio

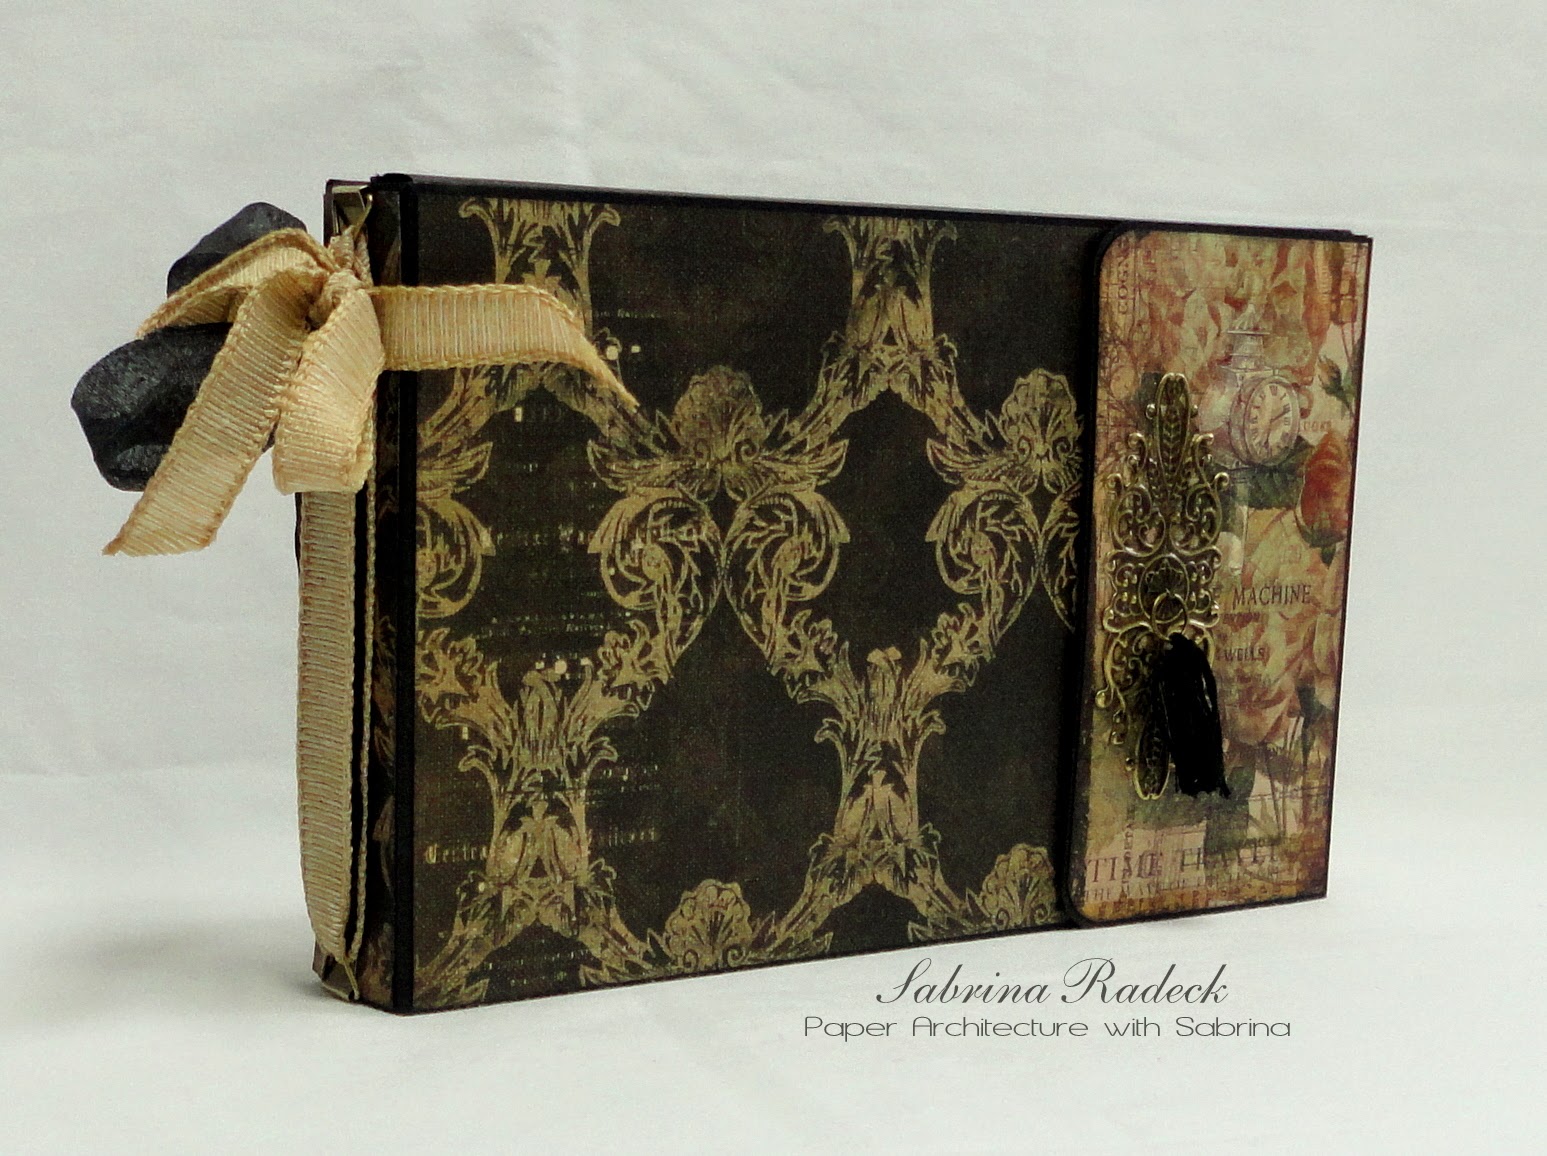
Today I'm sharing  project with you that I made for "Paper Architecture". It's the "Never Ending flip Folio". This project will have family and friends engaged for a long time as you all view the photos store within. It starts out at about 8 1/2" x 5 1/2" x 1 1/4", and the fun part is the unfolding, and unfolding, and unfolding....How big will it get? So big that I couldn't get a photo of both sides open without having to put it on the floor! (I just have a table for two)


The tassel I made to be 1" long. Here is the link to how to make your own tassels .


To get a better idea on how it works I made video for you. The only problem is that the folio starts out looking so small because I had to have the camera at a distance that would allow the entire thing to be seen in the view finder when all unfolded.


So if you'd like to make one, or two, or three.... hop on over to Paper Architecture with Sabrina!

Thank you for stopping by today! And happy papercrafting!


File Folder Scrapping #4 - Limelight

Hello Everyone!

Today I'm sharing with you the 4th in the File Folder Scrapping series! I think each unit I make gets better and better. For this folder I used Kaisercraft's Limelight paper kit. Two packs actually, but I have enough left to make something more with it. The folder has four magnetic closure spots, and can hold a lot of photos!

The paper would lend itself well to photos of vacation, camping, hiking, gardening, graduation, tropical, family reunion, and more. So here we go!

This is what it looks like from the front...


 ...and from the back...


 ...and in the box holder with the others.


Now for the inside!

Lifting up the envelope flaps on each side reveals three accordion-like pockets holding photo tags.


When we close the envelope flaps again, we can lift up the flap that they are on to reveal...


...two center panels for photos and journaling. But there's more...


These panels are actually center folded pages tucked under. So when we unfold them we reveal layout variations! See them as I unfold them creating different layout configurations.


I didn't take photos of the tags in the pockets, but if you want to see a few more details you can watch this video walk-through of the project.


Hope you enjoyed today's posted project and are inspired to use this gorgeous paper by Kaisercraft. The instructions for this project are available on my other blog, Paper Architecture with Sabrina if you are interested in making this project.

Happy Papercrafting!


Forgot to Post This

Hello everyone! Did you all think I had vanished?

A few weeks ago I had entered a card and a layout onto Craft Hoarders Anonymous Challenge #4. I ended up being the prize winner for that challenge. Gloria contacted me about sending it in the mail and with mail being very slow here in Canada on top of it coming from the US, I received the exciting parcel about 2 weeks later. I was so excited about all the wonderful things in the parcel, that I made a recording to share with you all the things that I get to work with now! (If I get the time, lol)

But, I guess I got a little busy and forgot to post it. I came across the video since I'm uploading some more videos, and thought that since I'm pretty busy right now with a few things on my plate, I would post it so that you would have something to see this week!


Thank you for stopping by to share in my fun. I do have something in works that I hope to post by Monday latest, but hopefully before then.

Happy papercrafting!


Happy NSD and A Challenge Entry

HAPPY NATIONAL SCRAPBOOKING DAY EVERYONE!

Some of you know that I really enjoy Gloria Stengel's challenge blog, Craft Hoarders Anonymous. And because I do, I squeezed in a project to enter just before the deadline. It gave me an excuse to print a couple of photos of my youngest daughter's trip to Europe and make a layout. She and a couple of friends took a few weeks off from work and have gone to London England, two or three places in Italy (one being Rome), Germany, and are currently in Amsterdam.

The current challenge  at Craft Hoarders Anonymous is a sketch with a twist - which is to use something old and something new. Well, all the paper I used is old. I've had it for a couple of yearsby now. It's Prima's Almanac. The ribbon is new, the photos are very new as my daughter is still over there, and the bling is new. Well, new to me.


To the left is the sketch from CHA. It can be used for any kind of project you wish!

I ended up putting two extra small
photos on the LO than indicated in the sketch, but I tried to make the three one unit. At the top of the larger photo you see a tag peeking out from behind. This can be pulled out and has some journaling on it.

I have a couple of detail photos for you.


This photo shows the details of tearing, curling, inking and painting with ink and water.


And this one just shows the pull out tag and circle element from the sketch to which I added some bling (one of my new elements on the project).

Thank you for stopping by to have a look at my layout entry, and go check out Gloria's challenge blog Craft Hoarders Anonymous. It's open to cards, layouts, and more! This reminds me that I made a video of my Challenge #4 prize package to share with you. I should find it and post it.

Happy papercrafting!


May 7, 2014 -