I decided that I wanted to participate in December's challenge over at Graphic 45. We are to use the 12 Days of Christmas collection for the project of our choice. I have plenty of left over scraps from projects and classes, but what to make? It was Dana (my daughter) that gave me the inspiration when we were discussing papercrafting. Want to know what it is?
Here is a slide show of all the photos taken around the lantern.
Constructed from 9 pieces of 12 x 12 black chipboard and standing 20" tall with the base at 6 x 6 and the widest top measurement at nearly 10", this Christmas home decor piece has a surprise inside.
Before I go on I want to mention that inside was to have been one of those battery operated candles (or tea light) but try and get one after Christmas!
I have several photos, 28 to be exact, but I'll just show a few, and leave the rest to the walk-through video.
The top of the lantern acts as a lid, so that you can turn on your battery candle or tea light, or maybe add other things inside.I think I should have added some embellishment at the top of the lantern. Dana agrees with me. So I'll probably do that now that I've taken all these photos and created the video! Maybe I should have put some clear panels in the lid/roof too!
Most of the mini will be shown to you in the video later.
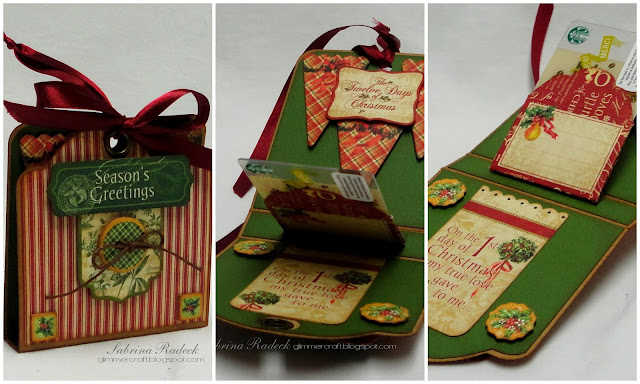
I'll spare you 20 more photos. But here's a collage of the mini-album photos.
Let's have a look at the video. That's an easier way to see everything.
Thank you so much for joining me and having a look at my Graphic 45 December 2013 Challenge project.
For those of you interested, as I mentioned in the video, I will have instructions for this project some time with in the next three months at my other blog (Paper Architecture with Sabrina).
Happy New Year!


