Spellbinders Educator #13 - A2 Waves Border Dies


Welcome. Today we are having a look at another Spellbinders Educator class, and two very different cards at that.


Spellbinders Educator Class # 13
WHEN: Wednesday. May 30th
TIME: 6:00pm - 8:30pm
COST: $42.00 plus GST (includes $25 die)
Contact Stacey to register at sbebc2011@gmail.com  or  778-533-4290

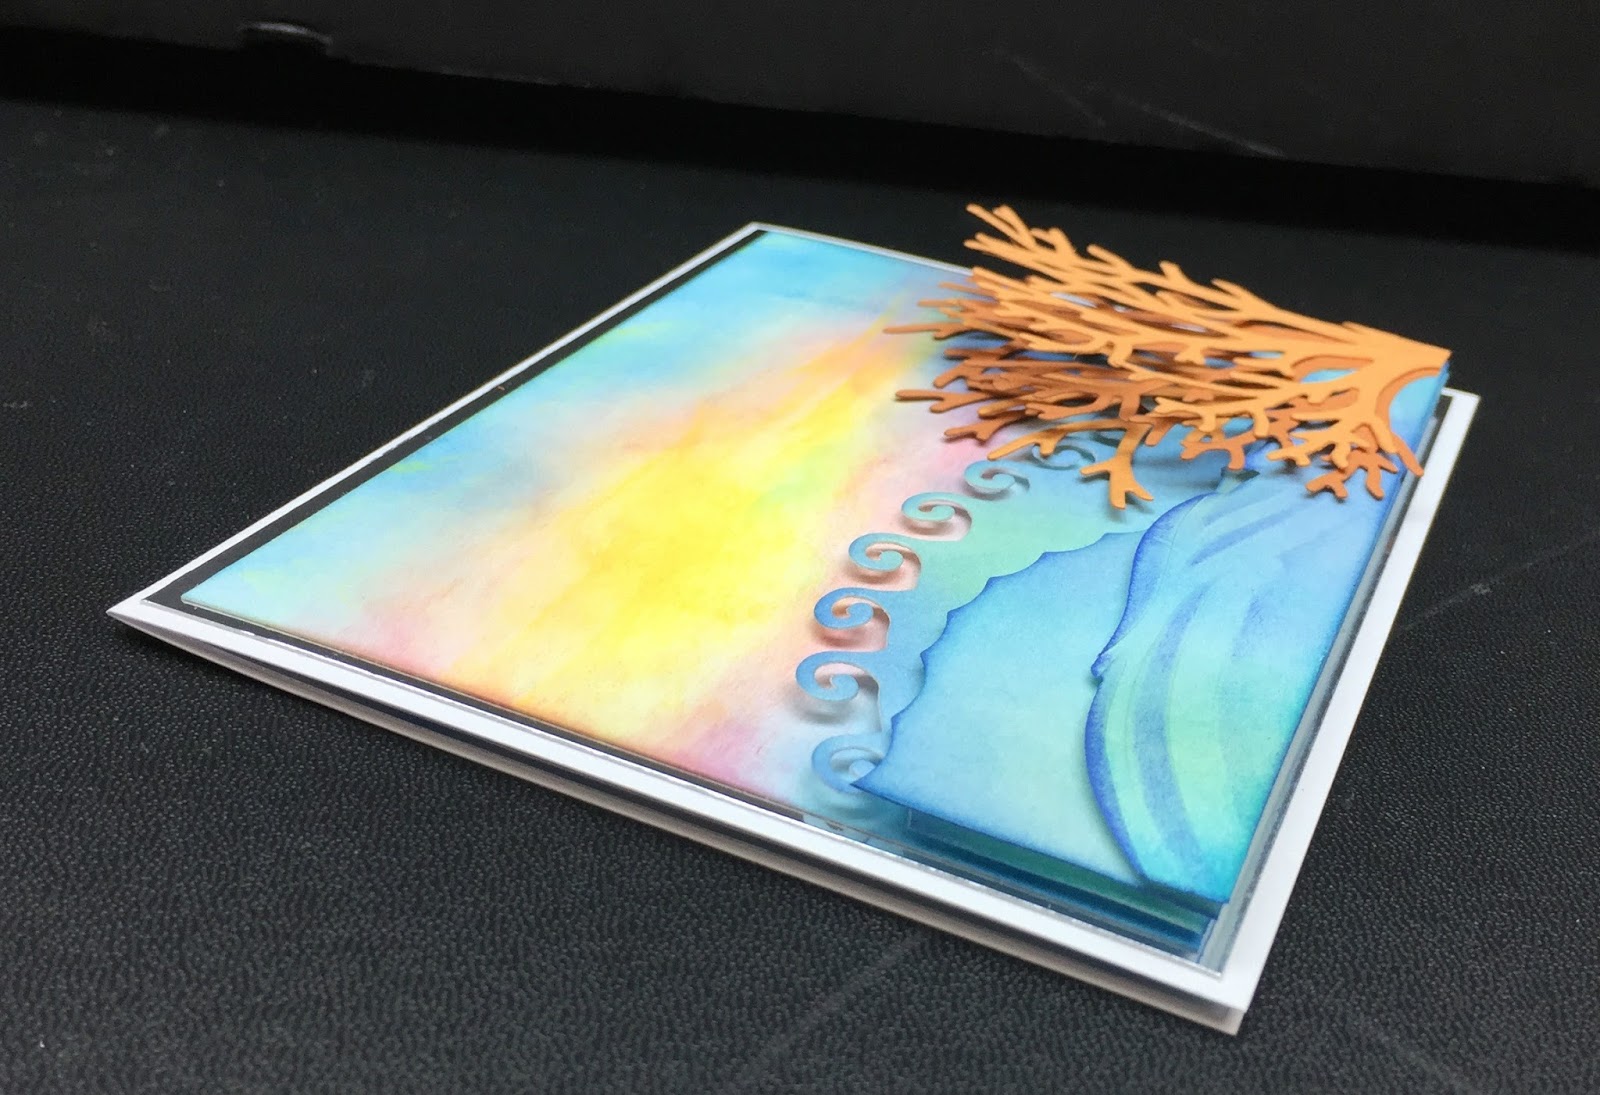
A blast from the past with past class dies and two totally different cards created in this class. The die for this class is the A2 Waves Border die set (S4-788). We are going have some fun getting our fingers dirty as we blend ink colours together. For those of you that took the Four Seasons Spellbinders class, we will also be using the tree die for this card. With the Wave Border dies we will create three layers of waves with ink blended card stock to create the sunset waves scene.

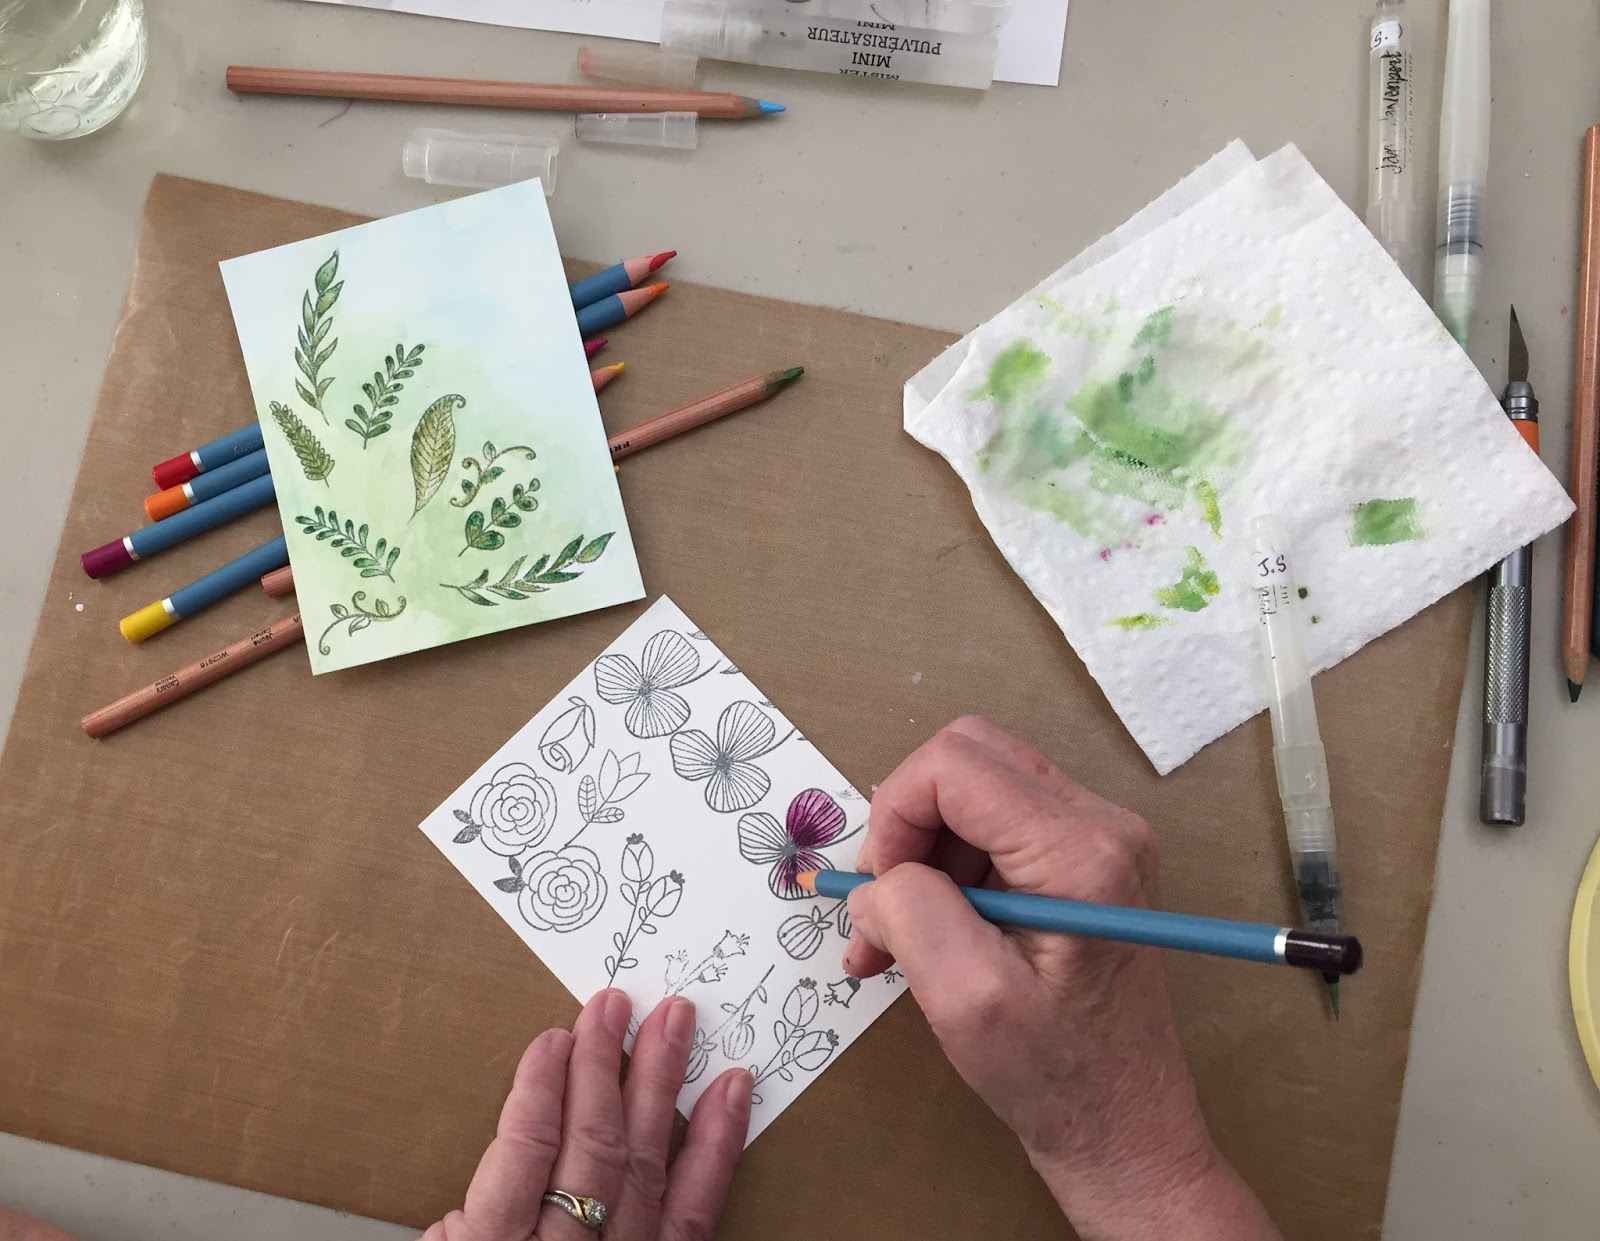
For our second card we will be using another past die, Graceful Fans (S4-703) and also use a new die, Petite Double Bow & Flowers (S3-314). It is a die that is available for you to order if you would like one - cost is $20.95. For class the Petitie Double Bow pieces will be die cut for you. 
If you do not have the extra dies used in this class, there will be ones there for you to use.
PLEASE BRING TO CLASS: your Platinum/or other die cutting machine, die cutting plates and rubber emboss pad, with blue plate (for the Platinum), Four Seasons Tree (S4-840) die, Graceful Fans (S4-703) die, All-in-one tool or piercing tool, non-stick craft mat, ink blending tools, white 3D foam tape, white pop ups; Ink pads Distress - Cracked Pistachio, Mermaid Lagoon, Blueprint Sketch or like colours; Oxide - Wild Honey, Worn Lipstick, Salty Ocean, or like colours; Liquid glue, and double sided adhesive tape.

A closer look reveals the there wave layers and the coral created for the Four Seasons Tree.


You can add a sentiment where ever you wish to. Below is a side view revealing the layering.


This second card the focus is on another past die, the Graceful Fans, and the new Petite Double Bow and Flowers die.


I love using bow dies with double sided paper because you get the sneak peek of the underside colouring.

Here is a closer look at the cute double bow.


The side view shows how everything is layered and popped up.


Hope to see you in class!

So this post brings us to the end of May for classes that are scheduled. You will not see too many post over the next two to three weeks as I will be visiting my eldest son in Phoenix! Excited to see him and his family, but not so excited about the hot weather they are already having. I will try to have a couple of posts prescheduled for you on some other creative works.

Happy creating! And Happy Easter, too!


G45 Floral Shoppe Square Cards


Have I said before how much I love Graphic 45 paper?  This is one of the greats I'd say. Any way I have created some cards that involve a fair bit of layered fussy cutting.
 And, these are they.


The interesting thing is, that before I got the information to post this class, the class is already full!

UPDATE: This class is now FULL. Taking a wait list. Contact Stacey to be added to the wait list. We might end up with a second class if the wait list starts to fill up.  sbebc2011@gmail.com  or  778-533-4290

G45 Floral Shoppe Card Class
WHEN: Wednesday, May 9th
TIME: 6:00 - 8:00
COST: $35.00 + GST
The long awaited G45 Floral Shoppe paper is here and this is the first class with the gorgeous paper. We will be making four 5-1/2" square birthday cards and use the Altenew 'Birthday Builder' stamp set. (Or leave blank to add your own stamp for Mother's Day). There will be fussy cutting homework available for pick up at the April 21st Saturday Legion crop. These gorgeous flowers are calling to be cut out of the paper.
Because the hard work of fussy cutting will already be done, these cards will come together very quickly in class, and you can go home with four gorgeous cards.

PLEASE BRING TO CLASS: your homework, paper trimmer, scissors (non-stick will be good if you have any for cutting the pop ups), double sided adhesive tape, liquid glue, mini glue dots, and lots of pop ups or foam tape in both white and black, If you want to stamp the sentiments in class and do not want to use the birthday stamps, bring your own stamps, clear block and ink pad.

Let's have a closer look at each card.

Card 1


Card 2


Card 3


Card 4


I enjoyed every moment spent in creating these cards. Working with such lovely paper is a beautiful experience, quite inspiring, and very relaxing.

See you in class!


Watercolour Pencil Class #8 - Altenew Peony Spray


Where does the time go? Seems like we just started our Watercolour Pencil class, but here we are at class #8!

For this class we will be creating works that contrast. One using just a little colour , and two, how to get details when painting with bright and lots of colour.


We will be using the lovely stamp "Peony Spray" from Altenew.


WATERCOLOUR PENCIL CLASS #8

WHEN: Wednesday, May 16th
TIME: 6:00 - 8:30
COST: $25.00 + GST
Welcome to another Watercolour Pencil class where we will be creating with opposites. Bright colour by picking up more pigment, and painting with water and adding just a brush tip of colour. 
As Peonies are very detailed flowers, some of us may only get done the one piece with the three Peonies. The single gold embossed one can be taken home to complete if need be.

PLEASE BRING TO CLASS: your completed work from the last class (Hello Sunshine) in the form of cards. Bring the actual cards or photos of them if you are giving them away already.

If you wish to order this stamp set, please contact Stacey.

To register for this class, contact Stacey at sbebc2011@gmail.com  or  778-533-4290

Here is the light version...


...and here is the bright version


Looking forward to seeing you in class! And thanks for stopping by.


Watercolour Pencil Class #7 - Hello Sunshine Class Photos


Today I am sharing some class photos with you. Remember this class posting? Well, yesterday we had that class. Our watercolour pencil classes are always wonderful. Some of the ladies even commented how relaxing they find the watercolour pencil classes to be. It is also great to see how everyone's style of painting varies. I have to say that I did forget to take the photos toward the end where you could see more of the completed works for their cards.


Here you see everyone focusing on their work. A wonderful group of ladies. And here are photos of their work close up.


Thank you ladies for coming to the class. I hope you enjoyed learning the 'wet pencil' technique.

For our next class in May, we will be painting Peonies!


April Bullet Journal Set Up - Cacti Theme


Not sure if I should say "Cactus Theme", or "Cacti Theme"? Anyone know?

First off, I would like to thank those that have commented to me in person that they do enjoy seeing something a little different on my blog, and love seeing other types of creativity. So with that in mind, I am going ahead with posting some more Bullet Journaling photos to share with you.

My son sent me plane tickets to go visit them in Phoenix for the first two weeks of April, and I have had to change my usual layout for that month, because I do not need to schedule and plan things related to teaching classes, or even church. I also had to take into consideration the number of pages I had left in my BuJo because I wanted to be sure I could have a third month in this one. In other words, I am trying to narrow things down just a little, and have come up with some ideas on that in another future post.

To start off with I wanted to come up with theme, better than the one I executed for March, and one that would reflect my visit to Arizona. That is why I chose 'cacti' / 'cactus' as my theme. I have never drawn or painted them before, and was worried how it would turn out. I am happy to say that I am pleased, not only with the drawing and painting, but with the colours I chose. I added a lot of gold to the month's setup.

So, let's begin with my "Hello April" page.


Here is just the image without the gold wash tape borders.


This is my April calendar or future log if you wish. (sorry about the light reflection off of the metallic gold washi tape). I used a stencil to colour in all the gold circles with my metallic pen and then when dry, write in the date numbers. See the cacti on either side of "April"? I painted those right over the marker fill-in I had for the header.


I decided that I only needed one page for my April goals for two reasons. 1) I was not working on my goals because I had too many. 2) Being on a trip would not allow me to work on some of them while away. And, because I was away, I changed my budget page to one as well. I have not yet drawn in a graph or table as I am still trying figure out the best one for my needs.


Even though I will be away, I figure that I will still be using my monthly "Brain Dump" page. I love having this each month.


Now, for my Habit Tracker.  I decided to still include some of the things I probably would not be marking off because I would need them for the times I will be at home. I did make some changes again, however, in the key, in using my gold metallic pen to draw in a line between each week, and adding an extra line in case I thought of something to add.


Now, this is the end of the monthly set up, and I go into the realm where I had to make a lot of changes. Remember my layout for the time I was away in Alberta? Well, I am doing something similar, but with some changes. I decided to use just a half page for the three days before I leave, as I will just be doing preparations for the trip and not require a lot of space.


However, you will note that the day I leave, and for the rest of the time, I have a full page set up in a more vertical set up. By just using lines to divide up the space, rather than boxes, I am saving on wasted space allowing for more writing. I still have a space for scheduling things, writing down something to be grateful for, track what I am eating and the water I drink, with a small expenses/spending section for each day, a little box to track the weather, and still have space for the photo of the day with a highlights section to journal in.

Do you like my plane silhouette? I have it on the day I leave, and on the day I return. I am thinking I should have made them a bit smaller, however.


Did you notice the little cactus in the highlights corner? I have one on each page that I will be away. So the next few photos are the same layout, but each cactus drawing is different, and I wanted to share them all with you, so I hope you do not mind.


When I got to this point, I decided that I might just want to do some colouring/painting while I was away. after all, I do need a daily creative experience. So the next photos are close ups of the penciled in drawings before I colour them.


So, I hope you enjoyed my layout changes and all my cactus drawings. I will be back with a few more pages to share with you. I just haven't finished colouring them yet. And I have pages set up for when I get back home, the latter half of the month. So look for another post for my April set up. I also have two mini Bullet Journals to share with you. I bought them for my 16 year old and 14 year old granddaughters. I set up the month of May for them, leaving the rest up to them. So look for them as well.

Happy creating everyone!