Showing posts with label envelope box. Show all posts

Christmas Card Box for Maja Design Christmas Card Kit #2 - 3 1/2"W x 6"H Cards


Welcome!

Today I am finally getting the post out for the card box video tutorial for the cards in the Christmas Card Kit #2 - Holiday in the Alps. Obviously I had some problems getting it out, since other videos made after this have been posted. I won't go into details, but I finally have it for you now. Thank you for your patience.

These are the cards this card box is made for.


These cards are a unique size, measuring 3 1/2" W x 6"H. The box is just a little larger than the card and is 1 1/4" thick to accommodate the thickness of the card made by the elaborate embellishments. 

I ask at this time, before you see the tutorial, to forgive the mistakes made in this video. I corrected mistaken sizes with writing into the video the correct sizes. I will have all the measurements below the video on this post for you.


One card per box.

I was going to try and have my box completely embellished for you, but I still have not had the time to get to that yet. When I do, I will add the photos in then, but you are all creative and talented and I am sure you will have some great ideas to decorate your card boxes to match the cards you put in them.

TOOLS & SUPPLIES
  • Score Board & scoring tool
  • Paper Trimmer
  • Large Scissors
  • Double sided adhesive tape / Scoretape
  • 40 inches of 1" to 1 1/2" ribbon
  • Cardstock

CARDSTOCK CUT TO: 1 @ 10 1/2"W x 7 1/4"H (box bottom), & 1 @ 10 3/4"W x 3 3/4"H (lid)

SCORING

Box Bottom: 1 1/4", 5", 6 1/4", 10" leaving 1/2" for the seam/joining tab

Box Lid: Please watch video for these instructions
  1. Line up the piece with the 10 3/4" across the top with the left side of the piece @ 1/2". This is very important.
  2. Before any scoring, move the piece 1/16th of an inch to the left, & score @ 1 1/4"
  3. Slide to the left again another 1/16th of an inch (you should be at the 3/8" line), and score @ 5 "
  4. Slide the left another 1/16th inch and score @ 6 1/4"
  5. Slide the left, for the last time, and score @ 10" leaving you a 1/2".

If you plan to stamp, stencil, paste, or add patterned paper to your box, please do that before assembling your box together.

BOX ASSEMBLY: Please watch video for these instructions

I know that you will love this card box.

Once I get mine finished I post it, but in the mean time you have this tutorial to help you make your own boxes.

Happy Creating!


Christmas in July Shabby Chic Card Kit - BOX #2 - FREE Instructions


Nice to have you back again!

Today is a 2nd instructional post following up on creating card boxes for those well embellished Shabby Chic Christmas Cards posted here and here. If you haven't seen the previous mini pizza box instructions, you can find it here.

In the last post I shared with you how I draw up my sketches to create custom card boxes. I will show you the sketch I made for this box as well. It may help you to see how easily anyone can figure out how to make your own custom sized card boxes.


So let's get started on the project.

1)  You'll need two sheets of 12" x 12" cardstock.
2)  Cut 1 @ 9 3/4"W x 11 3/4"H, and 1 @ 5 3/4"W x 3 1/2"H


3)  Get out your scoring board and score as follows:

  • With 9 3/4" across the top, score at 1", 2", 7 3/4", & 8 3/4"


  • Turn the piece so that the 11 3/4" is along the top, and score at 1/2", 1 1/2", 7 1/4", & 8 1/4"


  • Cut the piece to look like the one below 


Whoops; I forgot to take photos after this. I completed the heat embossing, and most of the assembly of the box before I realized that I had forgotten to stop at each step and take photos. So I am cutting up more to make another Envelope Box in a different colour.

For Stamping or stencilling purposes, you will need to place PURPLE TAPE (or a not very sticky painters tape) around the area you will be stamping, heat embossing, or stencilling. (You can find PURPLE TAPE on SIMON SAYS, & other online stores, & on Amazon. I am not going to do that on this red one because I have something else in mind. Just showing you in the next photo)


If you are heat embossing, or using paste with a stencil, I recommend that you do not do it on the 1" areas. Paste or heat embossing will crack when folded.


  • Add the extension piece onto the 1/2" tab so that it looks like the piece below
  • Round the corners of certain ends. You may have to fold up your box in certain ways to get to some of the corners.
  • After the stamping, etc, it is time to place the adhesive tape on the piece; only on the outside as you see below.
  • If you wish to use a closure/clasp, that will be the next step after decorating the outside with paper, stamping, or stencilling. I used Pure Platinum NUVO Embellishment Paste on my clasp. However, you can leave it as is, or use a metallic wax that is often used in mixed media.
  • Below is the outside of the envelope box, all heat embossed.

  • Don't forget the brad heads!
  • Line up the clasp's position on your box and mark where you need to pierce your brad holes. Then attach clasp with brads.
  • Now you'll need to cover the brad prongs to keep your cards from catching on them.
  • I cut 2 pieces at 5 5/8"W x 3 3/8"H in the same colour cardstock and added adhesive tape on the back of them as you see below.
  • Attach these pieces to cover up the brad prongs on both smaller sections. If you do not use brad attached closures, you can skip this step.

ASSEMBLY/FOLDING
  • Start with the bottom tabs - peel off backing and attach tabs to the bottom 1"


  • It will look like this when you do the above.


  • Now peel the backing off of the adhesive strips you see remaining on the inside of the box, lining up and attaching one side at a time. Your envelope box is formed.


  • The last step is to embellish the out side of your envelope box. Here is the grey box completed from different angles, and a red one.


This clasp would look beautiful on a Shabby Chic style Envelope Box.

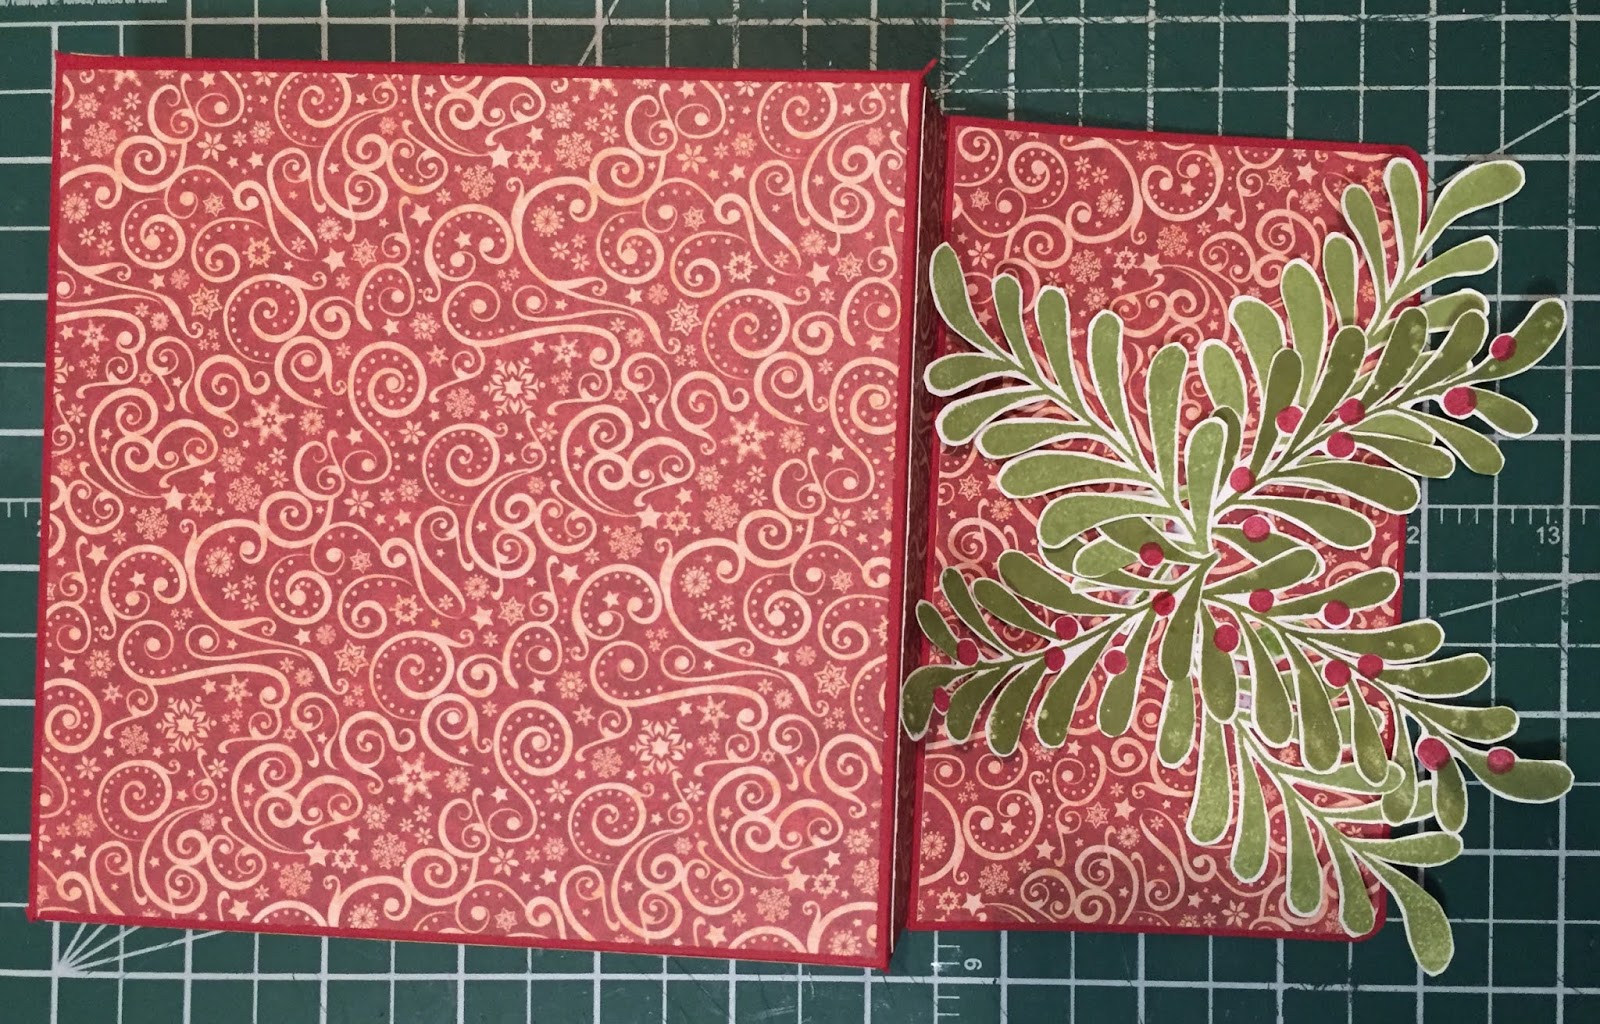
Here is an idea using the same Envelope Box with patterned paper instead of stamping & heat embossing.


If you are wondering where the Mistletoe stamps com from it is Altenew's Majestic Mistletoe. I love this stamp set and it's so fun to use with your MISTI.

I hope you are inspired to create many lovely boxes for thick cards.

HINT: If know I will be making several thick cards, and know the paper I will be using for them, I like to make prep several to the point of trimming after scoring, and store them in a file folder. Then when I am working on a card I can pull it out and use the same paper & supplies for both the card and the box.

Happy Box Creating!


Coming Soon! Square Card Box Envelopes 2 Ways!


Hello & Welcome Back!


Today I am making a tutorial announcement! In a couple of days I will be posting another kit for Scrapbook Parade; a Christmas in July kit using 'Joyous Winterdays' from Maja Design. These cards are all bulky, square, Shabby Chic cards, that do not fit into a standard envelope, so I thought a tutorial on what you can make as a square box envelope would be in order. I will be showing you how to do this two different ways. One using the Envelope Punch Board, and one using the Scoreboard.

I hope to have the tutorial ready for you some time within the first 2 weeks of July. So be sure to
check in every so often, or enter your mail on the right (Subscribe to Our Posts Via Email) to be notified with every post made. Thanks for popping by today, and see you again next time.


HAPPY CREATING!


Accordion Trifold Card In Envelope Box - G45 'Princess'


Welcome!

In my last post I mentioned that I was working on a special class project using Graphic 45's 'Princess' collection. With a few delays here and there, I finally have it done for you and share the class details with you today.

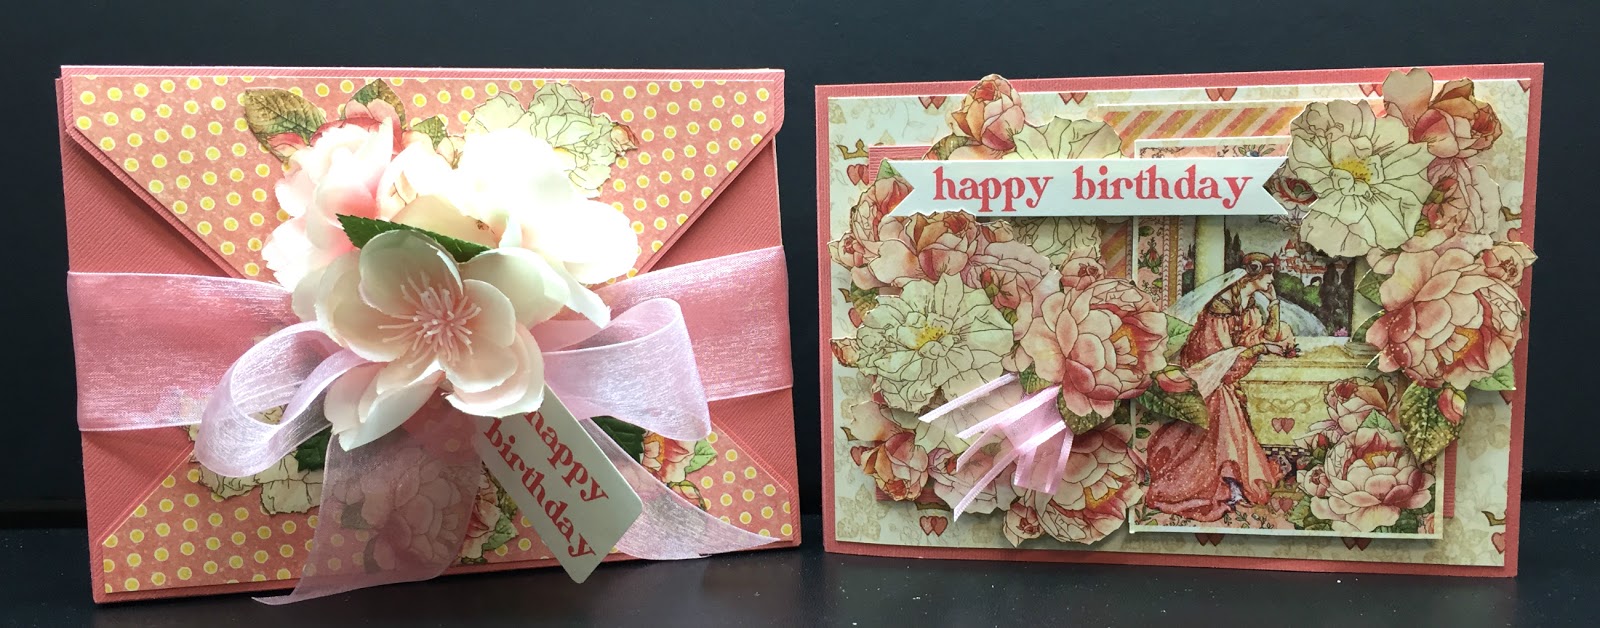
I will begin by showing you the envelope box and the trifold card folded up.


"PRINCESS" ACCORDION TRIFOLD CARD IN ENVELOPE BOX

DATE: Thursday, February 21st
TIME: 6:00 - 9:00pm
COST: $30.00 + GST

Contact Stacey to register for this class

There are times when you want a real special card to give, and we feel this card is in that category. Using the feminine and beautiful Graphic 45 'Princess' paper, we will create an accordion trifold card that can be proudly displayed. We will also create a beautiful envelope box to give the card in, and to store the card in as a keepsake. 

The sample has been made up as a birthday card, but can be made as a Valentine card, Mother's Day card, Thank You card, a card of encouragement, and more. This card can be given to any woman or girl at any age and be well appreciated.

There is plenty of fussy cutting HOMEWORK which will be ready for pick up the evening of Tuesday, February 12th.

PLEASE BRING TO CLASS: Homework, craft mat, scissors, bone folder, double sided adhesive tape, liquid glue, white foam tape (& squares too if you wish, but the tape will work best for a lot of this project) OPTIONAL: something that is about 3/4" thick that is no more than 7" wide, like a notebook or paperback, a foam pad, or a stamp cleaning pad, etc. This will be used to insert into the envelope box as we create it to make assembly easier.

___________________

Now, for those that do not live here and can't attend, lets have a closer look at the project. Let's begin with the accordion trifold card.


I must state that I did not take any side view shots to show the layering of this project because there were enough photos with just the straight on shots.

Here is the card as you open it up. (If I was better set up for a video, I would have done that for you)


I think you get a little bit of an idea of the thickness of each panel. Let's have a look at each panel individually, now.


When open, you can see that there would be three more panels on the back of these three. Let's have a look at them as well.


You see the front of the card here (on the right) and a blank cream panel meant for writing on, and the panel on the left of that. Let's look at that panel closer up.


Well, that's it for the card. Hope you liked it. Now we can have a look at the envelope box for this card.


This is not normally the front of an envelope, but because I wanted to make an elaborate closure for the flap, it turns out to be more the front of the box envelope. Here is the actual front.


I fussy cut the entire 'Roses for Royalty' sheet for this project, so those taking the class will have a lot of fussy cutting to do, but I hope that you feel it is worth the effort and time to create a special card for someone.

For those that register, I look forward to seeing you in class. For those that can not attend, I hope you are inspired.

Thank you for stopping by today, and Happy Creating!