Mixed Media Christmas Decor Layout - Authentique Solitude


Welcome!

Today I am sharing with you a mixed media Christmas layout home decor project. I do not have it in a shadow box for you, but I know you can imagine it in one.

I used the Authentique Solitude papers for this one. I love this collection. I enjoyed making the Christmas Shabby Chic cards for a class using it, and I have planned 2 more smaller Christmas decor projects to make with this same paper that will also need to be framed in shadow boxes.

So have a look at the photos I took of this project. I am not sharing too much about the project just in case we decide to make this project into a class at Scrapbook Essentials BC. So if you are interested in seeing this as a class project, mention that in a comment and we'll go from there.

I die cut a lot of Spellbinders Poinsettias for this layout...a lot! Many where cut apart and used as leaves.


Bottom left corner...


Upper right corner...


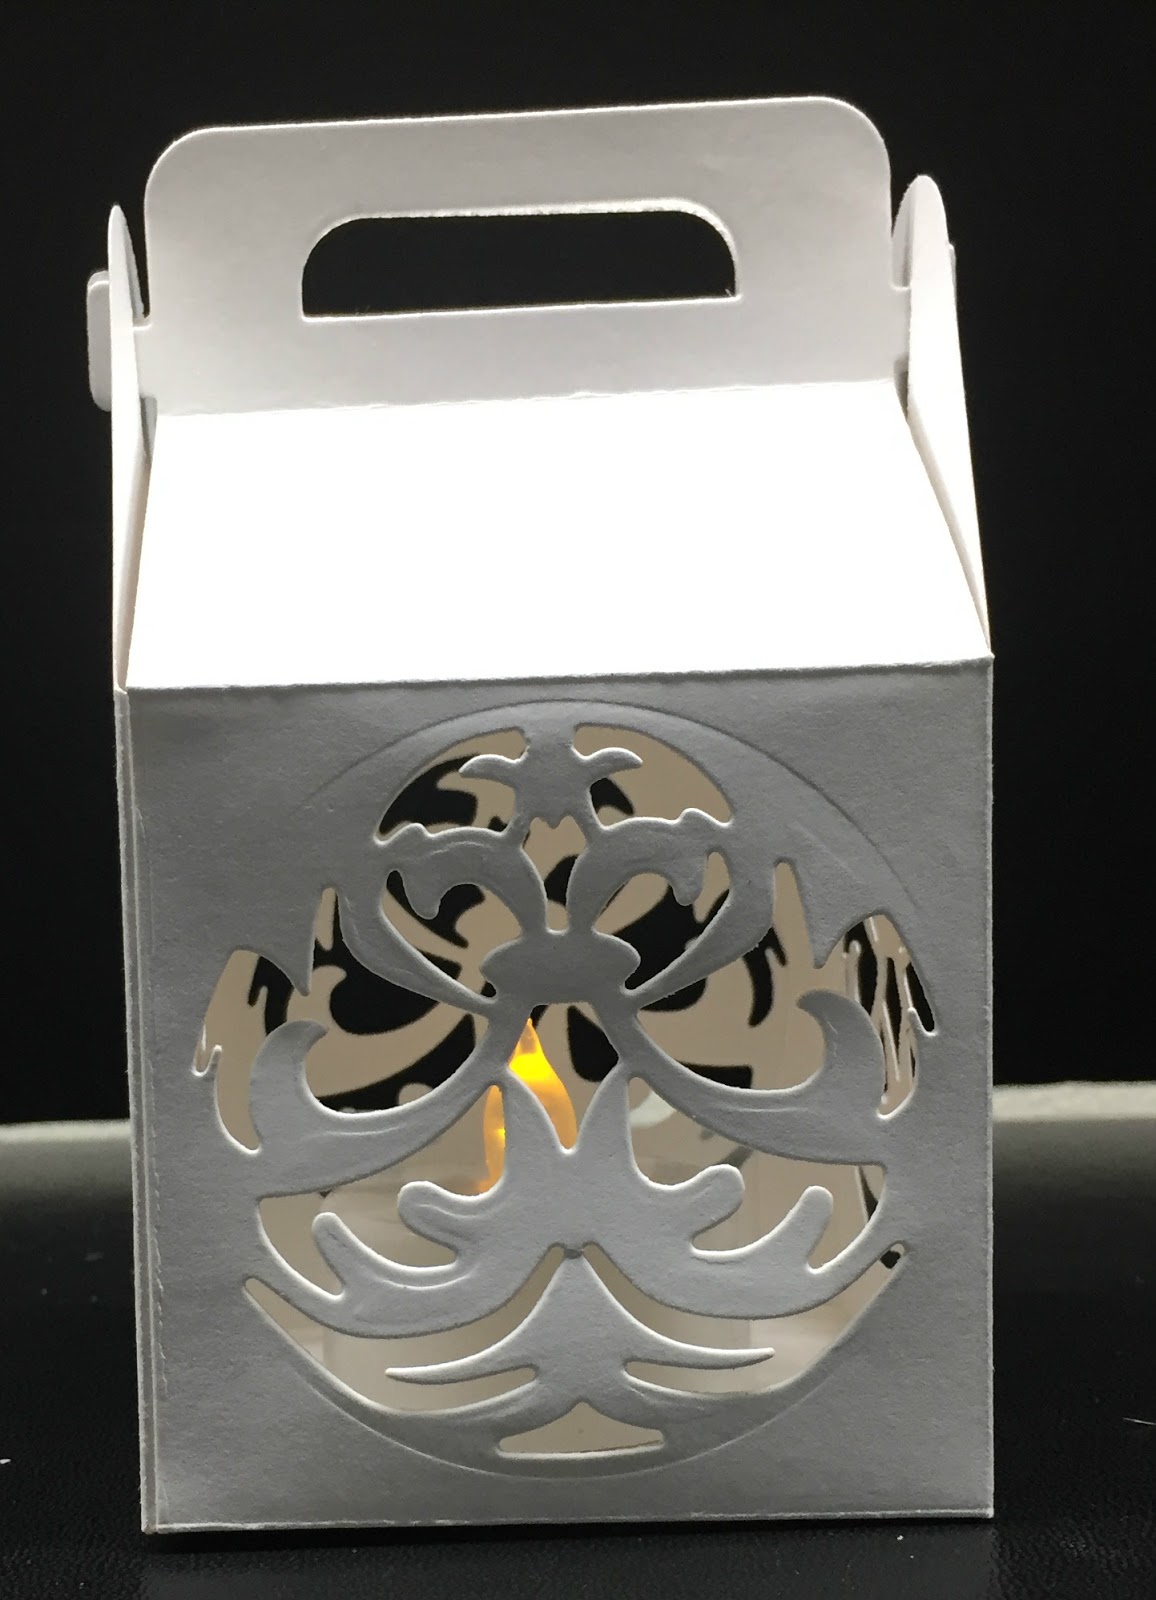
Other closer looks at details...


So if you are a mixed media fan, or contemplating trying it, I hope you have received some inspiration from these photos. Look for my next smaller mixed media projects. I think I will make one as a 6 x 6 and the other at 8 x 8.

Happy creating!


Sympathy Card - With Altenew Stamp & Die Sets


Welcome!

Today I am sharing with you a sympathy card that I made for my brother-in-law whose father just passed away. I wanted to make something quickly to mail to the US, and so I knew I needed to draw on my layered stamps from Altenew, and drew my inspiration from one of my own earlier creations.

This time I opted for a larger card (A7), and also chose to add the rose from Bold Blossoms to the Majestic Blooms.

Since this card is going in the mail, I did not pop anything up except for the sentiment strip.


The photo above and below are just a little closer look at the flowers and leaves that I stamped and die cut.


Side view shows that the flowers and leaves were glued down without popping up with foam squares or tape.


I love the colour combination for this card, and believe that my brother-in-law (& sister) will like the card. The one thing I wish I had done differently is heat embossing the sentiment in black rather than just ink stamping it.

Thank you for stopping by today. Hoping that this card will be of some inspiration for you and future creations.

Happy stamping!


Having Fun With Spellbinders Charming Cottage Die Set


Hello everyone!

I am going to share with you some projects I have been having fun with. I am experimenting with different ideas. I have more ideas that I want to work on, but have to get back to working on class samples, so it may be a while before I can implement my further ideas. I had so much fun making these little boxes/cottages, and I think you would too, so lets have a look at the cottage boxes and the die set.


You can create with this die set for birthdays, weddings, Christmas, Easter, and more. This next photo is  of the Spellbinders Charming Cottage.


Let's begin with a simple use of this die in which I create a luminary. This one also uses the Spellbinders Gilded Ornaments die set. This luminary would work for Christmas as well as for weddings. You could have a number of these scattered all over the dining table as centerpieces, or one for each guest with their name on it as a named place setting. They could decorate the fireplace mantle, or be spre
ad throughout the home on all the tables.


I turned the lights out for this photo.


Next, is another version for Christmas using more of the dies included in the set. A gingerbread cottage!


I apologize for the darkness of the photo, but if I brighten it the roof is much too bright to see any details. So I left it as is. I have photos of many views going around the gingerbread cottage, so I will not be commenting on them.


The third cottage, or box, I made is one that could be used for Spring, Easter, or a birthday. Light pastel colours.


For this cottage I also used Spellbinders Botanical Bliss Beautiful Banner Basket, and Floral Oval for flowers & leaves.


I hope I have your creative mojo spinning ideas for you, and that you enjoyed my first three experiments. What ideas do you have for this Charming Cottage box?

Happy creating!


Shabby Chic Christmas - Authentique Solitude


Welcome everyone!

Another Christmas card post for you today. This time it is for three Shabby Chic Christmas cards. This style or genre of card seems to be very popular around here of late, and within two or three days of having the cards on display we have ended up with two classes for this card class. We only have a date and time for the first class, and once the order for additional paper arrives, we will have a date and time for the second class.

These cards are created using the beautiful vintage "Solitude" collection from Authentique.


Shabby Chic Christmas Cards with Authentique Solitude Collection
WHEN: 
CLASS #1 - Wednesday, October 24th - 6:00 - 9:30pm
CLASS #2 - Monday, November 1st - 6:00 - 9:30pm
CLASS #3 - Friday, November 16th - 9:30am - Noon

COST: $38 + GST

Contact Stacey at sbebc2011@gmail.com  or  778-533-4290 to reserve your spot

It's time for another Christmas card class for Shabby Chic enthusiasts. In this class we will use some mixed media/Shabby Chic products we have not used before, like Art Stones and Gel Medium.
These three square Vintage Shabby Chic cards will be a joy to create and to give to someone special, or you could frame them as three mini Christmas shadow box decor items. The choice is yours. See you there!

PLEASE BRING TO CLASS: paper distresser, double sided adhesive tape, liquid glue, white foam squares, non stick craft mat, heat tool, Distress Ink pad Gathered Twigs & ink blending tool, approx 1/2" flat brush, jar with water to clean brush a few times & paper towel, wipes for your hands, and any of the following you have - Prima Marketing Art Ingredients Art Stones (medium size), Gel Medium Matte, Ranger Texture Paste Opaque Matte OR Liquitex Ceramic Stucco, NUVO Crystal Drops Autumn Red, NUVO Glitter Drops White Blizzard OR NUVO Glimmer Paste Moonstone, & White Gesso.


PLEASE NOTE: I will have these products at class for your use if needed.

There is something quite fun about distressing and tearing paper. I'm not sure why, especially when the paper is so beautiful, but let's have a look at each card separately, and in more detail, shall we.


Love the use of Art Stones on these cards, and it was fun to take brown plastic pine cone twigs and layer them with gesso, ink, and glimmer paste.


Adding detailed die cuts is always very effective with shabby chic cards like this one from Ranger.


Popping up the fussy cut trees in front of the image gives it a layered dimentional look.


For this second card, if you look closely, you can see how I mitered the striped paper. This is something that I love to do with striped paper so that you can see the stripes al around rather than having them disappear in a vertical or horizontal direction. This way you get to see the stripes all the way around.


For the die cut snowflakes, I took a dry brush with gesso and stippled it onto the snowflakes to give them a snow-like texture. When dry, I added a touch of sponging Gathered Twigs onto them so that they would not be stark white against the old ivory colour in the paper collection.


Below is another of the dies is used from the same Ranger die set.


To create a little more colour, I used NUVO Crystal drops in Autumn Red to cover the bud ends of the plastic pine cone twigs to create red berries.


Another side view...


I love the bird paper of this collection, and was happy to use it on this third card.

To add further embellishment onto this card I decided to die cut Poinsettias. It as fun to die cut check Poinsettia leaves and create something a little unexpected or out of the norm.


Here is a closer look. More red berries created, too.


And, here is a side view for this card.


I thank you for stopping by to have a peek at the cards for this class. Hope that inspiration for some of your Christmas card creating is a result of viewing my creations for this class.  See you in class, or happy creating if you are using these for inspiration.

Till next time, may your Christmas mojo be with you as you start creating for the Christmas season soon to be upon us.


Spellbinders Gilded Ornaments Class


Hello!

Welcome to another Christmas card posting!


Spellbinders Educator Class #18

Gilded Ornaments
WHEN: Monday, October 15th
TIME: 6:00 - 8:30
COST: $42 + GST (includes $28 die)

Contact Stacey at sbebc2011@gmail.com  or  778-533-4290 to reserve your spot

Ornament Christmas cards are always fun to create!
In this class we are going to look at different ways to create with the Spellbinders Gilded Ornament dies. We will create two different types of 'see through' cards in class, and you will receive a kit with instructions to create a third card at home where you will layer die cuts to give a deeper dimensional look for ombre ornaments. The heat embossed sentiments will be done for you. There will also be a display of different things that you can do with this die set to create more beautiful cards at home.


PLEASE BRING TO CLASS: Die cutting machine & plates, Your die set if you already have them, paper trimmer, Score board & scoring tool (will have mine there), large scissors (if you have), liquid glue, double sided adhesive tape, white foam squares or tape, and NUVO Glitter Drops in Honey Gold if you have (will have mine there).

The first 'see through' card is created by directly die cutting into the front of the car base and adding the ornament topper on the front of the card. Then using some NUVO glitter drops all over the front to bring some Christmasy glitter to the front.


A closer look at the 'see through' and glitter drops.


Upon closer inspection you may see a double layer of cardstock. By die cutting  separate ornaments
and gluing them on the inside, the cardstock is reinforced protecting the delicate die cuts.


The second 'see through' card is created by die cutting several ornaments and overlapping them as you layer and glue them together. This creates a faux laser cut layer over the front of the card and is striking next to the red. I will show you in class how to accomplish this look, which can be done with many different dies.


Adding a sentiment on such a surface can take away from the look of the card, so you would want to keep it minimal. I chose to use another circle, a smaller one, to heat emboss my sentiment and pop it up on the lacy front.


To create a writing area on this card there are several options. I chose to place a smaller top fold card inside so that the red would remain behind the white ornament lacy layers as seen in the next two photos.


This is the third card, the take home card kit for class. The colours of the ombre ornaments are not true to real life, but give you and idea of what was done. The back layer of the ornament has been ink sponged so that the darkest of the colour is at the bottom and gets lighter turning into white at the top. This is then covered with the layers of cardstock and foil die cuts and the ornament topper to create some lovely ornaments.


A closer look at the ornaments.


From the closer side view, you can probably better see the layers of the ornaments.


There are so many fun creative things you can do with this Gilded Ornament die set. What creative ideas do you get for this die set?

Thank you for checking in today, and hope that you will have some inspiration from this post to create your Gilded Ornament cards with.

Happy creating!