Glitter Ornaments

I love the promise of easy Christmas crafts, especially when they look so gorgeous! Check out Christmas with the Cricut for instructions on how to complete these bad boys!


s

Savanna & Saleen's Advent Calendar

I was gifted a class at Scrapbookers to learn how to make this Advent Calendar. With my German heritage, Christmas Advents have been a family tradtition. I Made two of them. This one using tradtional Christmas colours for my two grand-daughters in Arizona, and a non-tradtional one in orange, pink and green for my grand-daughter in Idaho. (No pictures of this one since I did not have a camers to take pictures of it before I had to send it off. Waiting for my daughter to send photos of it.)
Detail shots, and appologies for the unclear shots.


I heard from my son that the girls love it!

Little Angels

Happy Love Joy

Poinsettia

I'm SO doing this card from Christmas with the Cricut! (I'm excited because I have all the tools to do it!)


See mine here.

Inking a Cuttlebug Folder


Learn how to ink a Cuttlebug folder here!

Patterned Embossing

Totally sweet and easy technique at StampTV! Learn to ink over clear embossing!

Mini-Cricut Christmas Trees!

This is seriously such a fabulous idea! Check out how to make these gorgeous trees at The Polka Dot Spot!


Feeding the Ducks


Opa's Hat

Together Again

Pit Stop

Sister Time - Balloon Fun

Card Exchange at OMC

This is a pretty neat idea... Who's in?

Merry Christmas


This one turned out gorgeous, if I do say so myself!

I used the Ornaments Cuttlebug folder on adhesive-backed silver foil paper. It cracked it only a little bit. I then added the red velvet ribbon and the red and green rhinestones. The Merry Christmas tag is from Michaels. I took off the little bow that was on it and used it on the inside.

Happy Holidays


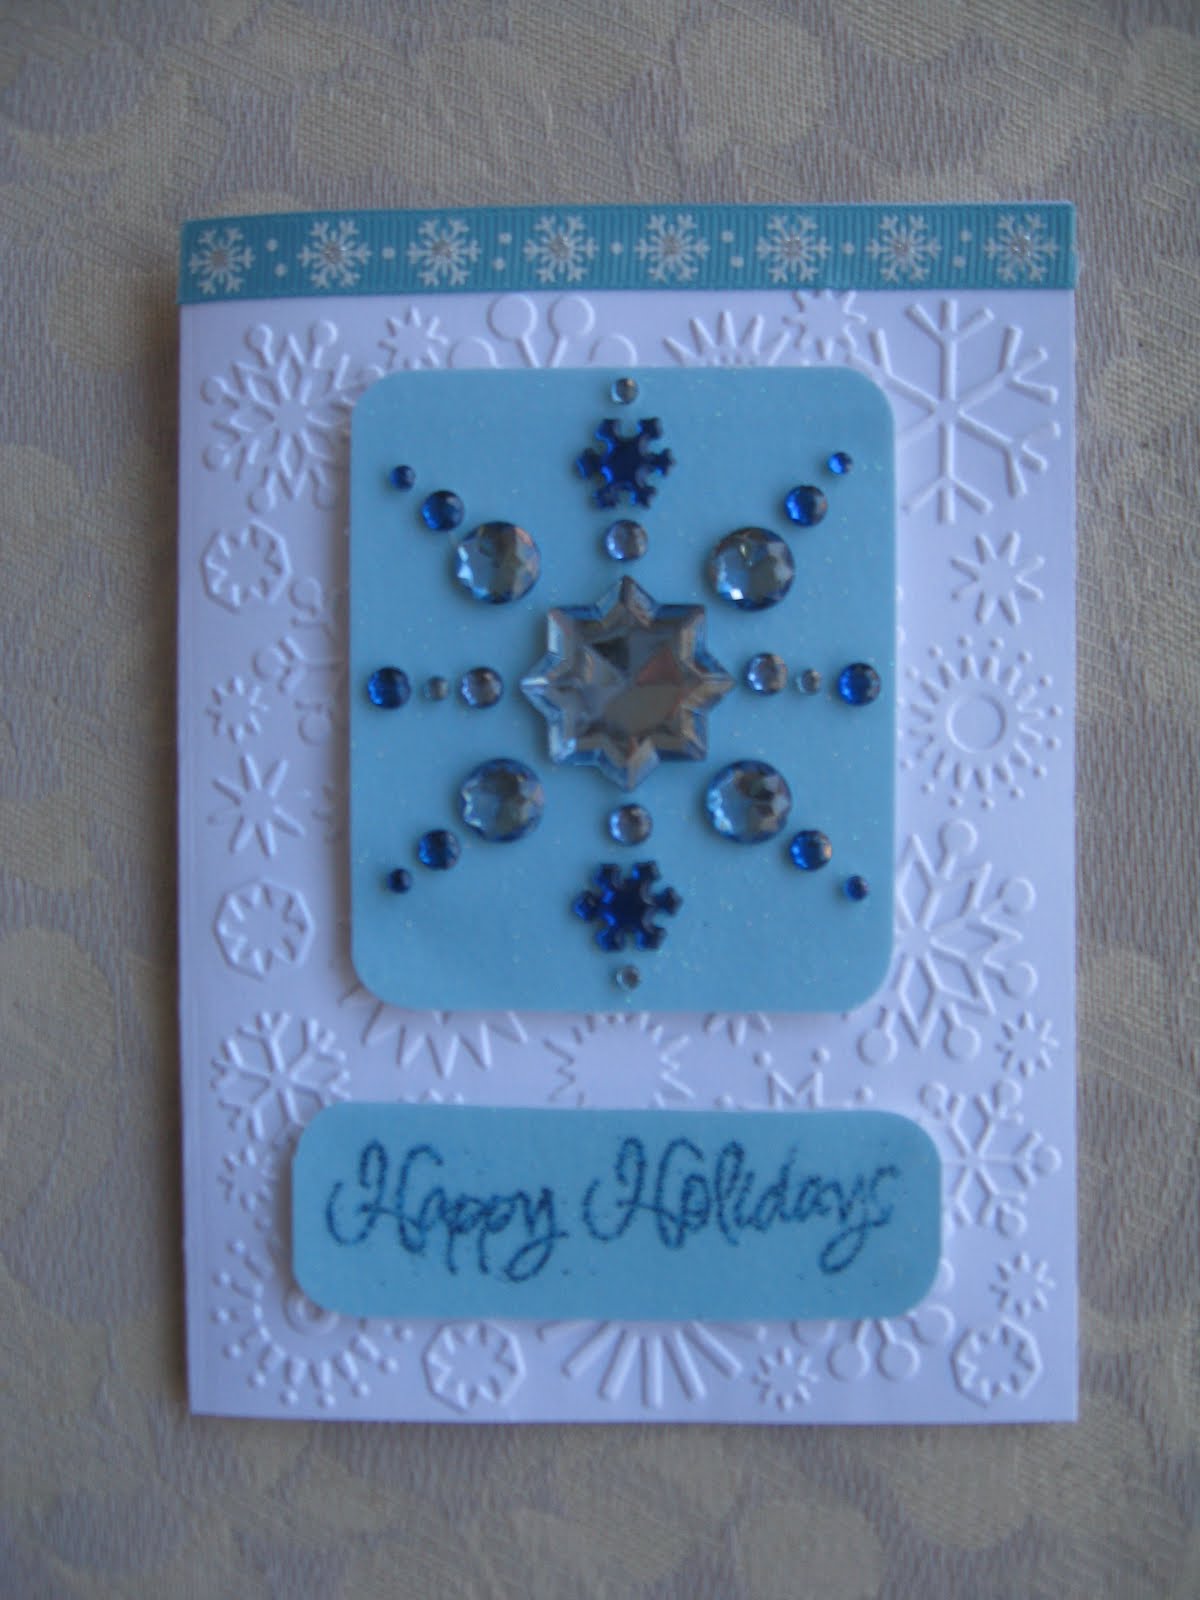
This one is very simple. Lots of Cuttlebug (Snowflakes A2 folder and also border folder). If I'd had the Broken China distress ink (Tim Holtz), I would've used that around the edges of both popped-up pieces. The rhinestone snowflake was a gift from Stef (thanks!!) that came from a dollar store. Dollar stores are TREASURE TROVES, people!!

Deck the Halls


This one turned out really cute!

I colored the Deck the Halls stamp with gel pens. The kitten, I used watercolor pencils inside. I used a couple of mini tinsel pompoms for ornaments.

The FaLaLaLa rhinestone sticker I got on sale at Michaels.

My mom gets the credit for the idea to bubble punch the edge and put ribbon behind it. I did pick the ribbon, though. ;)

Holiday Cheer


{capture the moment}

I want to feature a blog that Stefanie found. (A good way to find websites you like is to use Google images!) It's a professional blog, meaning that it links from a company website, but their projects are so fabulous, I just had to put some of their pictures up.

The company is Papertrey Ink and Nichole's blog is called {capture the moment}.

These first two pics are from this post. I love the gorgeous ruffle and buttons on the first card and ribbon, brads, stitching and rough edges on the second!


The following card is from this post. It's so simple but I love the holly leaves!


The card on this post is all about the stamp BUT the ornament effect--which is what I particularly love--could be reproduced by scribbling inside a circle stencil!


I love the technique used on the card in this post. Use double-sided tape to create a glitter border!


I love the buttons used for holly berries on this post!


This one is just plain beautiful!


How about this button layering!


Ga-ga!


I love how they used the vellum on these ones! This glitter technique was done using a glue pad or chisel glue pen rather than double-sided tape.


And why not use buttons as ornaments as on this one?


Here's a simple one!


Seriously, I could go on and on...

Create Your Own Stunning Ornaments!


This beautiful, homemade ornament was done using Tim Holtz's alcohol inks! Check out Christmas with the Cricut to find out how!

Simple, Gorgeous Technique!


Christmas with the Cricut has another fabulous, yet simple, card for us to try out! My favorite part of this card is the glitter background, which I would never have figured out how to do on my own! Watch the video and be astounded!

Addendum 12/31/09: I made my own card like this but somehow forgot to get a pic and post it. My mom came up with a better modification for the interior. Instead of going through the hassle of using Centerpoint with a circle and square (pain in the keyster!), just cut out another snowflake card, minus the card. Does that make sense? Just redo the window side of the card, the snowflake, and then use double sided tape to adhere it on the inside of the card, hiding the packaging tape strips and any glitter that "fell through the cracks."

Homemade Christmas Advent Calendar


Check out how to make this one here!

Noel

Sorry for the fuzzy pics... I'm dying for a better camera!
I made the mistake of trying to Cuttlebug a glitter card (Ornaments folder). It ended up just kind of tearing through. Not wanting to waste it, though, I cut out a usable portion and put it on another glitter card. I covered the edges with plaid Christmas ribbon. A piece of white cardstock that I cut out with a Cricut some time ago and kept for an "in case" situation such as this (can't recall which cartridge, prob Storybook) was distressed with Peeled Paint Tim Holtz Distress ink. I used Rhubarb Stalk ink in Tsukineko's Memento line to stamp the Noel. Red adhesive rhinestones were affixed on each side.
Another piece of salvaged Cuttlebug glitter card was pasted into the interior of the card. The Happy Holidays was stamped using Cottage Ivy (Tsukineko Memento Dewdrop).