G45 Safari Adventures - Shadow Box Class


Hope you all had a wonderful Christmas!

Today I am showing you a few photos of a class I am teaching January 21st. I should have posted this a few weeks ago, but if sat in my drafts for a while and I forgot to post it!

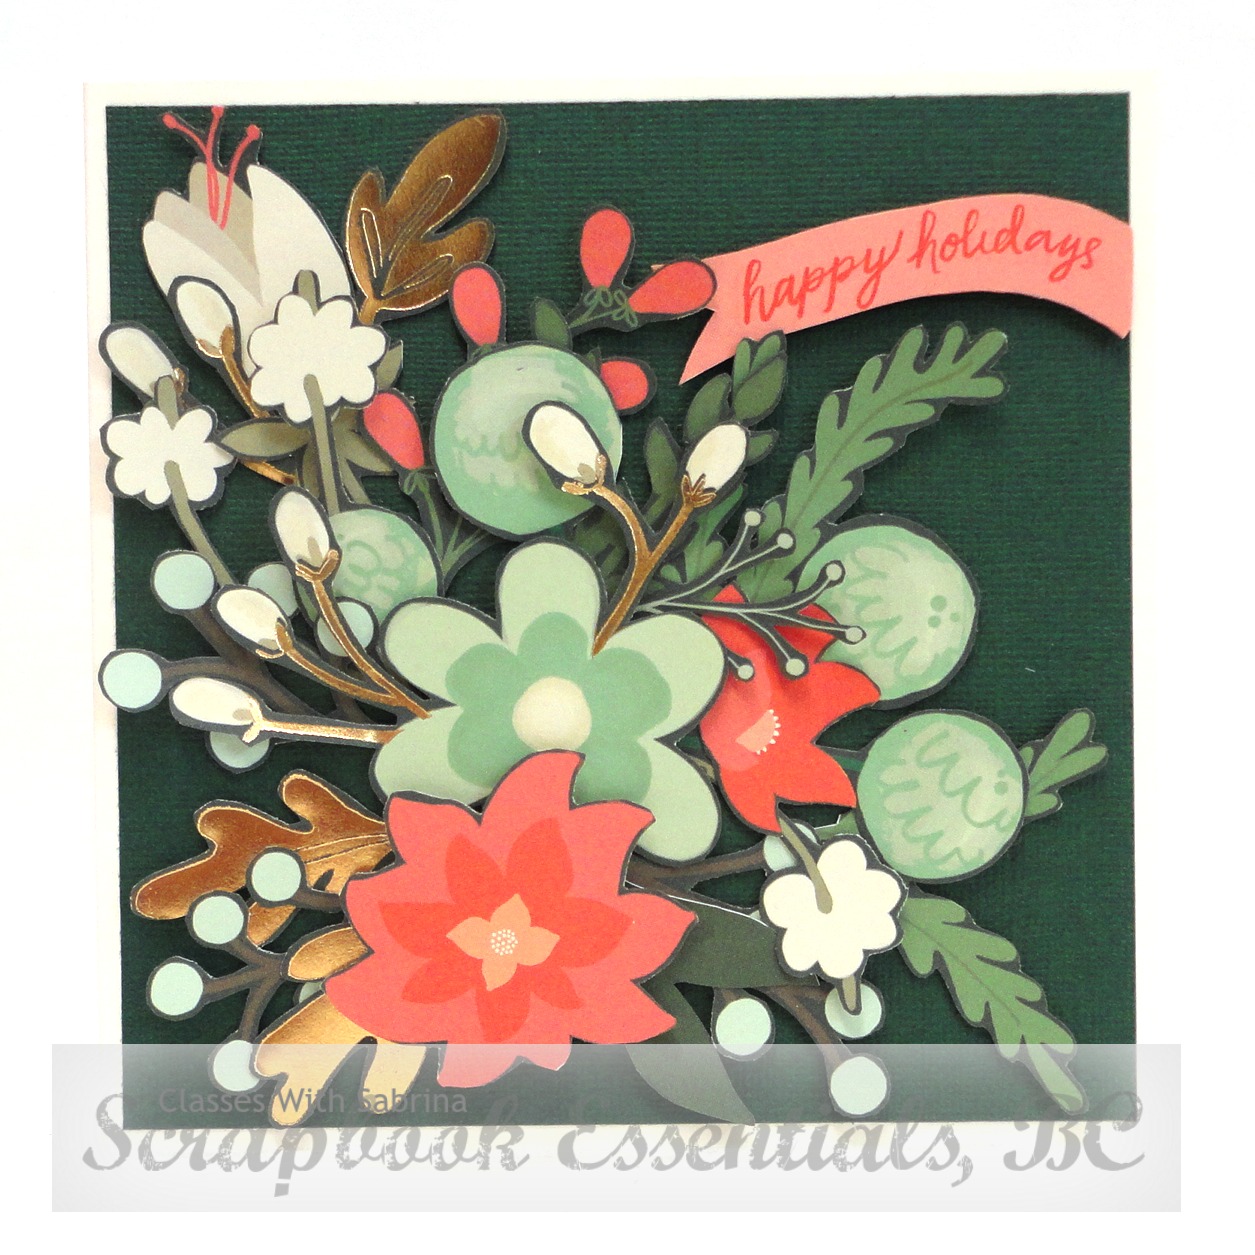
This wonderful Safari Adventure Shadow Box would be a great project for the safari dreamer/lover, and could be displayed on the wall of an office, a child's room, or anywhere in the house. It would also be a great masculine gift. Of course this project entails a lot of fussy cutting homework before class, so be sure to pick up your homework kit in plenty of time. If you like the project, but don't like fussy cutting, perhaps a family member, or good friend, wouldn't mind doing that part for you...lol.

There will be homework to do before the class. Sample in store. Limited space.

When: Saturday, January 21st
Time: 10:00 - 3:00 (1 hour lunch break)

Cost: $55.00 + GST = $57.75
(kit comes with OVER $40 in product)


FOR HOMEWORK you will need to have good fussy cutting scissors, a 1/8" or 3/16" hole punch, black or gray marker, and Glossy Accents

PLEASE BRING TO CLASS:

paper trimmer, scissors, 1/4" (or 1/2") Sookwang/Score tape, glue, black 3D Foam Tape (not the squares), and a non-stick mat.


The photos are round for the store, so hope you don't mind.

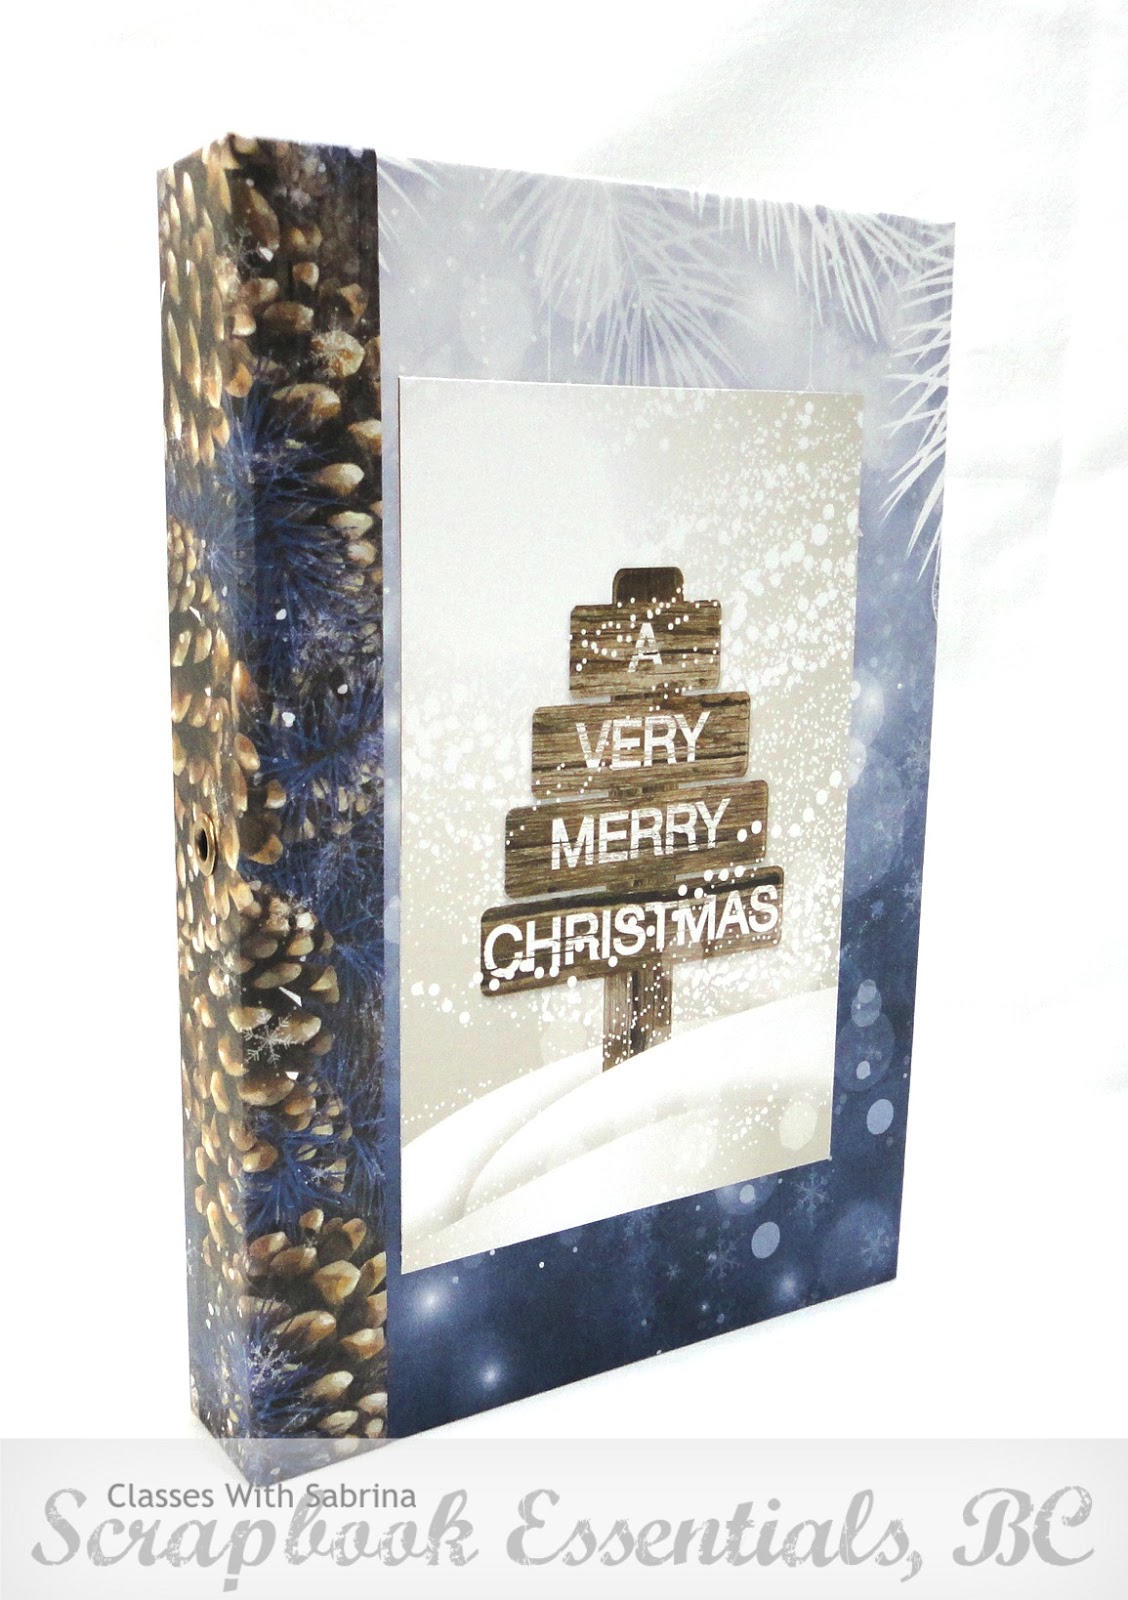
This is the left side of the shadow box...

...and this is the right side.

The shadow box has three sections. This is the left section...

...the middle section...

...and the right section.

And this last photo, is the project in it's entirety.


As you can see, it hangs on the wall by the burlap ribbon. I love the wisps of the green jute twine on this project. I think it gives it more of a jungle look.

Looking forward to seeing all my Graphic 45 lovers and project lovers in class!


Happy creating!


Forgot To Post This Class! MME Christmas on Market Street #6


Today is the card card of this class series, and it too is a simple design. You'll notice that with the two strips, I flipped them so that there would be a balance of the colours on the strips displayed on the card. I flipped these strips back and forth several times before I decided which way to attach them. Have you done things like that too?


Again, the wreath is void of a sentiment until stamped before attaching. It was left to be stamped by those participating so that they could use their own favorite Christmas sentiments.

Below you can see the layering of this card.


Well that's it for the lovely MME Christmas on Market Street paper. Hope you enjoyed seeing this collection of cards over the past couple of weeks.

At this time of year my craftroom begins to look like a tornado hit it. I get so busy that I don't clean up between projects, so in December, when classes begin to slow down, I will be able to find time in between working on classes for the new year, and reorganize and tidy up my work space. I am looking forward to getting that done. This also means that you will see fewer posts, but I hope to still get some more up before Christmas.

Happy creating everyone!


Forgot To Post This Class! MME Christmas on Market Street #5


It's all about the paper!

The last two cards in this series are very easy and simple, but the paper is what gives it it's punch. For this card we just fussy cut one of the wreaths, of which you can stamp a sentiment into, and attached it to a square mat in a coordinating colour.


You can see how very simple and easy this card is from the side view layering.


I didn't have gold foil at the time, but can you imagine using that on this card! When the card is a simple design, there isn't a whole plot to say, but you can see that this card would be an easily mass produced card for your Christmas card list.

One more from this class left to share with you.

Happy creating!


Forgot To Post This Class! MME Christmas on Market Street #4


Hello Everyone!  Sorry for the delay in getting the rest of these card class cards out for you to see. Today we continue the MME Christmas on Market Street cards with the 4th of six. The class was a lot of fun, and I forgot to take photos of it to share with you. When you are busy teaching, it doesn't always come to mind.

Here we go. Oh, and just to remind you, all the cream banners or fussy cut wreaths on these cards, were to be stamped on but are blank in these photos.


The gold foil pieces that are fussy cut sure added to the the cards. The photos don't do that justice. Sometime tearing the paper doesn't always work in the design, and I didn't want to just cut a straight line to create a triangle, so I thought cutting around the pattern in the paper and then the mat after attaching it, would give it a different look. I liked how that turned out much better.


In the photo below, you can see the layering.


Lovely colours on this paper collection! Thank you for stopping by today. I promise to have card 5 & 6 up over the next two days.

In the meantime, happy creating!


Forgot To Post This Class! MME Christmas on Market Street #3


Today I'm showing you the third card of the class I posted  (MME Christmas on Market Street), with three more to go.

This beautiful wide stripes ,with narrow gold foil stripes in between, is a gorgeous and daring paper. Who could normally say that about stripes! The three banners on the card continue with the theme of wide stripes. but are kept narrower to not distract from the paper stripes.


Before attaching the ovalish wreath and cream banner, one would do any stamping first. It was just left blank for the purpose of the class.

Below you can better see how the layers are positioned.


I believe this card would be appreciated by both the feminine and masculine alike with the beautiful colours and bold impact of the stripes. A fairly simple card to put together.

Thank you for stopping by again today. See you tomorrow for card #4.

Happy Christmas card making!


Forgot To Post This Class! MME Christmas on Market Street #2


For the second card of the class I posted yesterday (MME Christmas on Market Street), I have more fussy cutting, but not nearly as much as the card you saw yesterday. The appearance of this card is simple, but yet it is eye catching and striking. No stamping for this card either!


In the next photo, you can see the paper-tole-like layers.  Fussy cutting something like this makes it easier and pop a little more when you kiss cut leaving a little of the cream edge all around the bottom layer.


Looking forward to showing you tomorrow's card. Are you eager to see it too?

Hope you are inspired for creating your Christmas cards!

Happy creating!


Forgot To Post This Class! MME Christmas on Market Street #1


This being a last minute Christmas Card class, just putting them together on November 22nd, I somehow forgot to post it. The following image is a collage of the six cards, and is how Scrapbook Essentials wishes me to help advertise for the future classes. The cards are of course on full display in the store.


Now that the class is taking place on Thursday, I feel the that I can now show you the cards in full. So for the next six days, you will get to see one card. By the way, did I say how much I love this paper!

I'm going to begin with the most difficult card to make. Made difficult because of all the fussy cutting, but it's my favorite of the bunch.


If I had had more time, I would have darkened the fussy cutting edges with a dark marker to hide the white paper core. Love the bits of gold foiled pieces tucked in here and there. A fun arrangement of pieces.

Next, you can see the card from the side.


This layered card may not be a good one to mail, but certainly one that you could hand deliver or give directly to someone special.

So if you haven't seen the My Minds Eye Christmas on Market Street paper yet, you may want to check it out and grab some before it's all gone!

See you tomorrow, for the next one!

Happy creating!


Post from Dana: Birthday Card for a Friend

It has been some time since I posted anything. I haven't been doing much card-making, but once in awhile I blow the dust off my creativity and put my tools to work!

I created this card for my friend's birthday:


Which opens to show this:


I can't really take credit for exhaustive multi-step stamping. I used PTI's Make it Market Kit:  Garden Gate, which had plenty of ready-to-cut images.

I wasn't sure this card suited the preferences of my friend, but she loved it. :)

You can't really tell from the pictures, but I used photo paper for the gate. Added a unique shine.


{Supplies--all Papertrey Ink unless noted}
  • Patterned Paper: Garden Gate
  • Stamps: Garden Gate
  • Dies: Garden Gate

Advent Tower - G45 St. Nicholas


Scrapbook Essentials Crop Class


We will be using the new Graphic 45 St. Nicholas paper to create this matchbox Advent tower.

Everyone will delight in pulling open these little drawers to reveal the Advent treats inside. A great project to create for your children, grandchildren, or nieces & nephews. Or maybe you just one for yourself...


Saturday, November 26th

9:30am – 3:30pm (with a one hour break for lunch = 5 hours)
Cost: $68.25 (tax included in price)

There is some fussy cutting and ribbon loop homework for this class to cut down the time in class. (recommend picking up your homework kit latest by Sunday, Nov. 20th once the kits are available)

Contact Stacey for information & registration  - sbebc2011@gmail.com


Bring to class the following: bone folder, scissors, 2 - 3 rolls Sookwang double sided adhesive tape, 1/4" hole punch, mini-glue dots, liquid glue, a lot of dimensionals/3D squares/pop-dots, Scotch tape, a red, green or dark fine tip marker or gel pen,


Looking forward to seeing local friends at class!

Happy Creating!


Instructions Now For Sale!


The BoBunny Planner class is done, and I can now post the instructions to this planner. I have posted them on my "Paper Architecture" blog and you can purchase them from there.


We had a great time, and now you can get the instructions and create one, because you were not able to attend the class here. Of course this planner can be adapted as a Wedding Planner, Trip Planner, Family Reunion Planner, etc.

Happy creating!


BoBUnny Christmas Planner Class Photo


Hi Everyone!

Just quickly posting a class photo of the BoBunny Christmas Planner Class. Not everyone got in the photo, ans I forgot to take photos during the class, but everyone's planner turned out great!


Thank you ladies for taking the class! Till next time!


Kaisercraft Barber Shoppe Masculine Cards & Tags Class


I have another Scrapbook Essentials BC Card Class to share with you today using the NEW Kaisercraft 6 1/2 x 6 1/2 Barber Shoppe paper pad! This paper lends itself well to Masculine Cards!

I've created eight card & tag sets, and there is still plenty of paper left to make more! The tags match the cards and can be used on a wine or pop bottle; on a bagged gift or a wrapped gift; or more. SIXTEEN pieces in total and all are well detailed with  many parts that are included in the pad. There is some homework to do before the class, so be sure to pick up your homework in good time before the class date.

Date: Saturday, November 12th
Time: 10:30 - 4:30 (one hour lunch break)
Scrapbook Essentials BC
Cost: $78.75 (includes tax)

Here is the lovely paper pad...


...and these are the cards and tags!


For those of you that live in the area, I know that we will have great fun putting these together in class, and I'm looking forward to seeing you there.

BRING TO CLASS: paper trimmer, scissors, your favorite ink pad used for inking edges to make looked aged, ink blending sponge, hole punch, corner rounder, double sided adhesive, black 3D foam squares, and a ruler & pencil.

For those of you that don't live in the area and can't take the class because of location, here is each card & tag set for you to view.


Thank you for stopping by to have a look, and I hope you are inspired with these masculine cards!

Any questions about taking the class you can contact me, or go to Scrapbook Essentials BC Facebook page and make a comment for Stacey or inquire sending an e-mail to Stacey - sbebc2011@gmail.com.


Happy Creating!