Hello everyone! How are the preparations for Christmas coming along? I finally have my tree decorated. I didn't get my beaded garlands on this year. My back was bothering me, so I decided it could do without them this year.
Any way you came by to check out a new project, not hear about my Christmas decorating!
I've been sitting on the beautiful Carta Bella Winter Fun papers for while waiting to get done everything else that needed doing first. Now the time has finally come were I could make some fun winter layouts. Winter? In Victoria? Well, we don't often get snow, but it does happen. Plus, many people enjoy going somewhere to ski, and others of us have either lived in an area where it snowed every winter, or have family that does. So plenty of snowy Winter photos can be used with these beautiful papers and unique color combination layouts.
So without further ado, here are the first two double layouts for a mid January class at Scrapbook Parade, here in Victoria, BC.
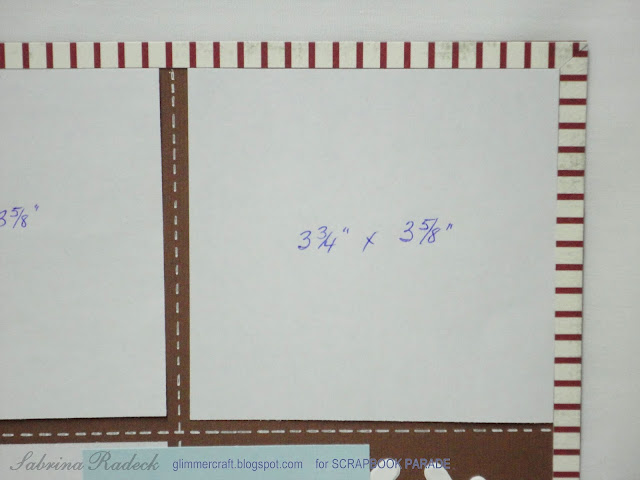
I had so much fun making the 1/4" striped border around this layout. I mitered all the corners as you can see better below, and it looks great on the LO!
And I love the faux stitching between the photos.
I'm going to use the journaling strip idea again too. It was fun, and I think it adds to the LO.
I don't often make scrapbook pages for a 5 x 7 photo, but decided that it added a good balance to the LO to have one here. So a total of 9 photos for this LO.
Now, this LO doesn't use only pieces of the collection. The dotted background paper is from an old discontinued line from Upsy Daisy, and in real life the colour matches beautifully so I felt I could use it. I also used a Bazzill light blue cardstock. And, all those square brads you see being used here also came from Upsy Daisy. I just used a 1/2" circle punch and punched out all the little snowflakes from one of the Winter Fun papers and glued them onto the center of the brads.
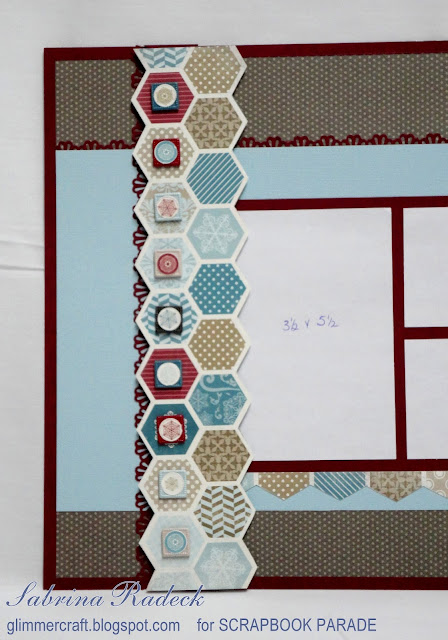
This LO has only 5 photos.
For this one I used a touch of, or a narrow edge of strips punched using Martha Stewart's Deco Fan punch. I cut a half strip of the heagon strip and placed it under the photo section. The Spellbinder's Labels One that you see under the journaling strip is actually a Grand Labels One that was inked with TH Pumice Stone around the edges.
I didn't have enough ink in my printer to print photos for these LOs, so I hope you don't mind the LOs being blank.
Thanks again for stopping by to have a look and leave your comment. It's so nice to have friends stop by even when they are so busy at this time of year. And for those here in Victoria that want to know what to bring to this class, the list is at the very end of the blog posting.
All the best in your Christmas preparations!
MATERIALS & SUPPLIES
PAPER: Carta Bella Winter Fun, Bazzil cardstock, Upsy Daisy (discontinued)
Martha Stewart Deco Fan punch
Tim Holtz Pumice Stone Distress ink
Ranger Ink Blending tool and foam pads
AccuCut Die Cutting System
white gel pen
This is what you will need for class:
-paper trimmer (make sure your blade is sharp)
-scissors
-a pair of old scissors to protect your good ones
-pencil & eraser
-ruler
-white gel pen
-quick dry glue
-pop dots
-repositional tape/removable tape
-1/4" double side tape and any other double side adhesive
-TH Pumice Stone ink
-ink blending tool


1 comment:
Is the snowflake on here a punch or a die?
Post a Comment