Hi, & Welcome Back!
This is a real long post! If you are not working on the cards from this kit, you may wish to grab a cool refreshing drink and enjoy scrolling through and see the tutorial/s.
This is the first time that I have created a Shabby Chic set of cards for a kit. There are a lot of products used for this style of card. (See list on Kit post here) In the instructions, the cards are numbered, so I will post them here in the same numerical order.
CARD #1

Just the card...

I used the NUVO Glimmer Paste Moonshine on this card and did not use it on the rest of the cards. It looked too pasty even after it dried.
Now for the other views.


Now for a closer look at the little gift tag.

CARD #2

There is a technique I will show you, on the video, on how to tear your pattern paper and mat paper at the same time so that the mat will have a similar border edge when put together.
Now for the card only.

And of course the close ups...


For the gift tag...

CARD #3

The card on it's own...

Check out the details on these close ups...


The little gift card, too!

So much fun! Right?
CARD #4

Do you notice the flourish stencil paste? We will colour the paste, and I will demonstrate on the video, 2 different ways to do this.
Let's see the card by itself, shall we?

I love the European look of this card. Not only the image of Father Christmas, but the heat embossed and colour stamped cookies that are from Altenew.
Let's check out more details.

I love hoe the cookies and tags are hanging. Makes it more fun.


And now for the tag...

OK. Time for...
CARD #5

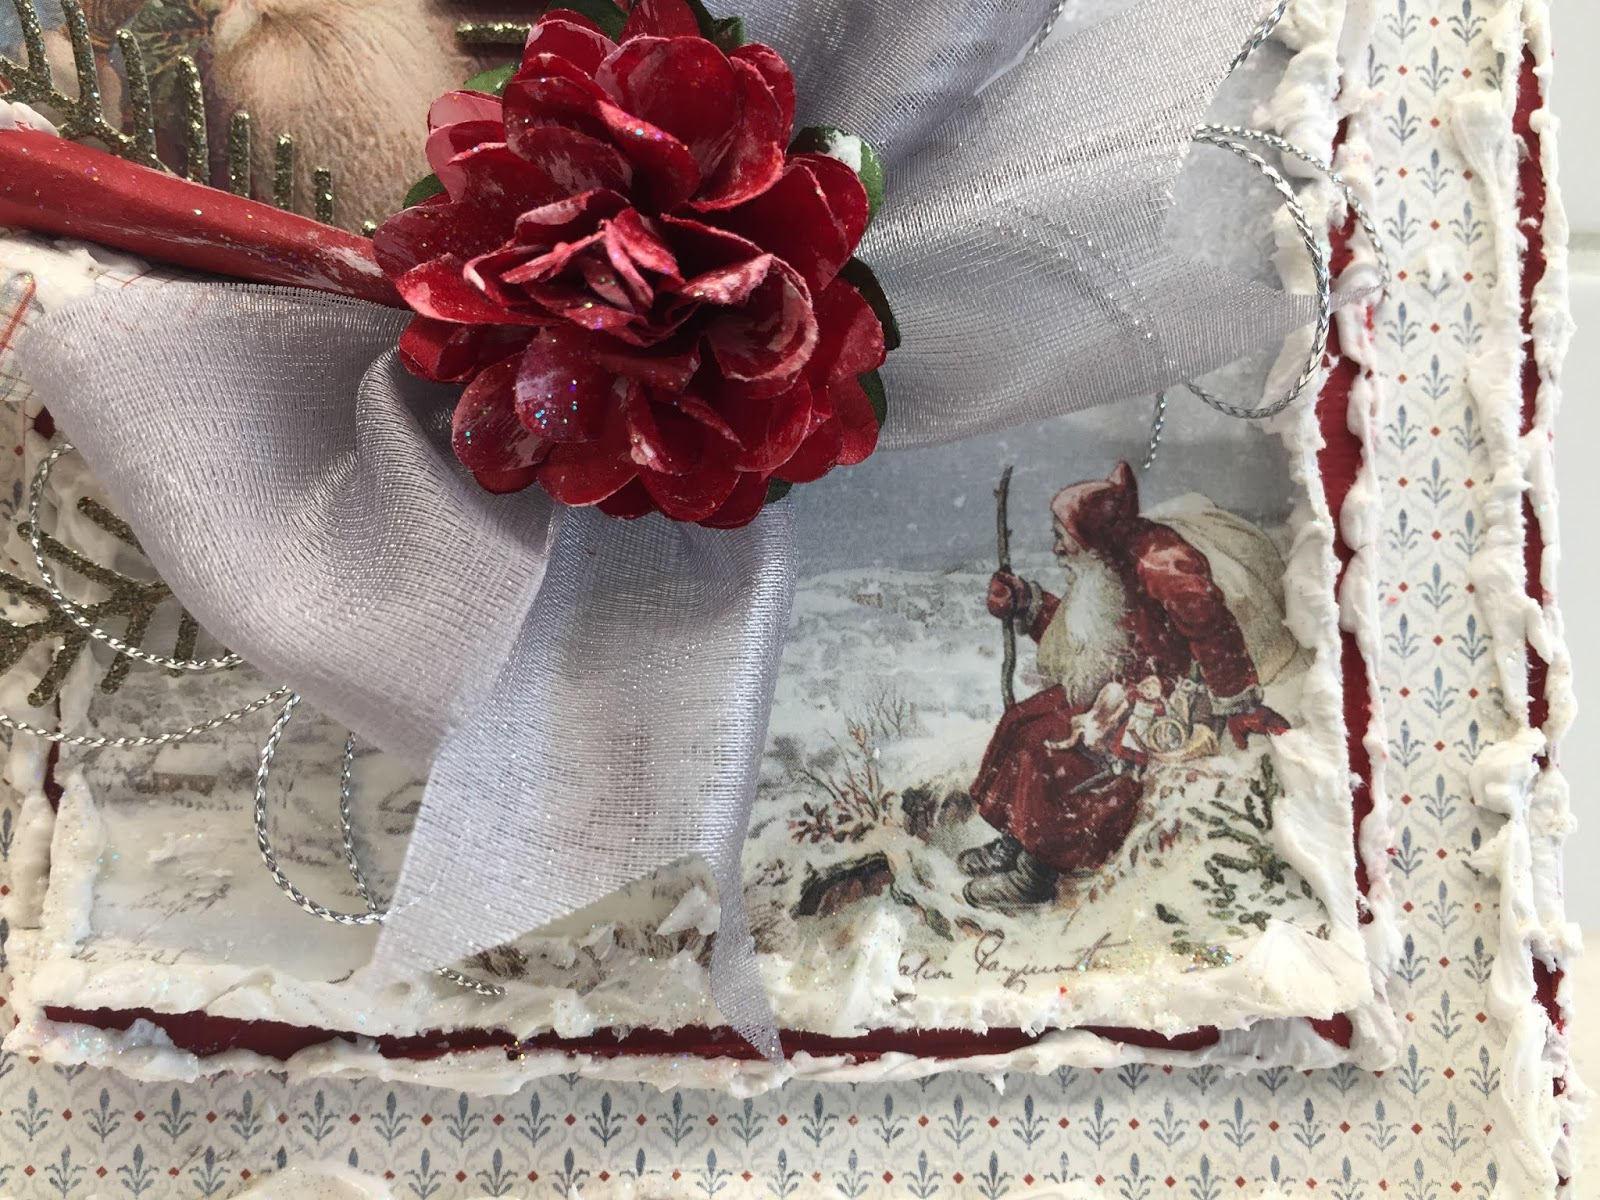
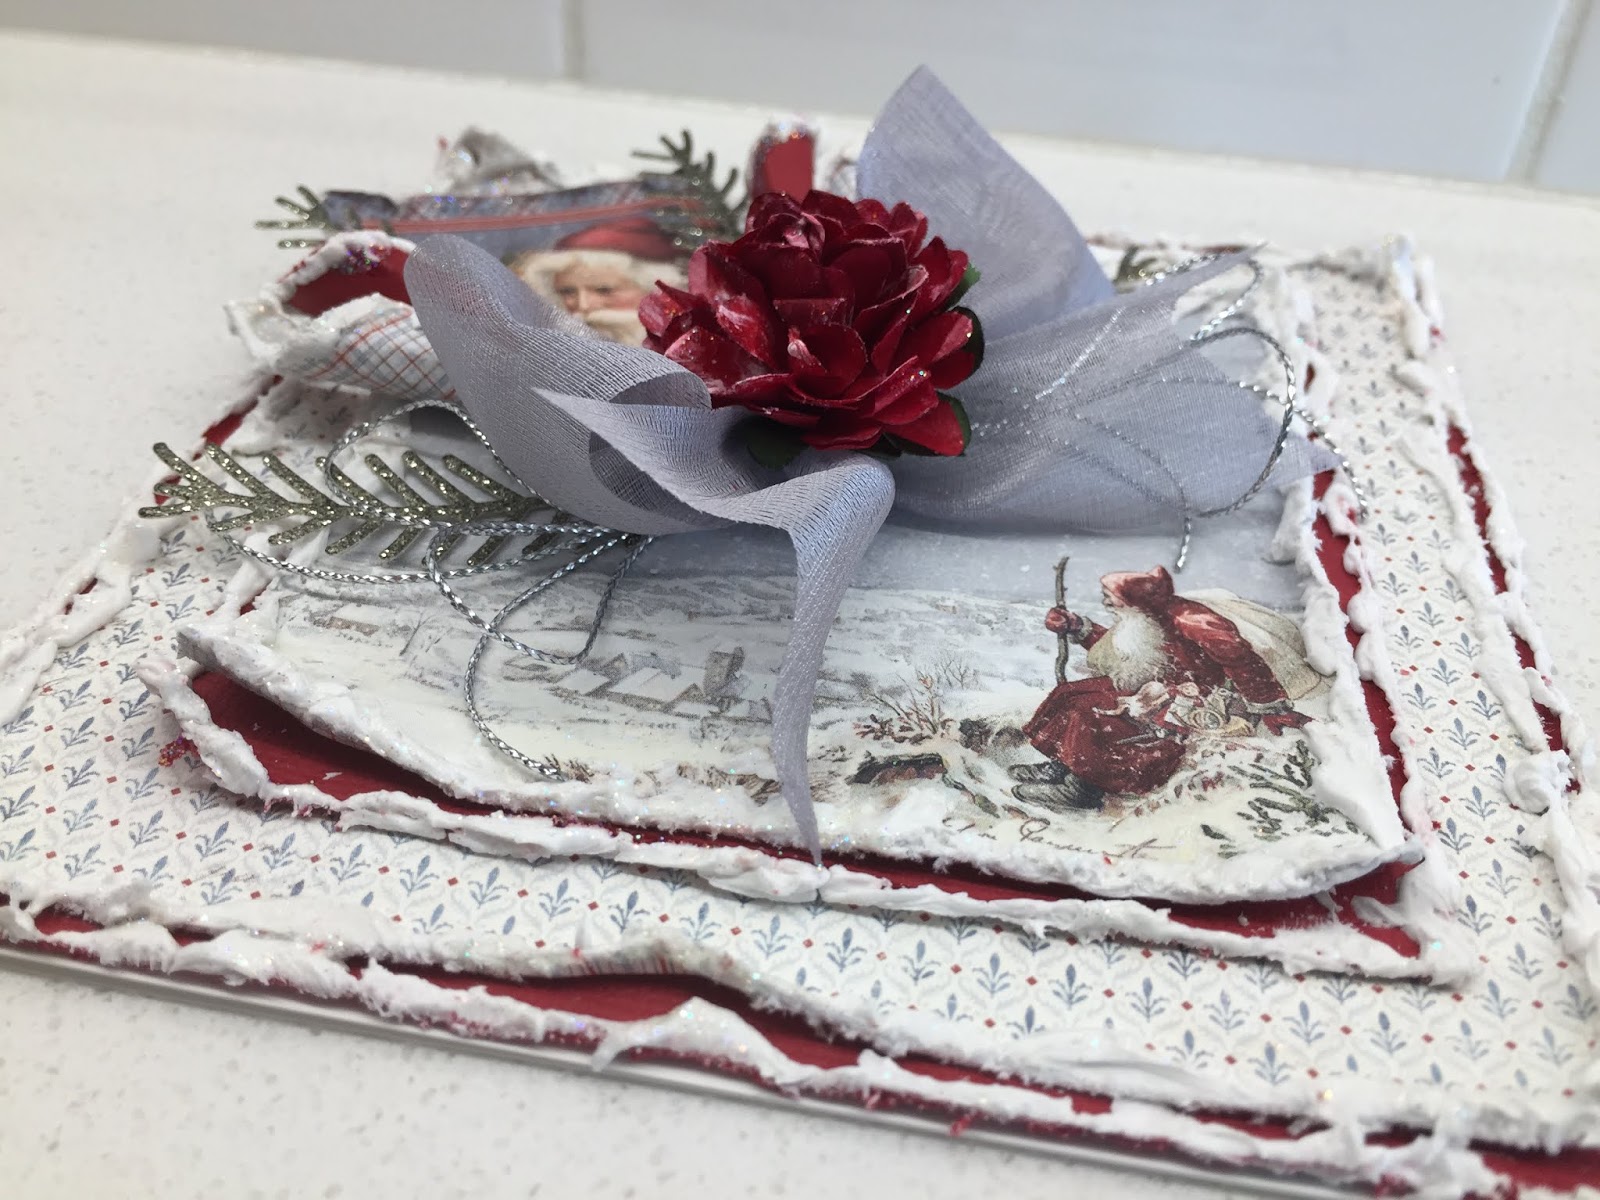
Another Father Christmas card! With my parents having come from Germany before I was born, I am partial to the European Father Christmas.
Here is just the card on it's own.

I love the treatment I did on the upper left corner! I think you'll like it too. Let's have a closer look at the card.


And now for the gift tag...

Cute little bunnies!
At first I was a little disappointed that the red bit os frayed cardstock got caught in the paste. But once it dried, and the colour ran a bit into the paste, it reminded me of Christmas peppermints, and it didn't bother me so much. If you don't want that, be sure to brush off the distressed paper bits real well before putting on your paste.
Now for the last card.
CARD #6

I found some flowers that pass off for Christmas roses! I enjoyed the challenge of making my own paper straws for this card. I plan on did it again for future Shabby Chic cards.
The card on it's own.

OK, last of the detail photos.


I also love blues and greys for Christmas cards. So this was the perfect paper collection for me! Hope you like it too.
Lastly, the gift tag.

Well, that's it for this Shabby Chic Christmas Card Kit! Hope you love the paper as much as I do.
Now, if you purchased the kit and would like some further help and instructions, I am including a video here for you. There will be some product review, some tips, and showing you how to on this video.
Sorry for the delay in getting the video posted. It turns out that my 4 year old laptop is too old to get it up onto YouTube! Can you believe that? It was my Mom's laptop before she passed 3 years ago, and I do not have the needed password, etc., to update the laptop.
Any way, I finally was able to correct the problem using one of the family computers. I was relieved, because I was not certain it could be done after all the work put into the video.
Happy Shabby Chic creating!


2 comments:
Hi Sabrina, you did a great job on the tutorial. I love these cards so much. It was good to hear your voice! Can you tell me the difference between the modeling paste and the gesso? Just more snowy looking?
HI Peta,
The Modelling paste is real thick- almost like the puddy you use on walls to fill in holes. you can get more texture with it. Gesso is more paint like. It's a little thicker than the liquid acrylic paints. We used both the paste and gesso in previous Shabby chic cards, and I think you have both if my memory serves me.
Post a Comment