Bling For Christmas - DT CCC#51


This week's challenge over at Christmas Card Challenges #51 is to use 'bling' on our cards. I have to share a short story about the making of this card.

I had just cleared off my work surface to prepare in the making of this card and threw away a few strips of white cardstock leftovers. For some reason there was a constant thought that I should pull out those strips and use them. I told myself that it was silly, but after not being able to get rid of the thought I went and hauled them out.

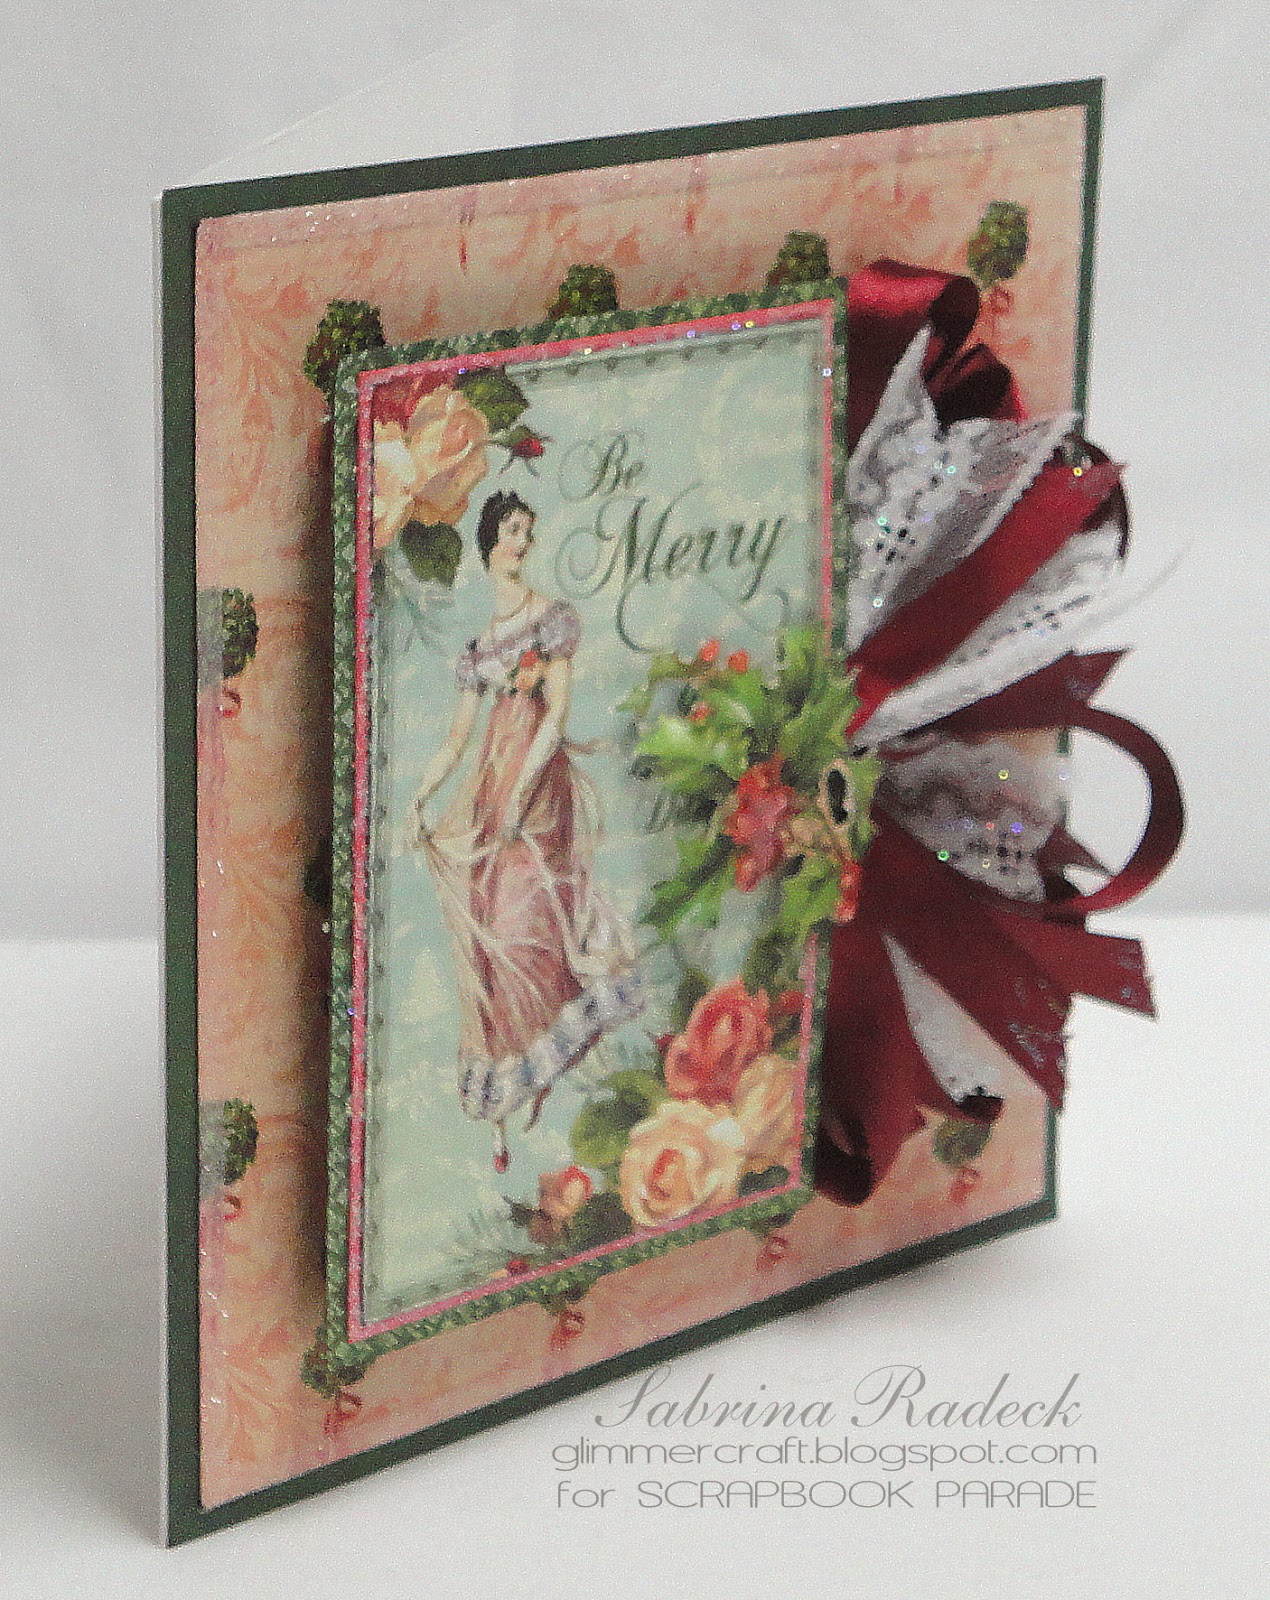
I was thinking how much I love white on white and perhaps raised stripes would look great. So maybe testing it would be a good idea, so I created a tag. I loved the look and decided to use the tag on the card! With a few more steps, this is the end result. I ended up adding Star Dust Stickles to the strips to make them pop a bit more and contribute to the 'sparkle & bling' factor of the challenge.


I used gold embossing powder to accent the blues and used gold ribbon at the top of the tag as well. Here are some photos showing the layers of this card.


Hope that you are inspired to join this week's 'sparkle & bling' challenge at Christmas Card Challenges, or enter any Christmas card creation you'd like. To check out the other design team creations and details you can go to their blogs listed below.

Alanna -  DT coordinator 
Sabrina - That's me!
Sparkle-- Owner
Thank you for stopping by to have a look at this weeks Christmas Card Challenge DT inspiration card. 
Happy Christmas card making!
 

Twelve Days of Christmas Dbl Layout

I have another class scrapbooking class layout that I want to share with you. The fun thing is I'm posting it from a five day scrapbooking retreat here in Honeymoon Bay, BC. Gorgeous area! Wish you could all be here with me. Maybe I'll post some photos when i get back home. I'm having a lot of fun working on my own projects rather than preparing for classes. Before leaving Victoria I had complete this layout but didn't have a chance to post it for everyone.

On to the real purpose of this post! The class I'm posting for is a layout class using Graphic 45's 12 Days of Christmas paper. This double page layout looks great without all the fussy cutting embellishment, or with it. For me however, Graphic 45 means fussy cutting which is a lot of work, but with shaping the pieces and layering them, I love the dimension and final look.


This  double layout has photo mats for one 4 1/2" SQ photo, seven 2" SQ photos, and a 3" x 7 1/2" journaling strip. 9 sheets of 12 x 12 designer papers are used in this layout, 2 of which were all fussy cut up for embellishing.

Here is each 12 x 12 side of the double layout.


The green squares are the photo mats for the layout. And now for some angle and side views to better see the layers.


And a couple of detail close-ups.


Much shorter posting than the last one on the explosion box. So for me it's back to having some fun and back to scrapbooking some of the many photos I have. I'm trying out the 'Project Life' or  'Albums Made Easy' systems. Entirely new way to scrapbook for me. I thought it would go a lot faster, and it is in one way, but it still takes time to decide what photos go where, and what paper and embellishments to make, etc. I'll let you know how it goes and turns out one day.

 So glad that you stopped by for a visit to see this latest double page layout.


Twelve Days of Christmas Explosion Box

Welcome everyone! I have a special project to show you today, however due to the many photos needed to show it all to you, you may want to grab a cup of herbal tea, put your feet up and take a moment to relax as I take you on a tour of this project.

This project is for the last Graphic 45 Club class for this year, and we are using G45's 12 Days of Christmas paper. With the exception of the cardstock (Bazzill Card Shoppe 12 x 12 Candy Bar) for the box base and the tags and the 12 x 12 sheet of clear plastic for the tree, I used just about a full 12 x 12 pad.

Here are a few photos of the box from the outside.


The bow on the lid is made using My Favorite Things Die-Namics Jumbo Beautiful Bow. Now let's have a look at what you see when the lid comes off.


Here you see my clear pyramid tree encasing a spiral tree made from strips I cut from the page frames. More details about that in the video to come below. How about a view more from the top.


You can see all the fussy cutting shaped and layered. Each panel of the box is actually a pocket that contains a photo mat on one side and a journaling mat on the other. At the back of each pocket is a place to attach another photo. So there is room for 20 photos with 12 journaling tags.

Here is a close up of the tree.


The following photos are two of each flap, page, or pocket (whatever you want to call them), so you can see the paper used on the photo mat for that pocket. You will also see that the fussy cut image for each pocket theme has been covered with a thin layer of Star Dust Stickles to give it more of a focus. The photos seem to have picked up heavily on the sparkle and in real life is not that sparkly.

A Partridge in a Pear Tree


Two Turtle Doves


Three French Hens


Four Calling Birds


Five Golden Rings


Six Geese


Seven Swans


Eight Maids


 Nine Ladies Dancing


Ten Lords


Eleven Pipers


Twelve Drummers


OK, so that's it for the photos. You up to watching a video walk-through? Here it is.


This box can be a Christmas memento used every year. You add photos in it of this 2013 Christmas that will be a hidden treasure to look at following Christmases whenever you want, or just add one Christmas photo every year for 20 years. The photos are there, but not open to view as you go through the 12 Days of Christmas as part of your Christmas decor explosion box.

I wish you could see it in real, because the photos do not do it justice.

Thank you for stopping by for a visit. Hope that you are inspired to create your own 12 Days of Christmas explosion box!


Sketch For Christmas Card Challenges #50

Being busy and pressed for time, I decided to take the easy way for the sketch challenge over at Christmas Card Challenges this week and use some premade embellishments (layered stickers) that coordinate with the Echo Park "Tis the Season" 6 x 6 pad.


The sketch to the left is what is used for the challenge, but as long as you make a Christmas card you don't have to use it. I was able to put this card together in just minutes!

Working with the Christmas pattern chalkboard paper was fun, and set against the red, it works well.

Here are some more photos showing some of the layers.


Hope your Christmas card making is going well. And if you'd like some inspiration, hop on over the Christmas Card Challenges and see what the design team has created. Check out the challenge submissions too.

Alanna -  DT coordinator 
Sabrina - That's me!
Sparkle-- Owner

Thank you for stopping by for a look, and check in next week to see what the new challenge will be.
Happy Christmas card making! 
 

My Handsome Grandsons

Not long ago I created a double page LO, for a class, about my five beautiful grand-daughters which you can check out here. My eldest grandson was a little disappointed and said to his Mom, "What about me?" I had to reassure him that the next LO wold be about my grandsons.

I had in mind to create a class where we would create three single page LOs using Graphic 45's French Country. However, the schedule was changed and the class will now not take place, but I do happen to have one of the LOs completed; the one I promised my grandson. So here it is.


Since the LO is about boys, I thought roughening up the paper edges would give the LO not only a bit of a vintage look, but also a more masculine one as well. I used both the 8 x 8 pad and the 12 x 12 pad for this LO.


For this section, above, you can see the seam in the red diamond shapes. I had intended that the I would cut strips out of the fancy rooster diamond shaped paper. When I had completed fussy cutting out this strip as a single length piece, I saw the leftovers of this strip laying on my work surface and realized that they could be made into shapes by piecing them together as the patterns matched. So I used them as you see.


I have seen some LOs where ink was dripped down a page and liked the look. I used a water pen nib and wetting it I picked up ink from my Vintage Photo ink pad. Starting from under the diamond strips working downwards, I made some squiggly lines at various lengths. I think it makes it look like water damage make some ink run.


For this section of the LO I fussy cut the rooster, postcard and stamps from the 8 x 8 pad.

These next four photos show the LO lying flat from different sides so that you can see the layers, and such.


So there we have it, a roughened up vintage layout of my handsome grandsons. I think my eldest grandson will really like this layout. Thank you for checking in to have a look.

Happy papercrafting!

Christmas Cards - Graphic 45 Club

I forgot to post this last week! This class is for November 9th, and is full.

Graphic 45 Club is having two classes in November and this is the first class. You've already seen the second one, here. Of course we are using the 12 Days of Christmas collection.

Some of these cards you may have previously seen from my DT postings for Christmas Card Challenges blog. But I'm using three of them for this class. At least you get to see one new one! These are fairly simple cards, but look like more.

Let's begin on the left.


This one you may have seen just a week ago, so if you'd like to see more photos and read a few detail on this card, click here.

Next comes the card I just posted for the Christmas Card Challenge blog, but I didn't post the extra photos knowing that I would do it for this post.


You can see some glitter around the edge of the Graphic 45 12 Days of Christmas paper. I placed 1/8" Scor Tape around the edge and then covered it and rubbed in Snow Glitter to make it all sparkle. The image, also from 12 Days of Christmas, is double matted and Star Dust Stickles have been applied around the pink mat edge. I also added Star Dust Stickles to the sleeves, bodice lace, and hem lace of the woman's dress.
The berries on the little holly fussy cut piece, I applied Glossy Accents to make them pop and shine.

In order to fit the elaborate bow tucked under, I had to triple stack the foam dimensionals. The bow with lace was created using the Mini-Bowdabra. Love that little tool! I then used some more Star Dust Stickles with a light and gentle touch on the lace and ribbon.

Here are the detail photos.


This third card is a new one, and easy one to make.


I used some leftover fussy cut roses from the first card, popped them up, and combined it with the blue plaid from the 6 x 6 pad, and one of the cards from the 8 x 8 pad, which has double stacked dimensionals. The blue "Triple Scallop Border" is a Die-Namics from My Favorite Things with a red & white check ribbon run over the seam of the two borders and then edged with Gold Stickles. I also used the Gold Stickles on the the words "Peace" and "Joy" and Glossy Accents on the "&".

The red pearls are placed around the corners with Gold Stickles dotted in between them. Here is the card from different angles.


The final card from this group is also one that was a DT posted card from September.


Love the dies used for this card! You can read about the details and see more photos by clicking here.

Just love the Graphic 45 12 Days of Christmas collection! I hve a few more projects comming soon using this collection. So if you're a Graphic 45 fan, watch out for them.

Thank you for checking in to have a peek.

Happy Christmas cardmaking!