A new coming kit from me made with the Maja Design "Traditional Christmas" 6 x 6 paper pad.
Such fun paper, don't you think? We are all going to have fun working with this.
The video below, is just an introductory video to the kit; maybe an enticement. There will be 35 card kits available when I have completed the design and assembly, ship to Carol, and create the instructions.
Thank you for taking the time to view this post and video. You may contact Carol at Scrapbook Parade to reserve your kit/s. I have started working on them.
This video that I am going to post is one that I took a few moths ago when Carol sent me some wonderful new papers to work with. I never got around to posting it because a lot was going on in my life and I've been so very busy. I still am busy, but finally can squeeze this in!
I have designed my own website to get some freelance Graphic Design work going. I'm looking for a job, which is a job in itself, and still being called in to my old job a few times a week. These are all like full time jobs! Any way, have some fun watching me go through the papers.
Hope you had some fun watching my reactions. I have some great ideas for these future kits, so keep a look out for them.
Time for some layouts, right? It has been a while since I have some layouts, and its nice to do it again and take a break from card making. I have so many photos still to scrapbook for, and making a scrapbooking kit here and there helps getting them into an album after all these years.
This G45 paper, 'Elegance', is such lovely paper
Layout #1 - Diagonal Photos (My sister Leona)
With this layout I am sharing with you that your thought process of decorating your layouts can change. This is what I was first thinking of doing.
But this is how it ended up looking once I got the photos on.
Some closeup views...
Layout #2 - Art Deco Framing (My BSU Grad Photos)
This layout is designed with paper saving in mind. Watch this video before starting this layout.
Now you can use the following photos when adding your embellishments.
Hope you liked making this one.
Layout #3 - Using Tulle to Embellish (My sister Corina)
I have twin sisters a couple of years younger than I. This is Corina, the younger of the two. She spent years working hard to accomplish her dream of becoming a ballerina. Here are some photos that my Mom had cut into ovals that I decided to use. Because of the ballet theme I chose to use tulle as an embellishment. This works great for wedding photos as well.
To cut the rectangle frames, you will need to follow the instructions of this previously used video from another kit, but USE 1/4" WHILE CUTTING AROUND THE SAME RECTANGLE 3 or 4 TIMES.
The tulle gets wrapped around and around the 1/4" frames all around the layout. As described in the instructions. Carol has this layout if you need to have a close look at it and live in the Victoria area.
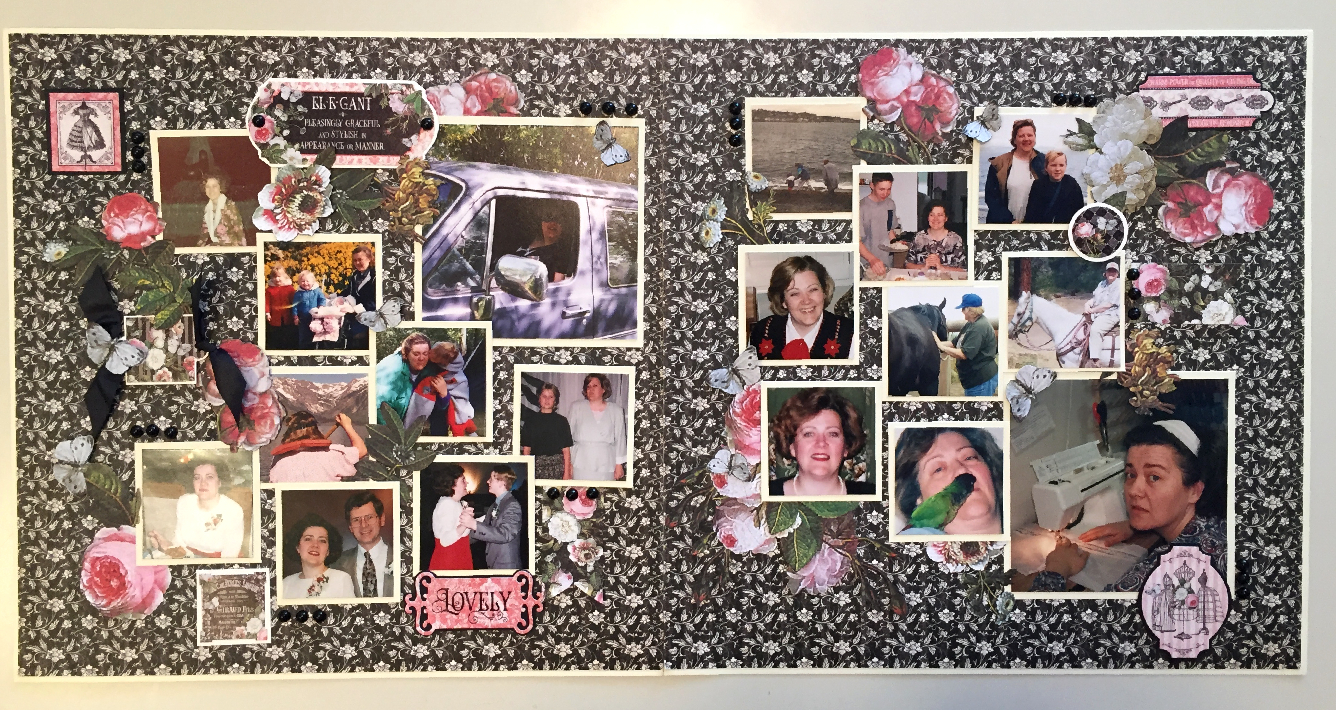
Layout #4 - Making A Bunch Of Small Photo Mats - A Collage Layout (me from 16 to 46)
This is a great way of using up photos with people in it that you may not know about or remember about. You can cut out the person you want, or cut off all the scenery around the person. It's a fun one to do, but there is a lot of photo and mat cutting. The photos after the full layout are close ups of the fussy cut flowers, leaves and butterflies; where I tucked them in, etc.
Hope this helped you put together your layouts.
I'll be doing a Christmas Card kit next! So watch for it. I think I'll use Maja Design's 'Traditional Christmas' paper for this next kit.
TY for your patience with me ladies. It was very difficult to find the time to work on this latest kit. It took me a very long time and I kept you all waiting. My sincerest apologies.
This post will have some close up photos to help you in putting together your cards. There are also some videos for you. Now, this is a very long posting. I thought of separating each card in their own post, but thought finding them in one post might be easier for you. So here we go.
CARD #1 - Triple Easel Card
Triple Easel card closed - fits into a 4 1/4" x 5 1/2" card envelope
Close up of the front arrangement
Card opened from different angles.
Close ups
VIDEO HELP
CARD #2 - Center Easel Card
Card closed
Card Open
Side View
Close up views
VIDEO HELP
CARD #3 - Twisted Easel Card
Card Closed
Card Open
Side View
Back View
Close Up Views
1st VIDEO HELP - Card Base
2nd VIDEO HELP (this will also be useful for attaching the front piece on card #5)
CARD #4 - Side Easel Card
Card Closed
Card Open
Close up Views
In order to have the dark rose damask matting for both the inside base and for one of the little squares you will need to 'frame cut' it like we have done in the past for a few other cards. (Video on how to do this is still to come)
1st VIDEO HELP- Card Base
2nd VIDEO HELP - Matt Frame Cutting
CARD #5 - Reverse Easel Card
Card Closed
Card Open
Side View
Other Views
This is a straight forward easel card, so I did not make a video for this one.
CARD #6 - A Regluar Card
Well, that's it for this kit. Hoping that you all had the help you needed in putting together these easel cards. And now you can make a bunch more easel cards and even experiment in sizes. Have Fun!