


So those are all the views of the completed card. Now for a little video on how to tear the mauve floral square.
Card #2


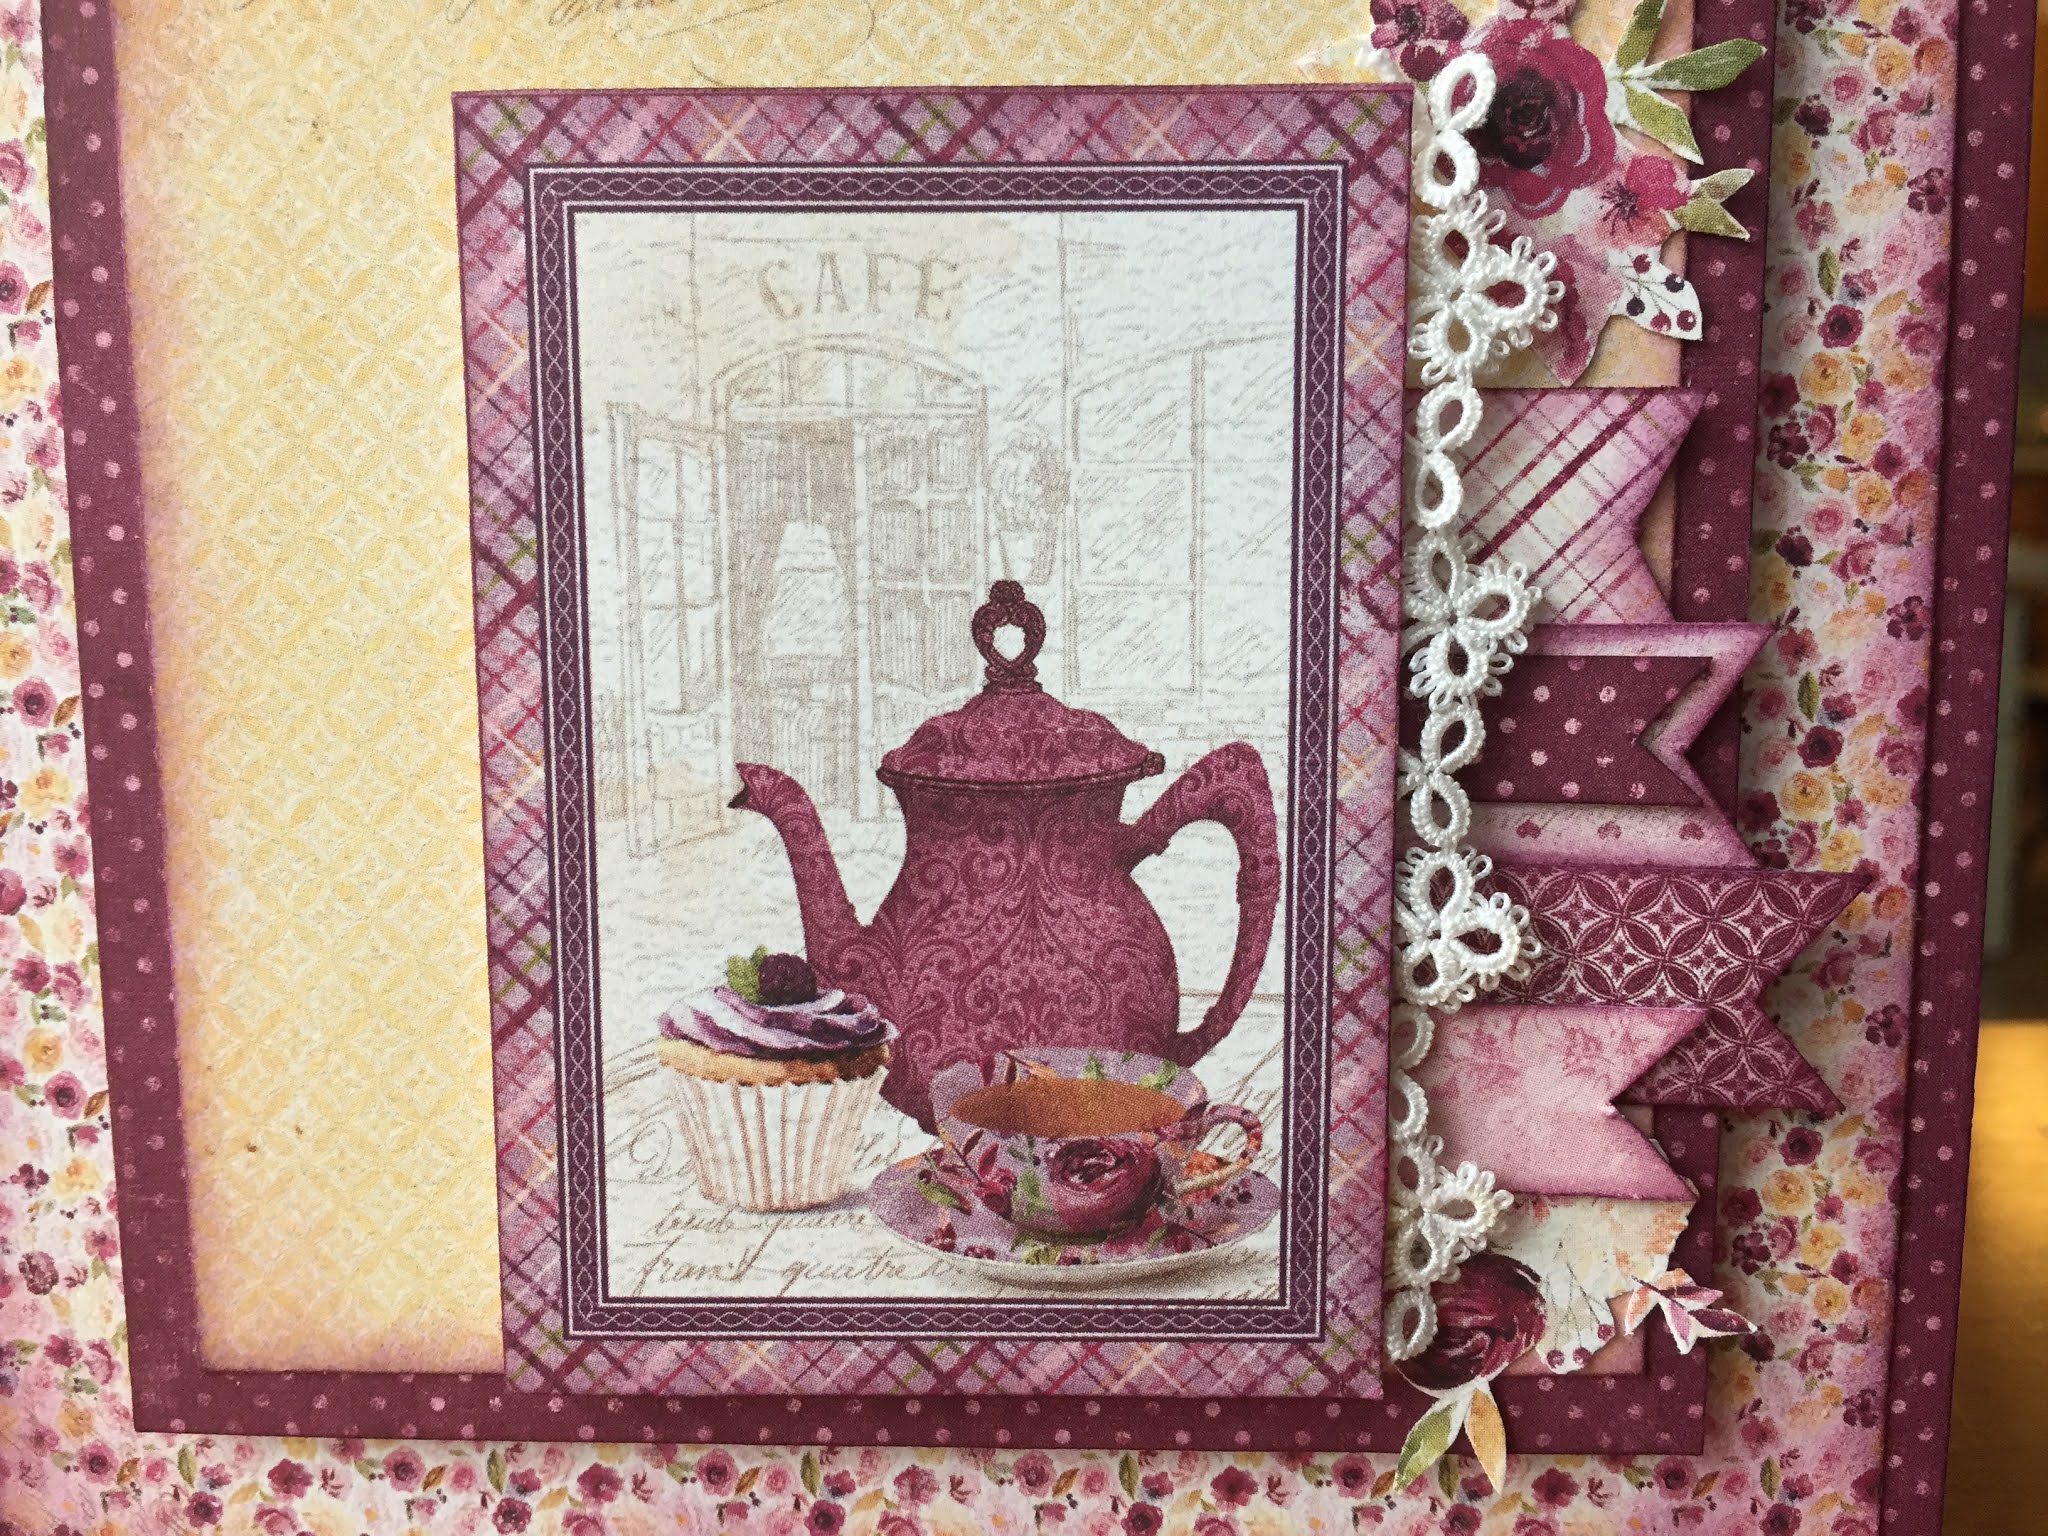
Card #3


The banner you see here (above) is for stamping you sentiment on. In the instructions I mention that you should stamp it before attaching it to the card.
In the photo below you can better see the layering on the bottom right corner of the card.

Card #4
This card involves colouring with three colours of pencil crayons; whilte, olive green & yellow. The first images are of the steps I took in colouring. When colouring on dark cardstock you want to always use white first, and then add the colours on top.

(Sorry about the lighting, I did this in the evening)


Now for the completed card photos.

...and other views.


Card #5 (Last one)
This one you will need a bunch of scraps, so be sure to keep some.

I hope these photos are a help to you as you put your cards together. If not let me know in the comment section below.
The next KIT is again using Maja Design paper - Autumn Basics - to make a set of the popular slimline cards. You might ask, "How can you make a 4"w x 9"h card using 6" x 6" paper?" It can be done!
Till next time, HAPPY CREATING!


No comments:
Post a Comment