-my 2nd daughter, third child of 5, has been a Mom now for 6 years and I wanted to capture those motherhood years in one layout
Our July vintage layout is a feminine layout in comparison to June's masculine one. The fun we will have in creating this layout is using beads and wire to create our own heart shaped beaded sprig. We are using the 'Enchantment' collection from the retired Upsy Daisy company that we saved for a project just like this one.
There is a lot of stitching around the edges of the lighter paper, the heart holes and the heart cutouts themselves.
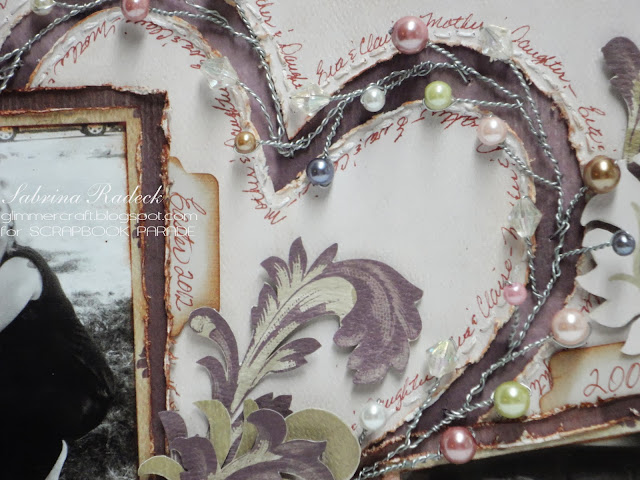
Here you can see the heart shaped beaded sprig made with beads and silver floral wire.
The fussy cutting all built up is the focus here in this shot.
And the smaller heart details are seen in this photo. Whoops! I see that a piece of backing from a dimensional got stuck in under the wire! lol Next...
...both hearts, outside and inside, have hand written text around them to act as a decorating element as well as giving a little info.
And lastly, this photo shows how I attached the wire hearts. Little pieces of chipboard on the back help to keep the wire from tearing the paper. I will be covering this up with another sheet after the class is completed.
So I hope you enjoyed seeing this vintage layout, and are inspired to create something a little different and unique yourself.
Happy Papercrafting!


2 comments:
Mom, this is so pretty! Eva (and Claire) will love it!
Wow, this is beautiful! I can't imagine hand stitching everything like that-- it looks amazing!
Post a Comment