Bullet Journal - Week 24 - June 10th to 16th


Hello Bullet Journalers! Ready for the next week's layout?

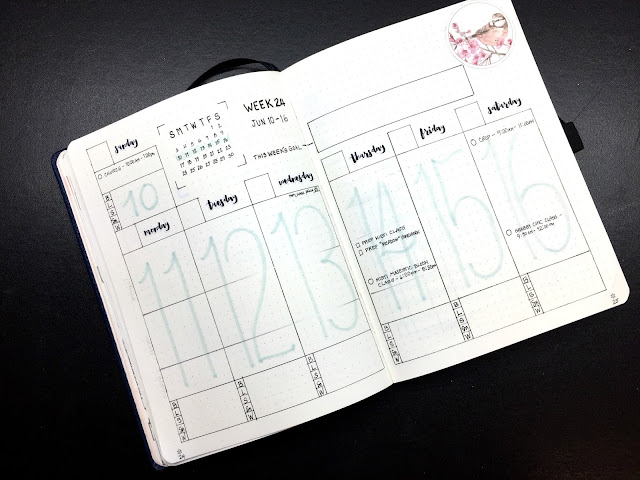
You will remember in my last Bullet Journal post that I mentioned I had made a mistake in my weekly set up. Well, for this week I corrected it by positioning my Sunday on the left this time. It does not leave a whole lot of space for that day, but I believe it is all that I will need. Rather than making those large numbers a beautiful bold lettering style, I just wrote them with a single stroke but still keeping them large and light enough to write over them.

I also change the Gratitude section to a horizontal, rather than vertical, layout. I made sure to leave one line for each day. (I hope that will be enough). I had to keep it to one line a day so that I could fit my Weekly Expenses under it. That makes one page rather than the two pages I used last week.


You will notice that on the page next to the Gratitude and Expenses that I have created two pages titled "Reunion". These are to make notes and lists for the up coming family run-on the first week of July. Then I go into my daily journaling section.


You will have noticed that I continued with the punched out circles I am using for the month of June, along with my silver metallic pen. I really like my two metallic Uniball Gel pens! I should check to see if I can get one in Copper. That would be nice too, don't you think?

Thank you for stopping by to check out my next weeks bullet journal layout.

Happy creating! And, happy planning!


Rustic Shabby Chic Christmas Cards with Carta Bella's Cabin Fever


Scrapbook Essentials BC has another Shabby Chic Class in store for you in August! And, it's a Christmas card class, too! We all know how card makers love to start making their Christmas cards starting in July to get ahead of the game. Are you ready to get started?


Rustic Shabby Chic Christmas
WHEN: Thursday, August 2nd
TIME: 6:00pm - 8:300pm
COST: $42 + GST

Contact Stacey at sbebc2011@gmail.com  or  778-533-4290 to reserve your spot

We are giving Shabby Chic a little bit of a rustic look with the colours of the Carta Bella Cabin Fever paper. Remember that Shabby Chic classes can get you a little on the dirty side, so dress accordingly. We will be scrunching things, tearing things, inking things, mixing things, spreading things, learning to use a pallet knife, and more! All die cut pieces will be done for you.

Now these cards are definitely not mailable, but you could include them inside the box of your gifts when you send them off. You can also make envelope boxes to fit the cards into and give to someone directly. 

So that we can get all four cards completed in class time you will have homework to  cut all the pieces and ink the edges before class. This will save class time time so that we can do everything else and assemble in class. Homework kits will be available the evening of July 25th.

PLEASE BRING TO CLASS: Homework, paper trimmer, scissors, paper distresser, TH Distress Gathered Twig ink pad & ink blender tool, non-stick craft mat, a plastic lid, pallet knife, liquid glue, mini-glue dots, double sided adhesive tape, pop ups or foam tape, bone folder, Tim Holtz Mini Stencils #19, white gesso, Liqutex Ceramic Stucco, NUVO Mousse - Cosmic Brown, NUVO Glitter Drops - White Blizzard, NUVO Crystal Drops - Simply White & Pale Gold, plus wipes for your hands & tools.

OK. Now for a closer look at the cards we will be making.


Next Card...


Card #3...


And the last card...


Making shabby cards is always so much fun. Hope to see you in class on August 2nd!

In the mean time, happy creating!


Spellbinders Educators Class - Botanical Heart Pair


SPELLBINDERS EDUCATOR PROGRAM # 15 - BOTANICAL HEART
WHEN: Wednesday, August 8th
TIME: 6:00 - 8:30
COST: $45 + GST (includes $27 die)
Contact Stacey at sbebc2011@gmail.com  or  778-533-4290 to reserve your spot

For this class we will be making three cards! Two of them will come together quickly so there will be time to make three. We get to add to our collection of beautiful dies with this class using the Botanical Heart (S4-641) and use some old faithfuls with it (Square Nestibilities LG (S4-126)). I know how you love to play with gold foot and there will be plenty of that too! And who doesn't love the favourite monochromatic or White on White card so perfect for weddings, or other very special occasions.

PLEASE BRING TO CLASS: die cutting machine and plates, tool-in-one, paper trimmer, scissors, ruler & pencil, double sided adhesive tape, white 3D foam tape & squares, mini-glue dots, liquid glue (fine tip or toothpicks), NUVO Glitter Drops - White Blizzard or Sitckles Star Dust, and your large square dies if you have some at home. (Spellbinders Square Classic Nestibilities LG(S4-126)) Do not worry if you do not have any square dies, as there will be some there to use if needed.

Every so often I can not resist making a white on white card, and when using a heart die, the inclination is even stronger. Great for a wedding card, or another special occasion to express love or fondness.


Another thing I like to do with hearts, is use foil cardstock. On this next card I put the ribbon at the top with the die work at the bottom. Three layers of square frames with the botanical heart inside, and the elaborate heart filigree frame die cut out of gold foil.


Since this die has the heart centre, we had to make a simple card focusing on just that. Two hearts, one in a bright purple and one in a bright pink, both topped with the gold foil botanical heart.


Looking forward to the fun we will have in class.

Hope you are inspired with the Spellbinders Botanical Heart die.

Happy creating!


Watercolour Pencil Class #9 - Altenew Forever & Always'


I must start off by apologizing for the light reflecting off the top image. I took the photo twice, and each one had the same problem. The colours are off because of the light. And I apologizing for not trying again for a better photo. But those of you that go to Scrapbook Essentials BC will see the actual piece on display for this up coming class.

We are having more fun in this class with a variation on a previous technique we had, and a new one.


WATERCOLOUR PENCIL CLASS #9

ALTENEW ‘FOREVER & ALWAYS’
WHEN: Wednesday, August 8th
TIME: 6:00 - 9:00 (note longer class time)
COST: $30 + GST

 To register for this class, contact Stacey at sbebc2011@gmail.com  or  778-533-4290

For this class we will be working two different styles. We have painted stamped images with embossed images. In this class we will do a bleeding image with no image lines showing, and then heat emboss in silver over the painting. It has a different look and does not fade the shine of the metallic heat embossed image.

In our second image from the stamp set, we will learn how to create a more fantasy-like image by using colours not actually a part of natures spectrum, like adding blue and purple in the greenery, and flowers. We will also learn how to make colours run.

Hope you will enjoy this class. It will be fun!


BRING TO CLASS: Your watercolour samples form the introductory class if you have them, a notebook and pencil is always good to have, all of your watercolour pencils, your painting board, washi tape, Aqua brushes or regular brushes, water mister, heat tool, paper towel, jar of water, and if you have some watercolour paper – it would be helpful for testing out techniques.

This is the stamp set we will use for this class. If you wish to have one for yourself you can order it from Stacey.


For the fist piece we will paint, it will look like this before we heat emboss it with silver.


The second image will be fun as we use unusual colours throughout as we dab colours from the image into the leaves and flowers.


On each of these images I used the Spectrum Noir Clear Sparkle pen on the just the flowers. Looks great in real, and makes the second image seem even more fantasy like.

See you in class!


New Bullet Journal and June Set Up


May has flown by, and June is upon us. Time to show you my June bullet journal set up. I did not do any drawing this time, but ordered some beautiful watercolour stickers. I wanted to save time setting up my new month and getting the stickers did just that. I also punched out circles from a lovely sheet of 12 x 12 card stock with beautiful circles of watercolour painted birds and cherry blossoms. The interesting thing is that both of these came from Germany.

I made some changes in my layouts, and will explain them as we go through the photos.

To start out with, I completed my second bullet journal ending with May, so for June I had to set up a new journal. That is what I will begin with.

I decided to add a little something to the start of the journal with a circle punch watercolour painted bird. I used my gold metallic pen to trace around the circle which was a mistake because I had planned to use my newer silver metallic pen. I did remember to use the silver pen to write the index title with. It is a little hard to see in the photo, but looks real nice in real.


Next, I always need to have the year calendar in each journal as it is helpful with future planning. If you are wondering about the green washi tape, the page started to come out a little along the perforation and I had to tape a little part of it. But it did not look as good as taping the whole length of the page.


I like the silver metallic ink around the 2018.

The next spread is my four month future log. Each journal I have seems to hold three months, so four months is perfect.


Now comes my June set up, beginning with my 'Hello June' page. This is where I start to use the beautiful stickers that I ordered, and I added one of the bird circles that I punched out.


I love having my monthly calendar as my monthly over view. It has a little more detail than my four month future log, but not as much as my weekly spreads. Just enough info for planning. Don't the stickers look lovely? And so quick to add too. I also added some real narrow washi tape along the right side and bottom. I love the little date stickers that match the watercolour stickers.


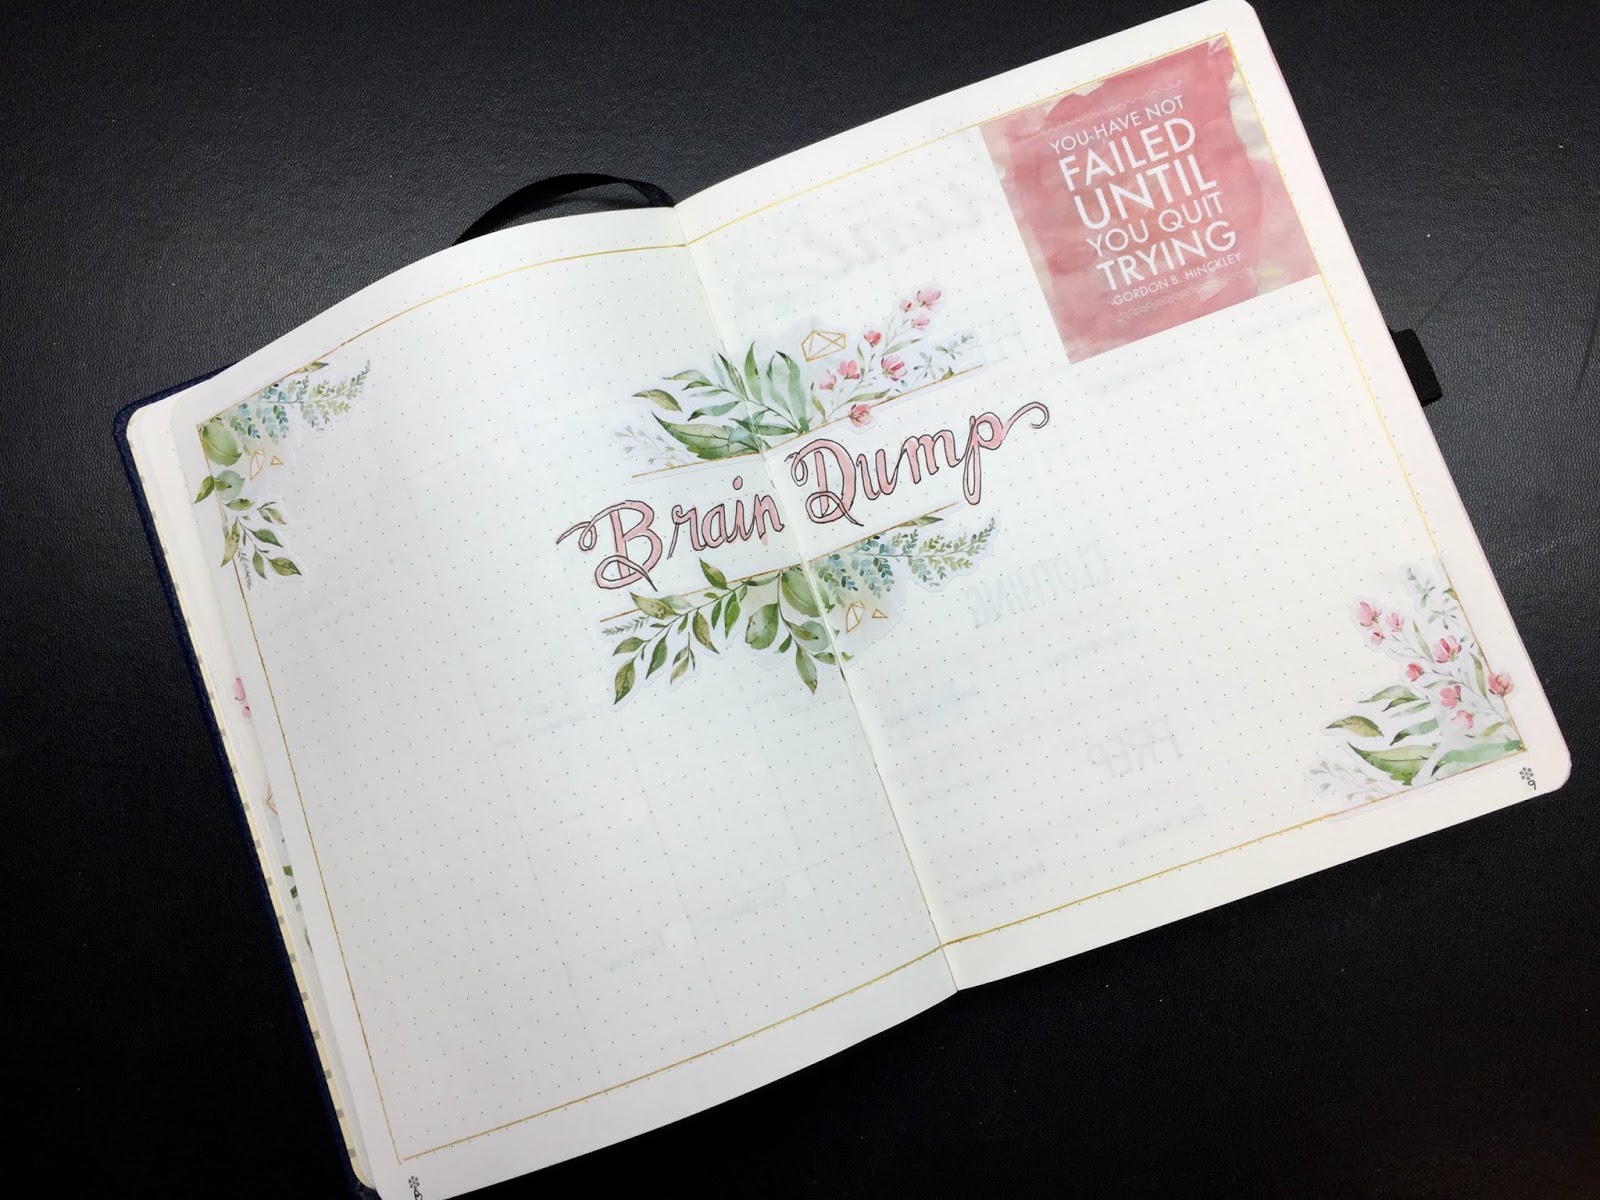
I love using my 'Brain Dump' page. I use a good portion of it, and refer to it when I set up the following month, because sometimes there are things in the dump that I can implement. I decided to add this quote in that space, as I usually have a little left over space. (I messed up here and used my gold metallic pen. Might change it to silver still.)


The next thing in my June set up is my financial spread.


Now comes the Habit tracker spread. This is where I made a big change. It was a lot of work to set up compared to my usual set up, but I think it will be helpful visually. I will see how it works out this month and decided if it is better and worth the extra work, or not.


The next spread is one that had wanted to put before my financial pages, but forgot. It is for my future card classes and any kits I might make. I always need to make samples for and prepare for classes a month or two in advance, so this is helpful in keeping things straight with a quick view. The larger space is for the photo of the projects and the right side is a check list to get it off and going.


My weekly spread is next. I kind of messed up the layout. I meant to have Sunday on the left side. That was one reason I decided to make the dates in large numbers, but light in colour, so that I could write over them. As you see the weekly layout is a different set up than the one I used last month or the previous months.

I added a quote sticker I had made, along with some of those circles I mentioned punching earlier.


I added my food tracker at the bottom of each day and drew a line through the six days to divide up into personal, work and church space. I used the silver metallic pen for those. It is visible enough to see the lines, but light enough to go over the line if I need more space.

The next spread I created my 'Gratitude Log' like I usually do, but realized it was the wrong thing to do since I did not have the food tracker to put next to it. I now had an empty space on the page. I am thinking that I might find something to fill in the space as I go through the week.


Do you like the pens and pencils washi tape, and the house sketches washi tape? Next time I use them, I might colour them in.

The last part of this weekly spread is my weekly journaling section. Because we are having a family reunion in July, I wanted to save space just in case I need more space for that, so I decided to continue with a 1/2 page per day for my daily journaling for June. It doesn't allow much space to include a photo is I would like to do on occasion, but I can go back to that in another month.


Well, that is it for my new journal, June, and first week set up. I did make some very minor changes in the next week's set up, but you can see that in the next bullet journal post.

Happy journaling, and creating!