 |
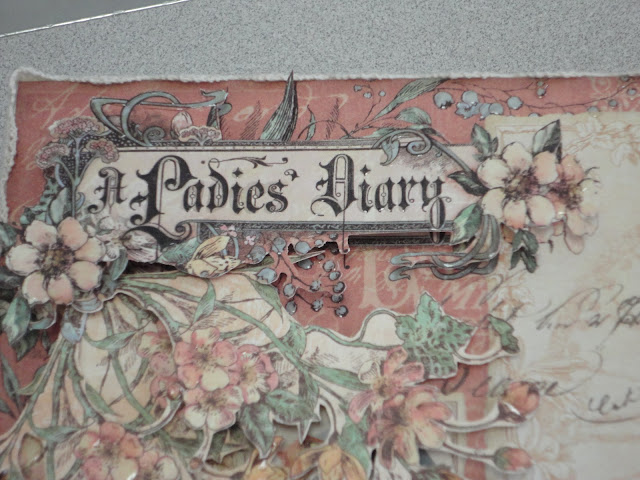
| Front angled to see right side closure |
WARNING: Tons of pics to show all the details of this project.
This class isn't scheduled at Scrapbook Parade until September, but as I'll be very busy I wanted to get this posted and out of the way.
This is two 8 X 8 inch canvases (which are perfect for the 8 x 8 pad) that have been hinged together back to back. By having them back to back there is a space about 4 1/2 inches square and deep enough to hold a six page stack-the-deck mini-album.
It would be fun to share with you the details on how zoned into this project I was and that I worked through the night without realizing the time until I noticed that it was beginning to get light outside! LOL. But that would take up to many words and too much of your time!
There are a lot of pics which I have kept to a minimum for you, and at the end you'll find a YouTube slideshow with many more details showing all the tags on each page. The tags that are to go inside each envelope page have not been made,yet, as the class participants can easily make them at home on their own time.
Here goes.
 | ||
| Front angled to see hinges |
 |
| Front detailed view |
 |
| Front detailed view |
 |
| More front details |
 |
| Back |
 |
| Open and laying flat |
Next is a collage of photos showing each page as turned. All the tags are more visible in the YouTube slideshow after the collage.
I had so much fun making this project, and I hope you enjoyed all the photos. Now here's the YouTube slideshow.
Thank you so much for spending some time with me today, and as always, happy crafting!
TOOLS & SUPPLIES
PAPER: Graphic 45 - A Ladies Diary 8 x 8 pad, Bazzill Cardstock - Pumpkin Seed, Hazel, & Ebony
INK: Tim Holtz Distress Ink Pad - Pumice Stone
Ranger Ink Blending tool
Martha Stewart Vintage Floral border punch
Ivory Crinkle ribbon - 5/8"
Simplicity - ivory vintage crochet lace
ivory buttons
2 brass 1 1/4" hinges
4 wooden rounded plug heads for the legs
Glossy Accents


2 comments:
Wow Sabrina, this is fabulous. I'm just stopping by to say how delightful your blog is. Thanks so much for sharing. I have recently found your blog and am now following you, and will visit often. Please stop by my blog and perhaps you would like to follow me also. Have a wonderful day. Hugs, Chris
http://chelencarter-retiredandlovingit.blogspot.ca/
When I saw this album displayed at Scrapbook Parade, the first thing that came to my mind was "I hope I have not missed this class!". I instantly fell in love with this album and had Carol put my name down for the September class to make sure I don't miss it. Sabrina, you have crazy fantastic talent and are so kind to share this special gift with the rest of us. Looking forward to making this album under your careful guidance at class.
Sincerely,
Trish
Post a Comment